These beauties are stainless steel. They were not free.
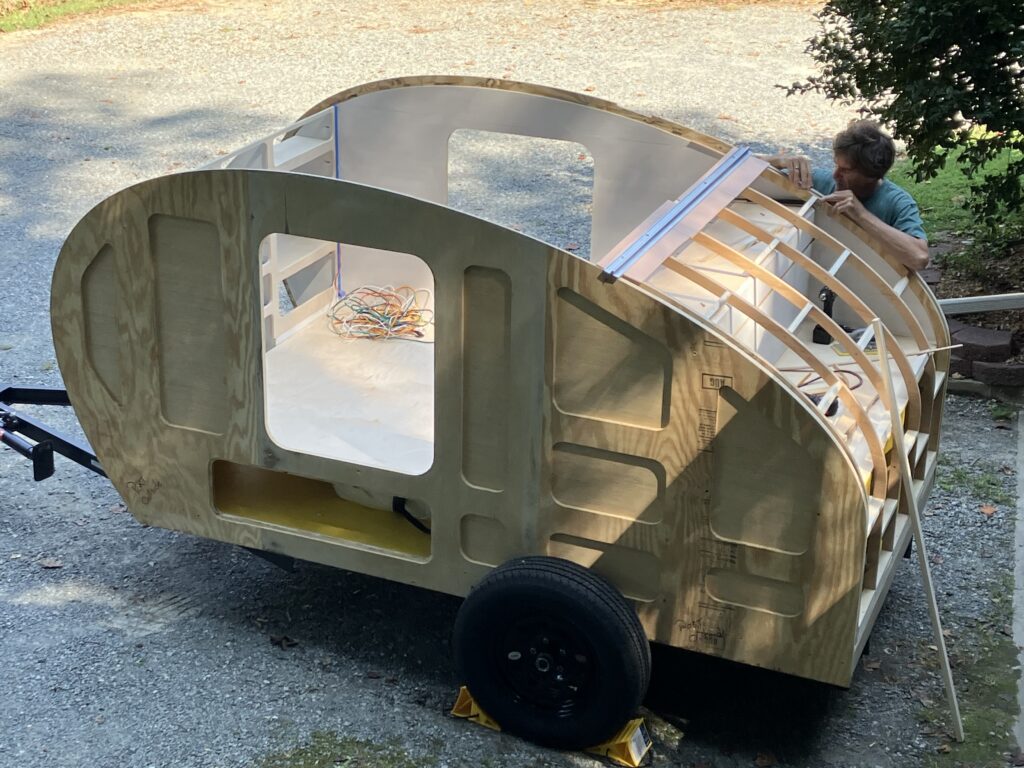
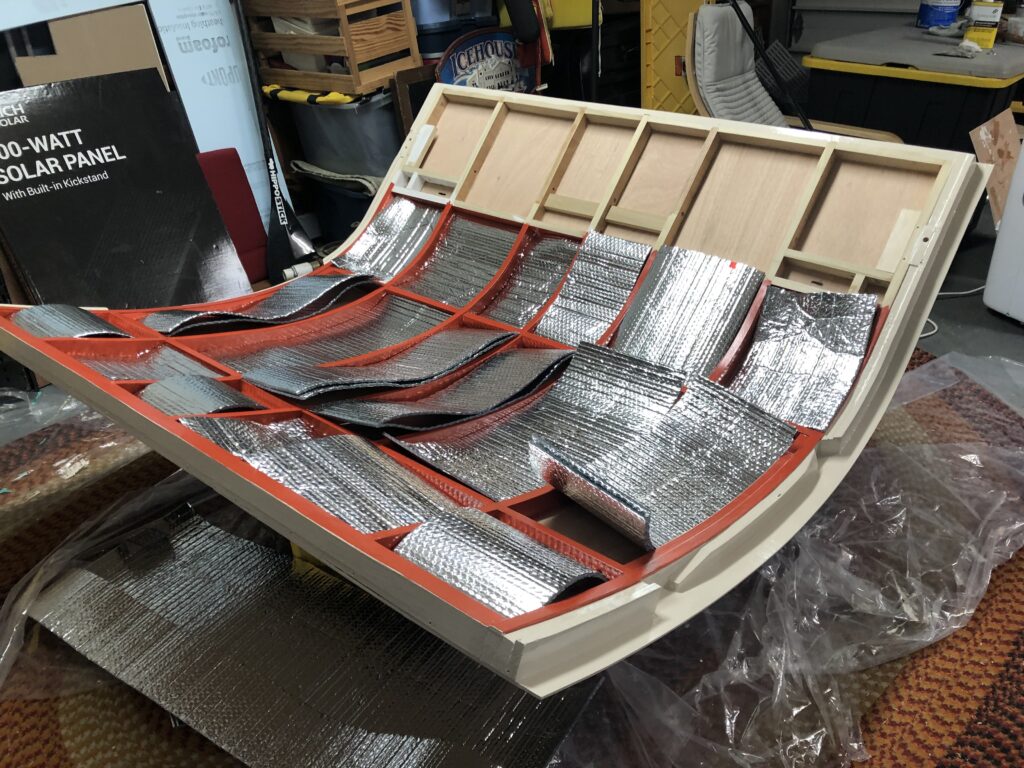
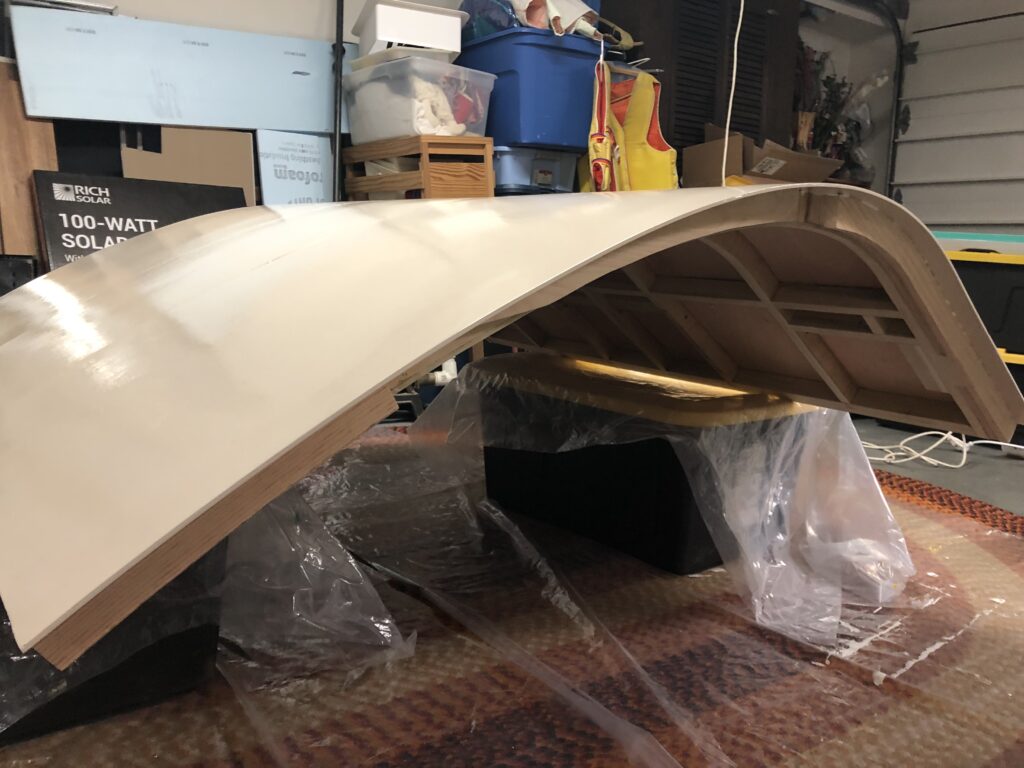
The fenders are screwed right into the frame. The trick here was locating where the voids in the frame were. For a refresher, here’s a picture of the trailer when it didn’t have the outside skin:
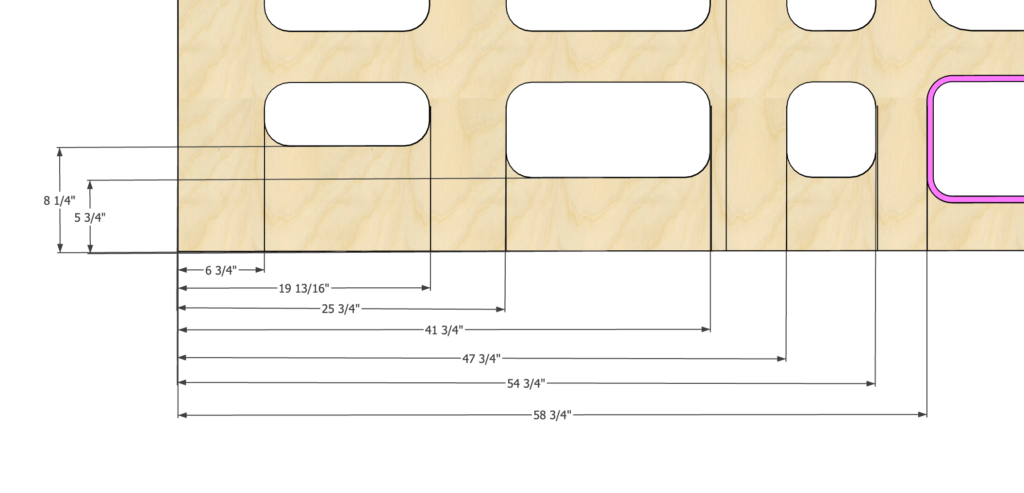
You can see where there are these cutouts to save weight on the structure, but I didn’t want to put a screw there, so I went back to my Sketchup drawing:
And used that to tape the outline of them from the outside. That’s the green tape that was on some previous pictures.
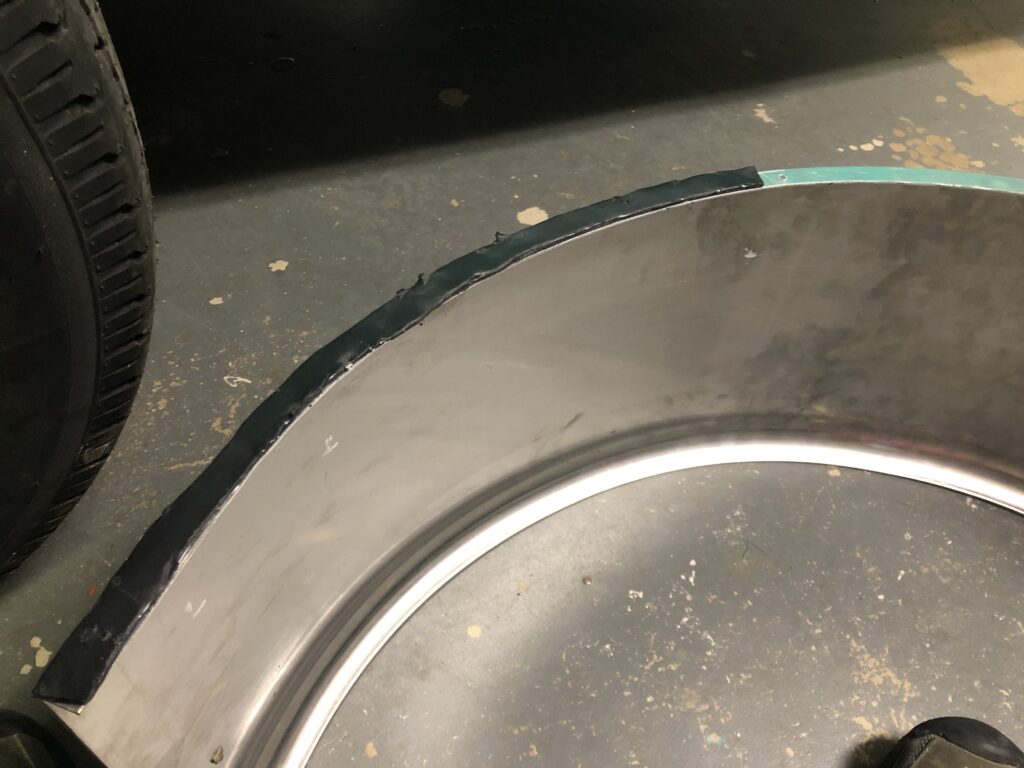
Putting butyl tape on the fender edge before screwing into camper.
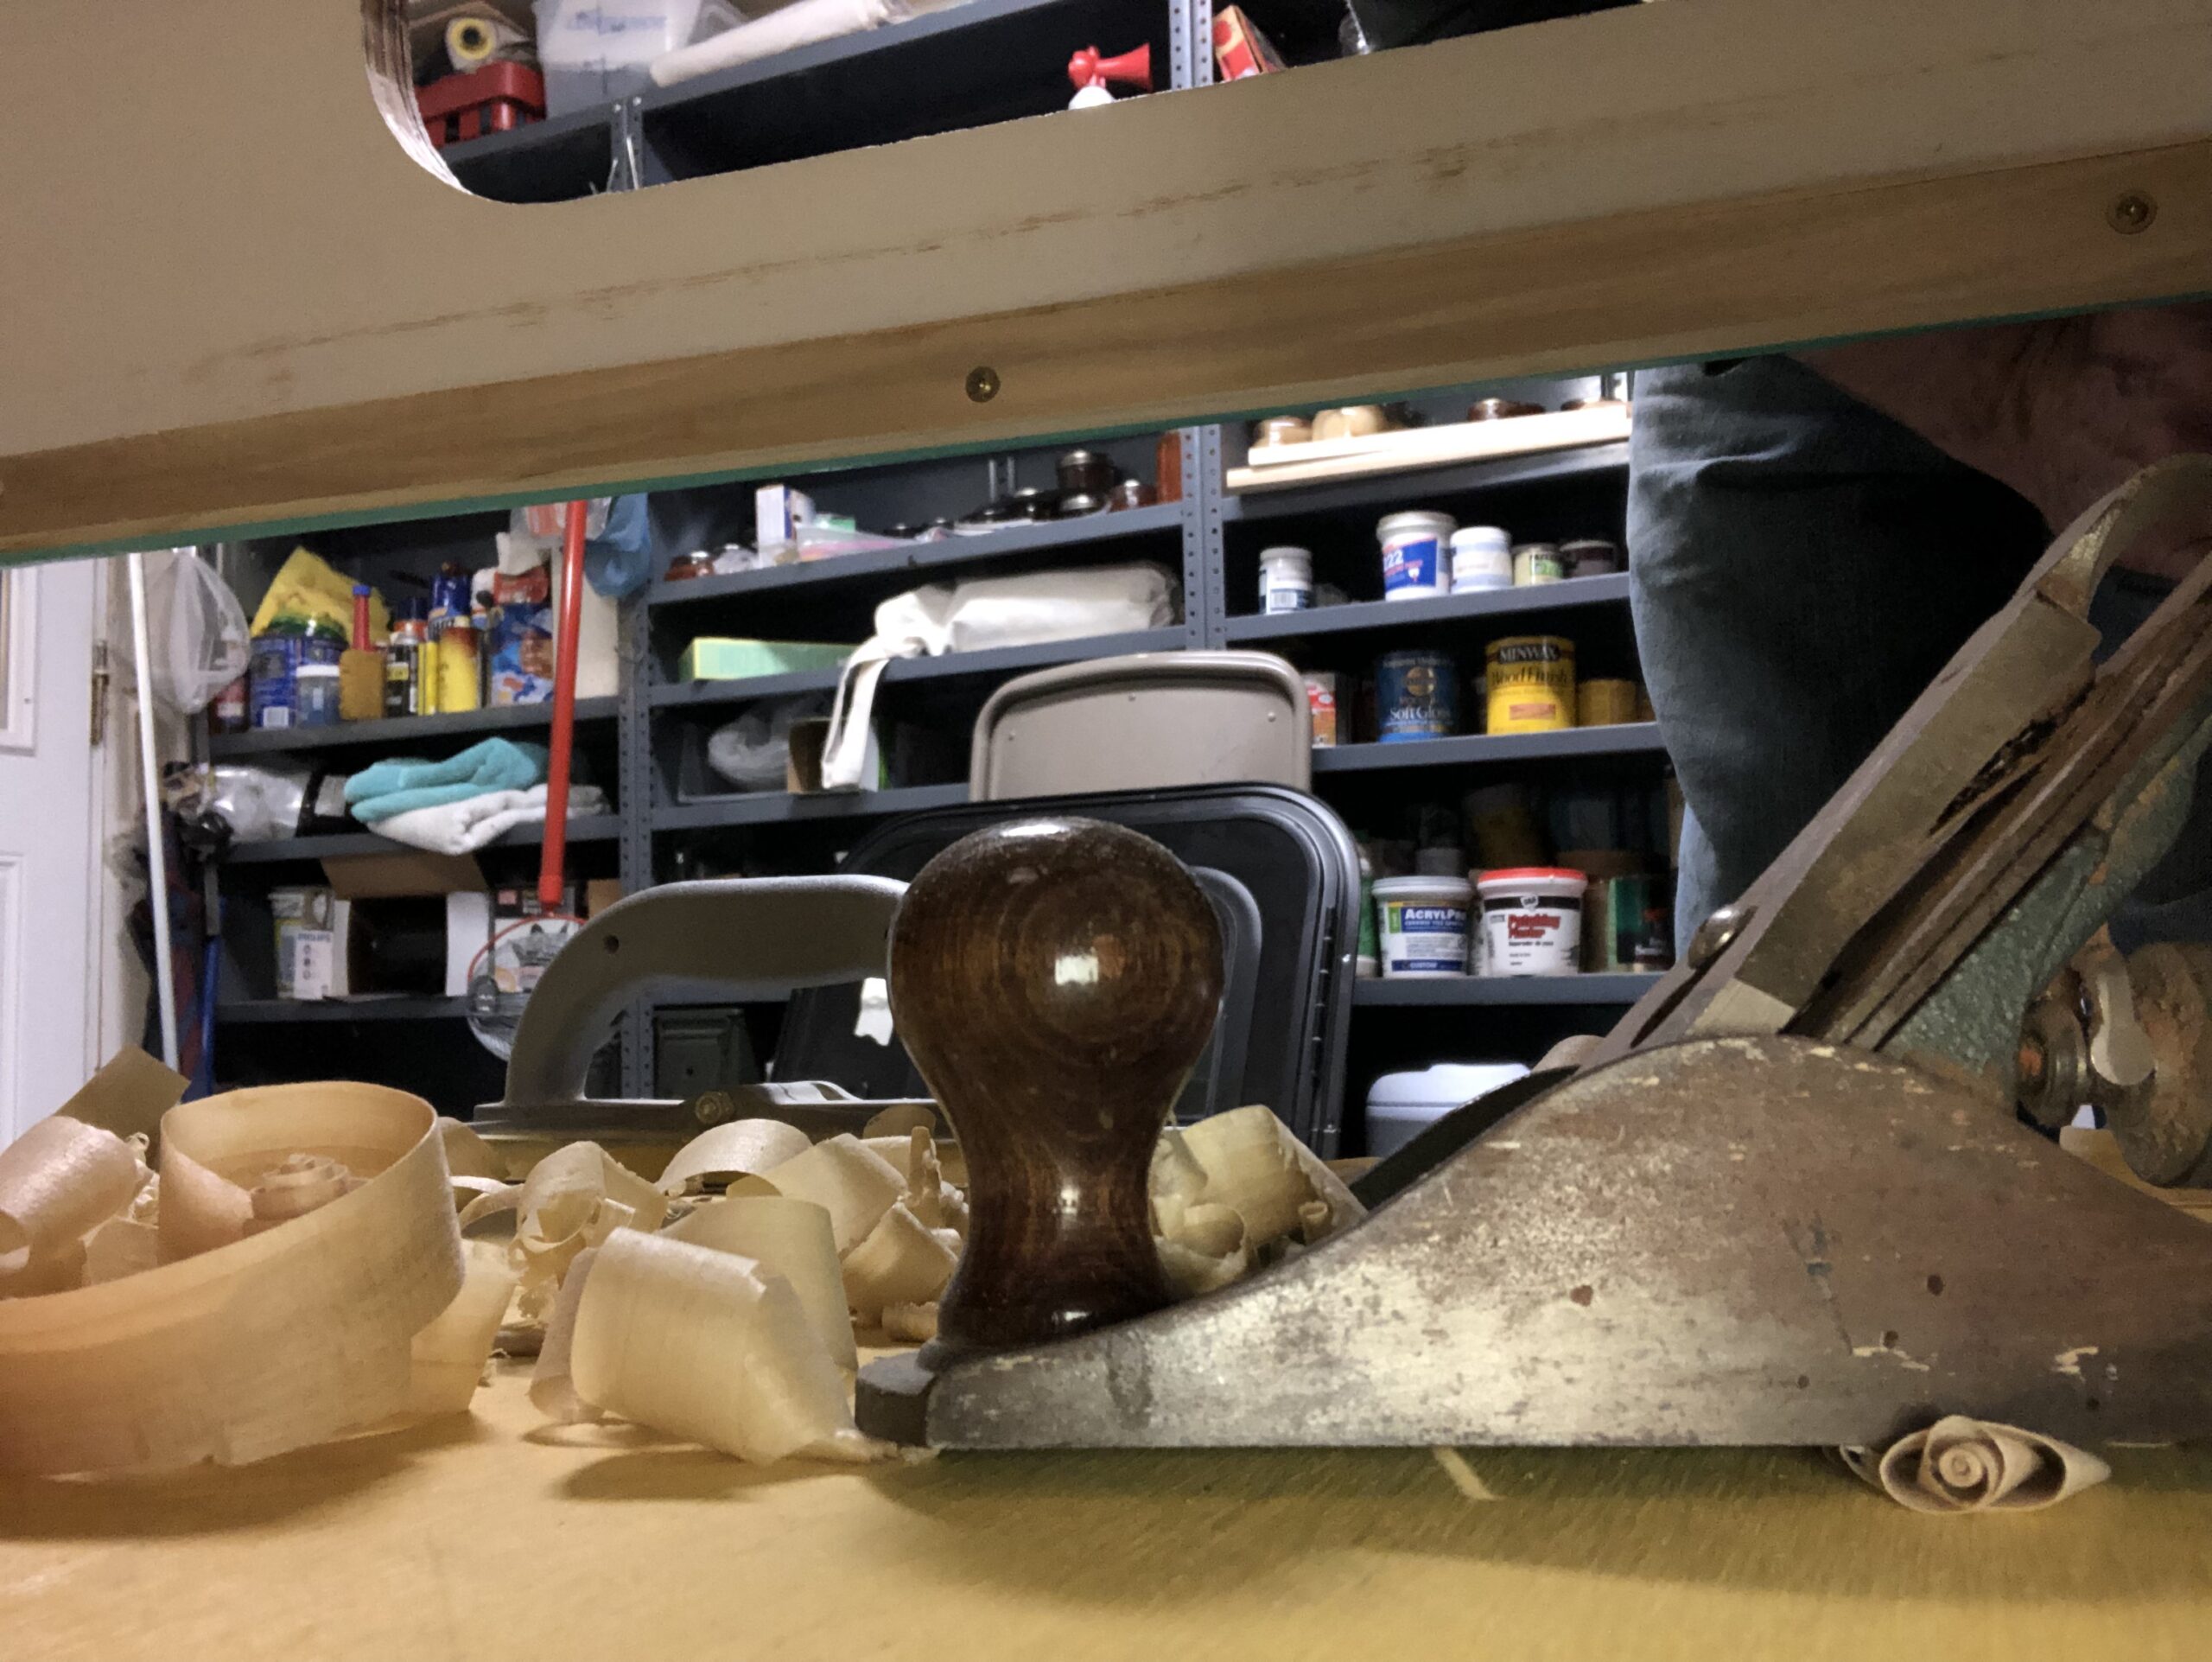
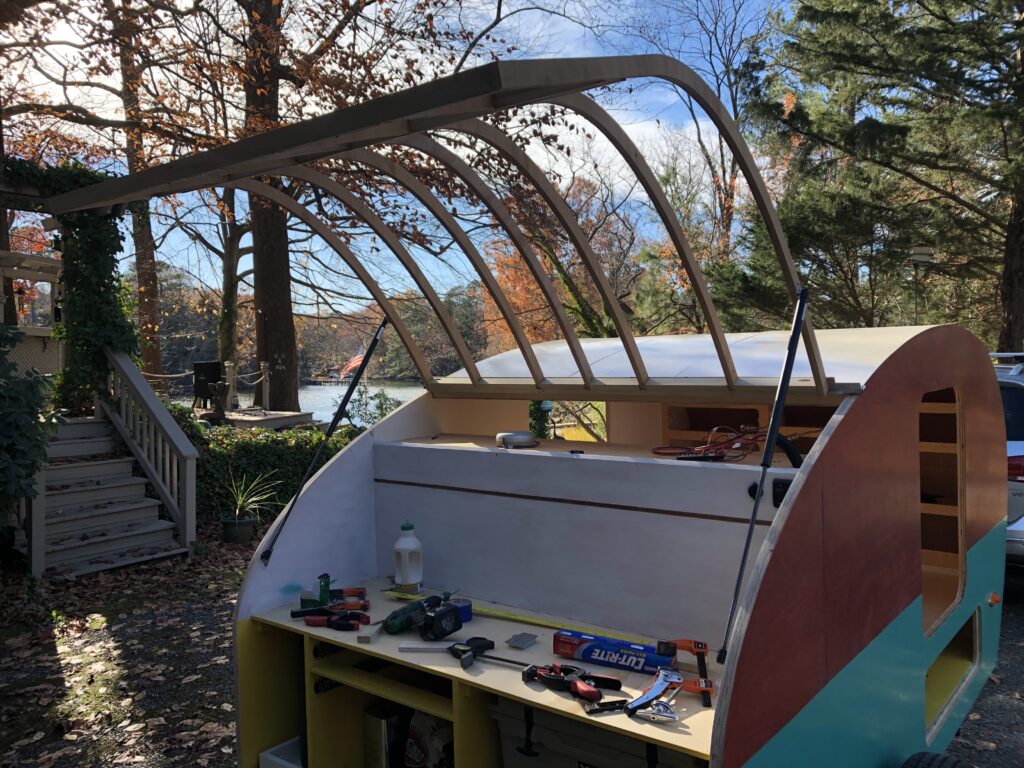
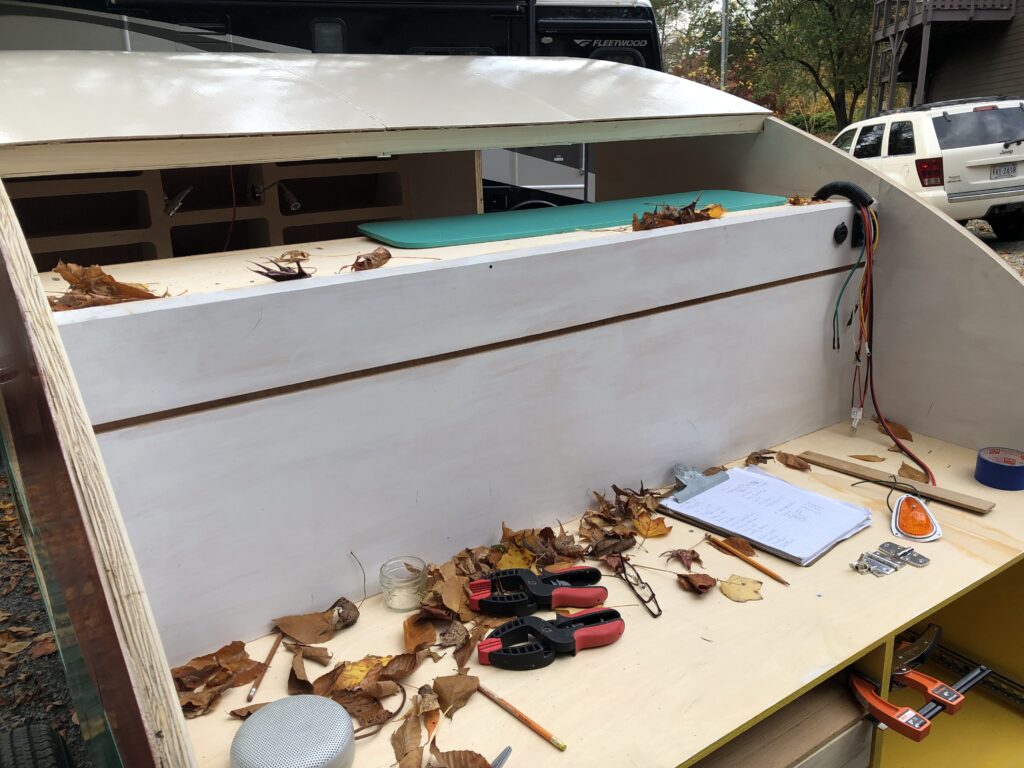
I love how the view2 from the workbench changes depending on the phase of the project.
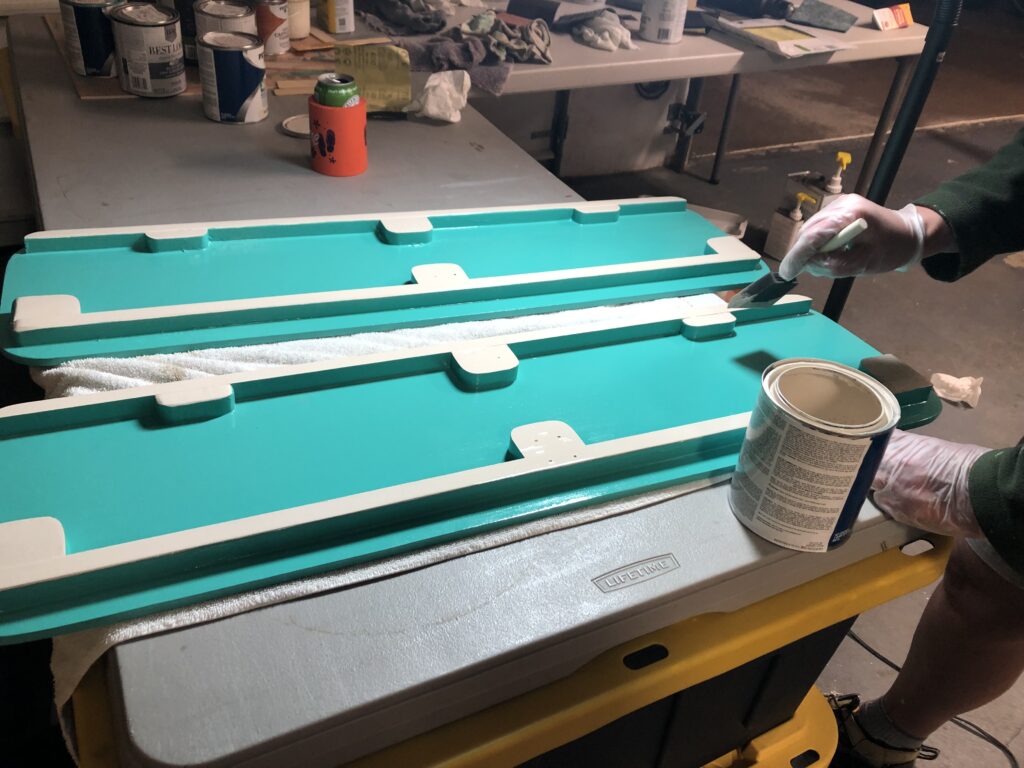
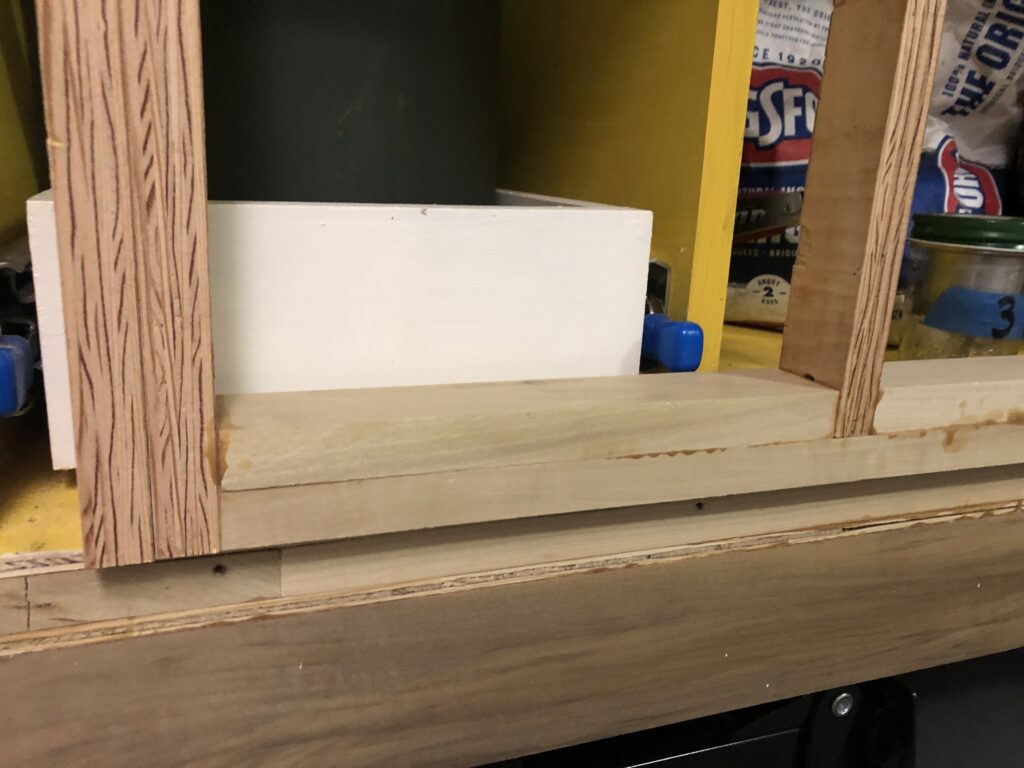
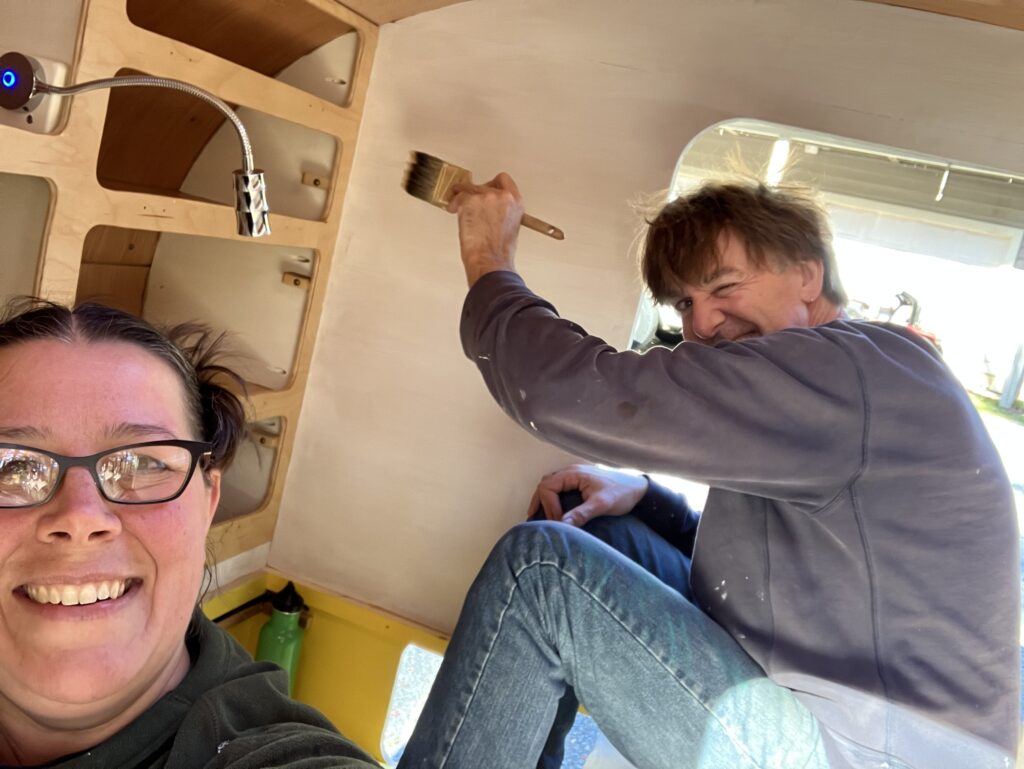
The inside of the galley door has had a few coats of paint and now Kayla is fitting insulation.
Galley painted and dressed for the ball. I just need to screw in that aluminum trim.
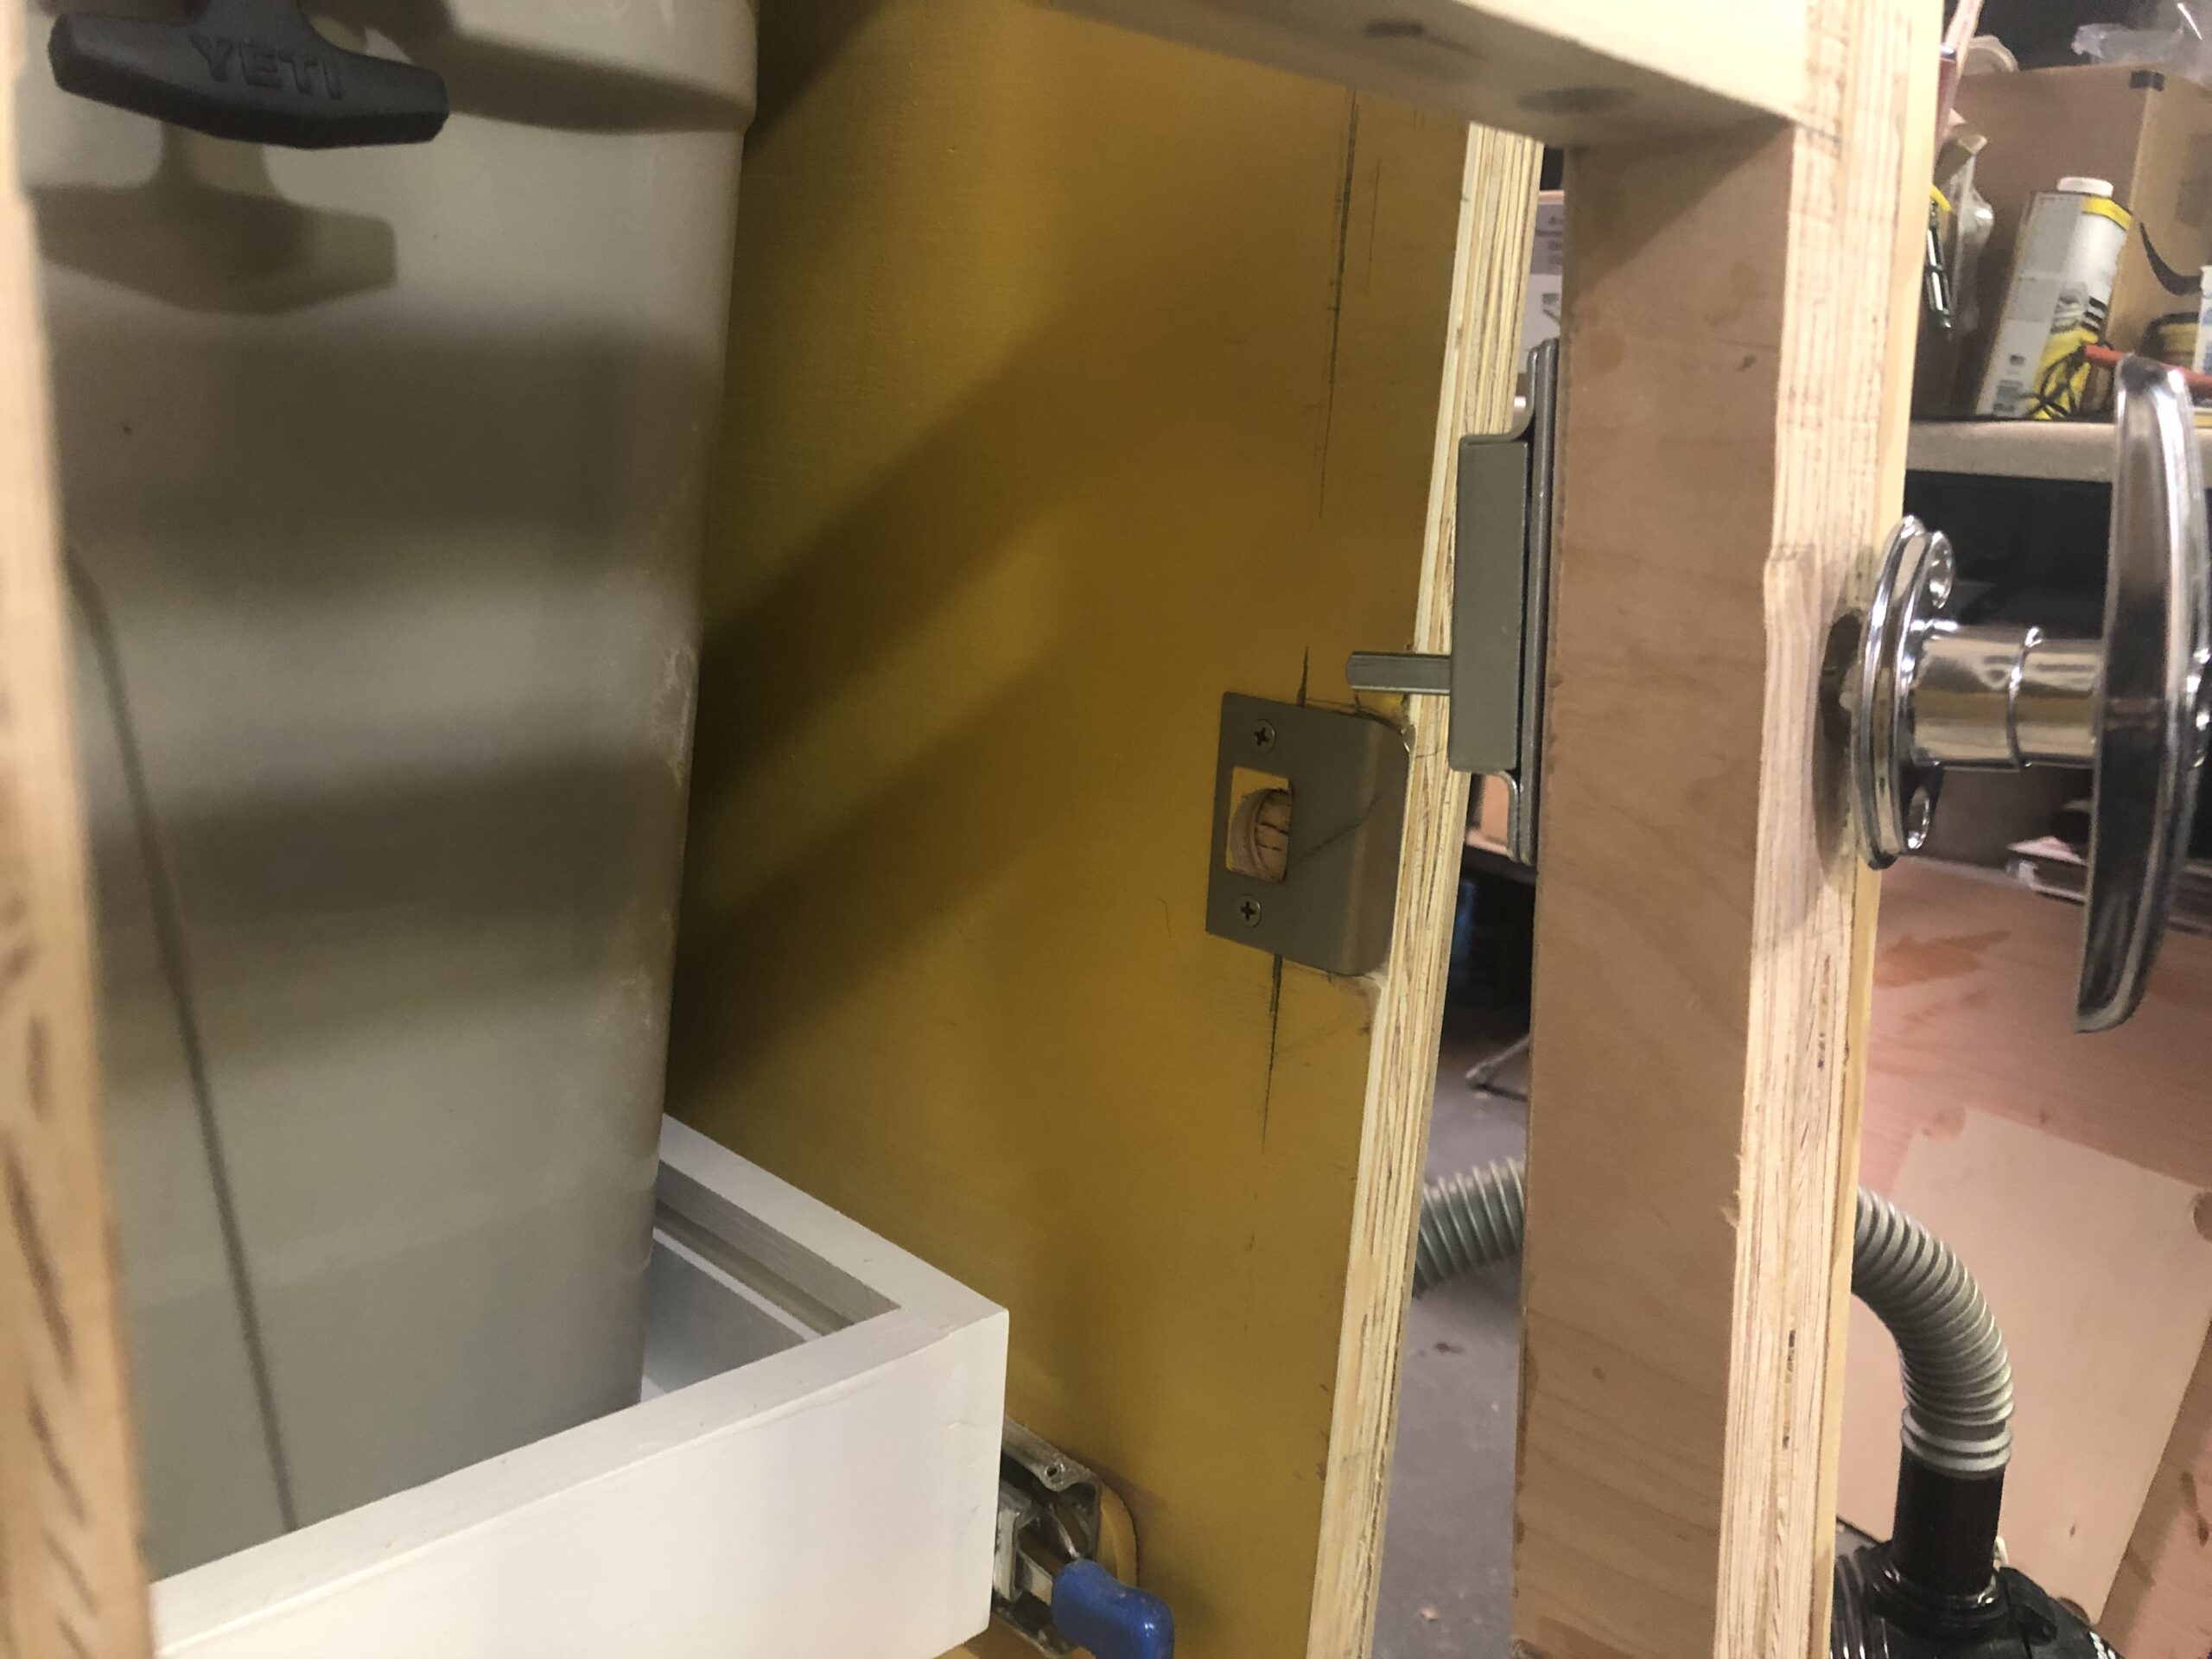
That’s the sound of the hatch clicking into place. It took a day of fiddling to get it all to fall into place, but here’s the door fully dry-fitted.
Once it all was in place, we took the door back off for some more painting. It’ll get fully sealed and wired very soon. I’m pretty amazed at the consistency around the frame. I had to take a video to get it to all fit:
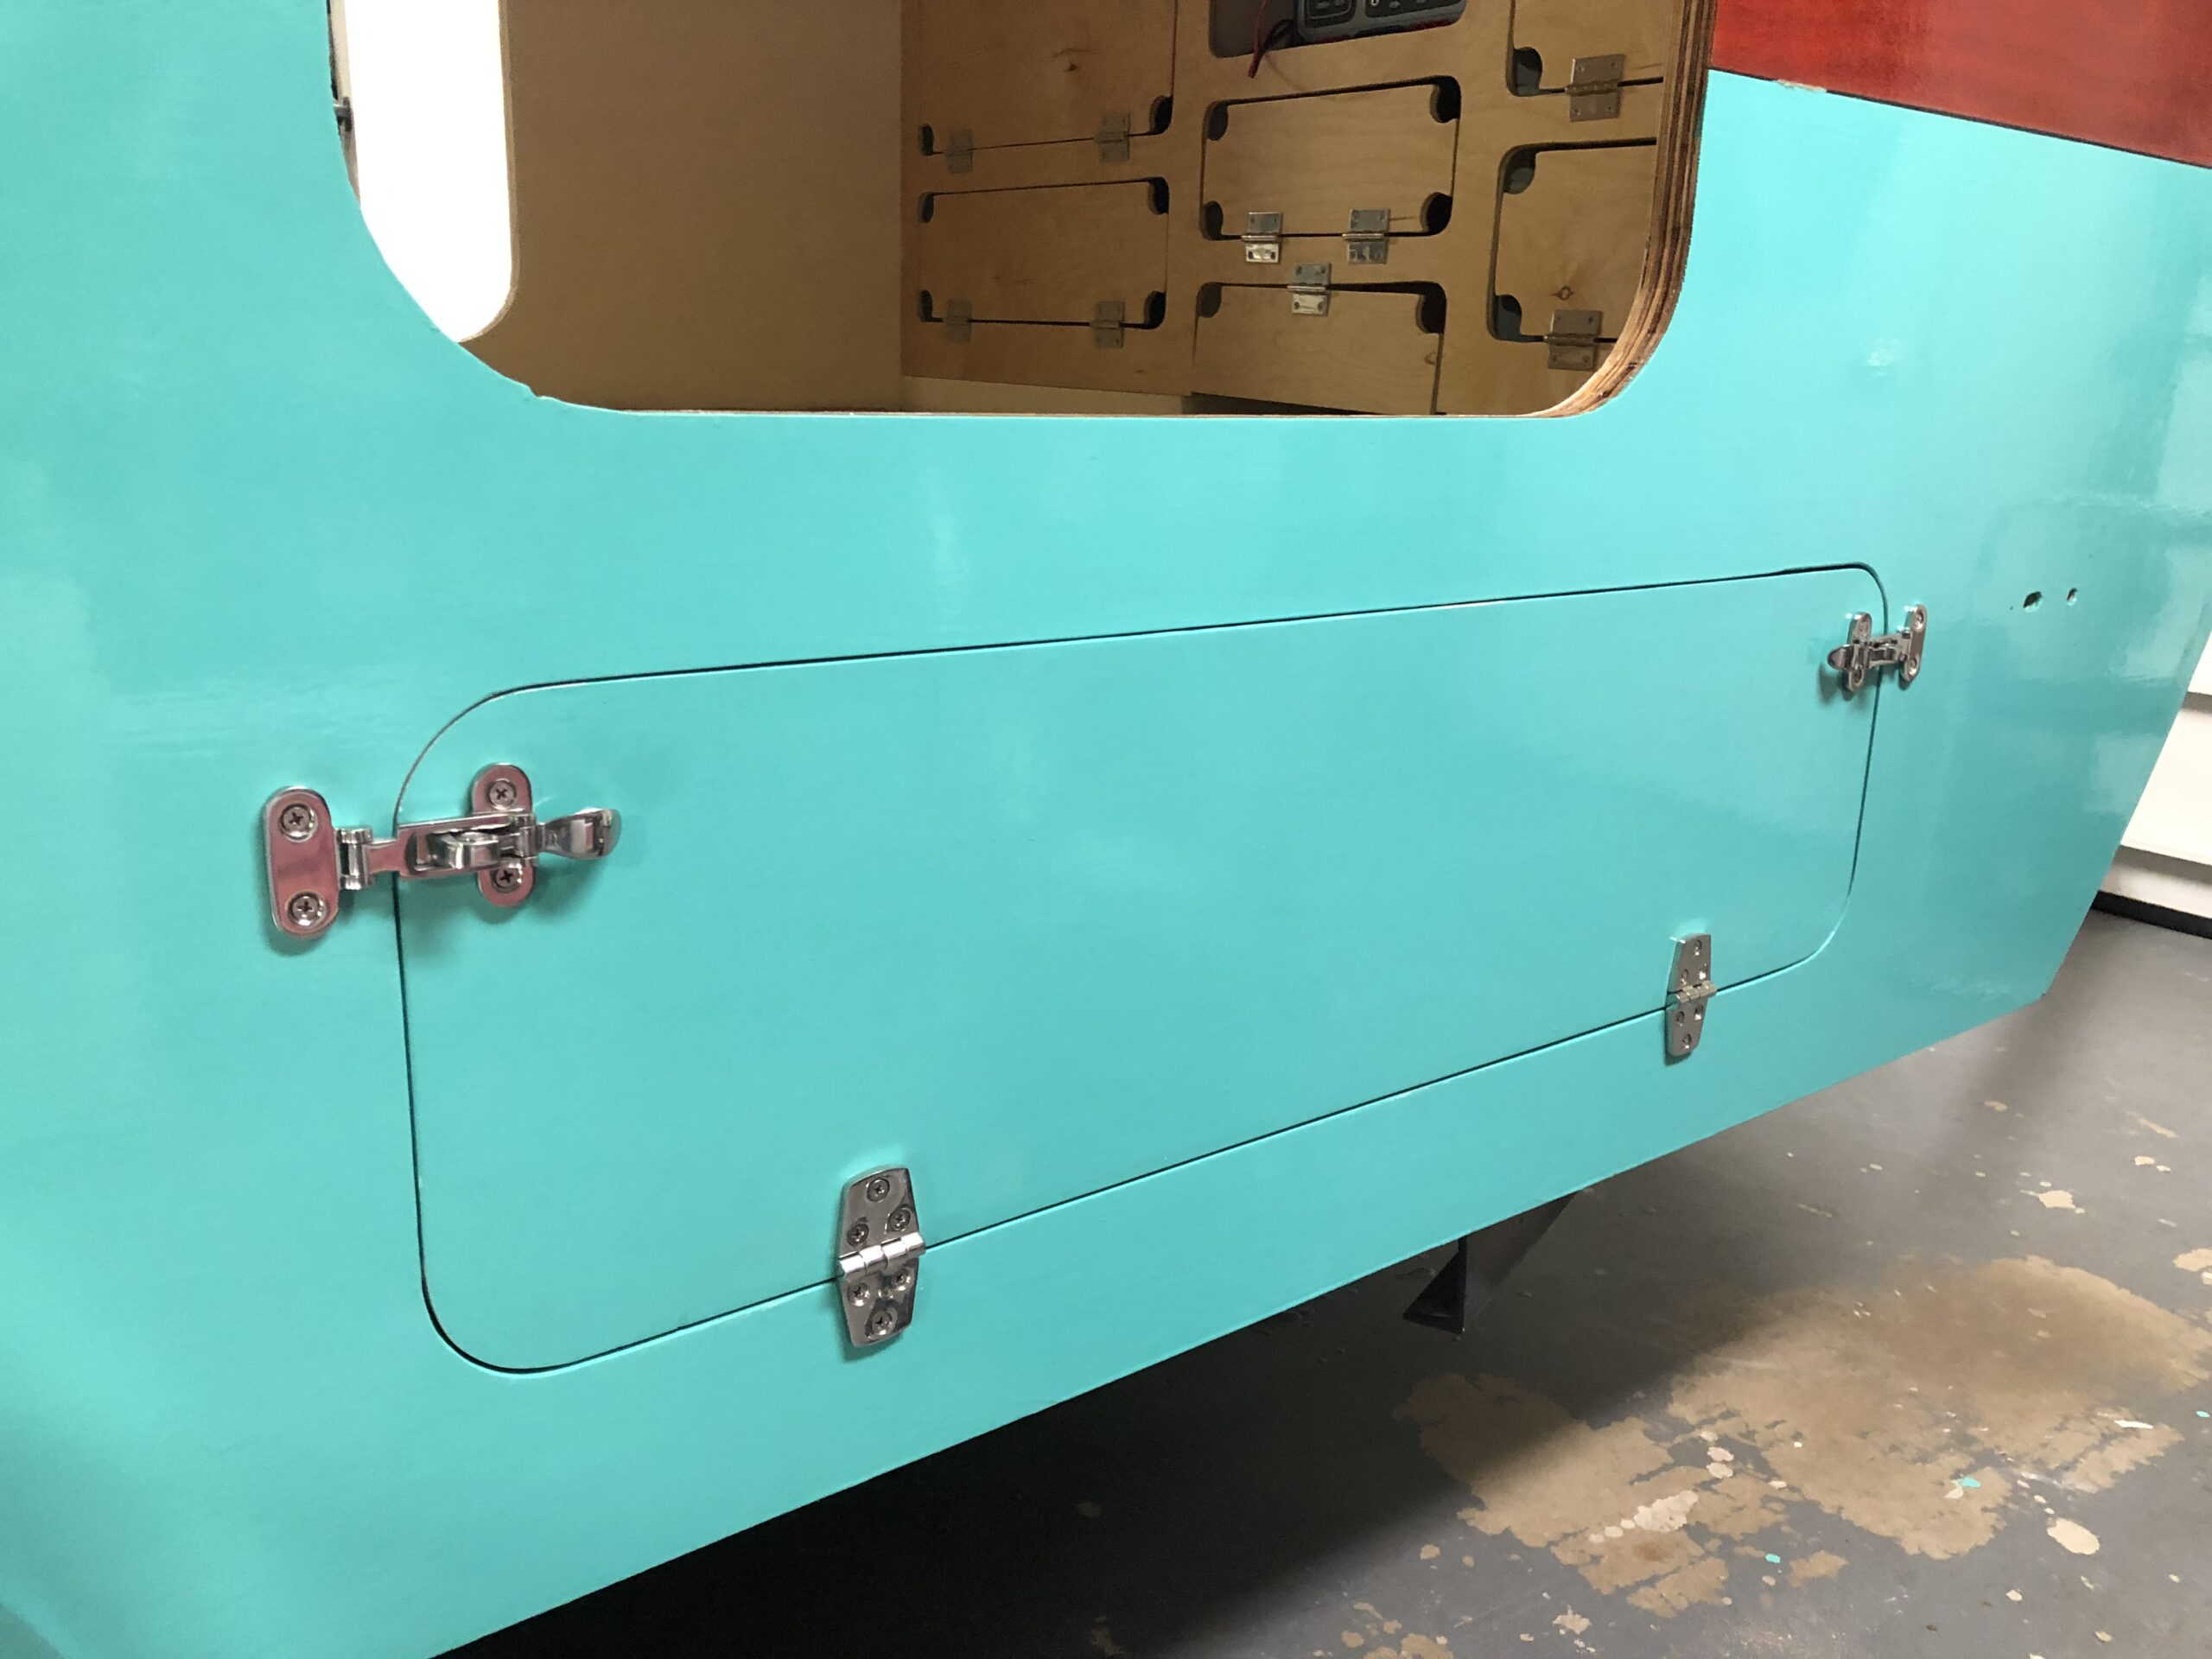
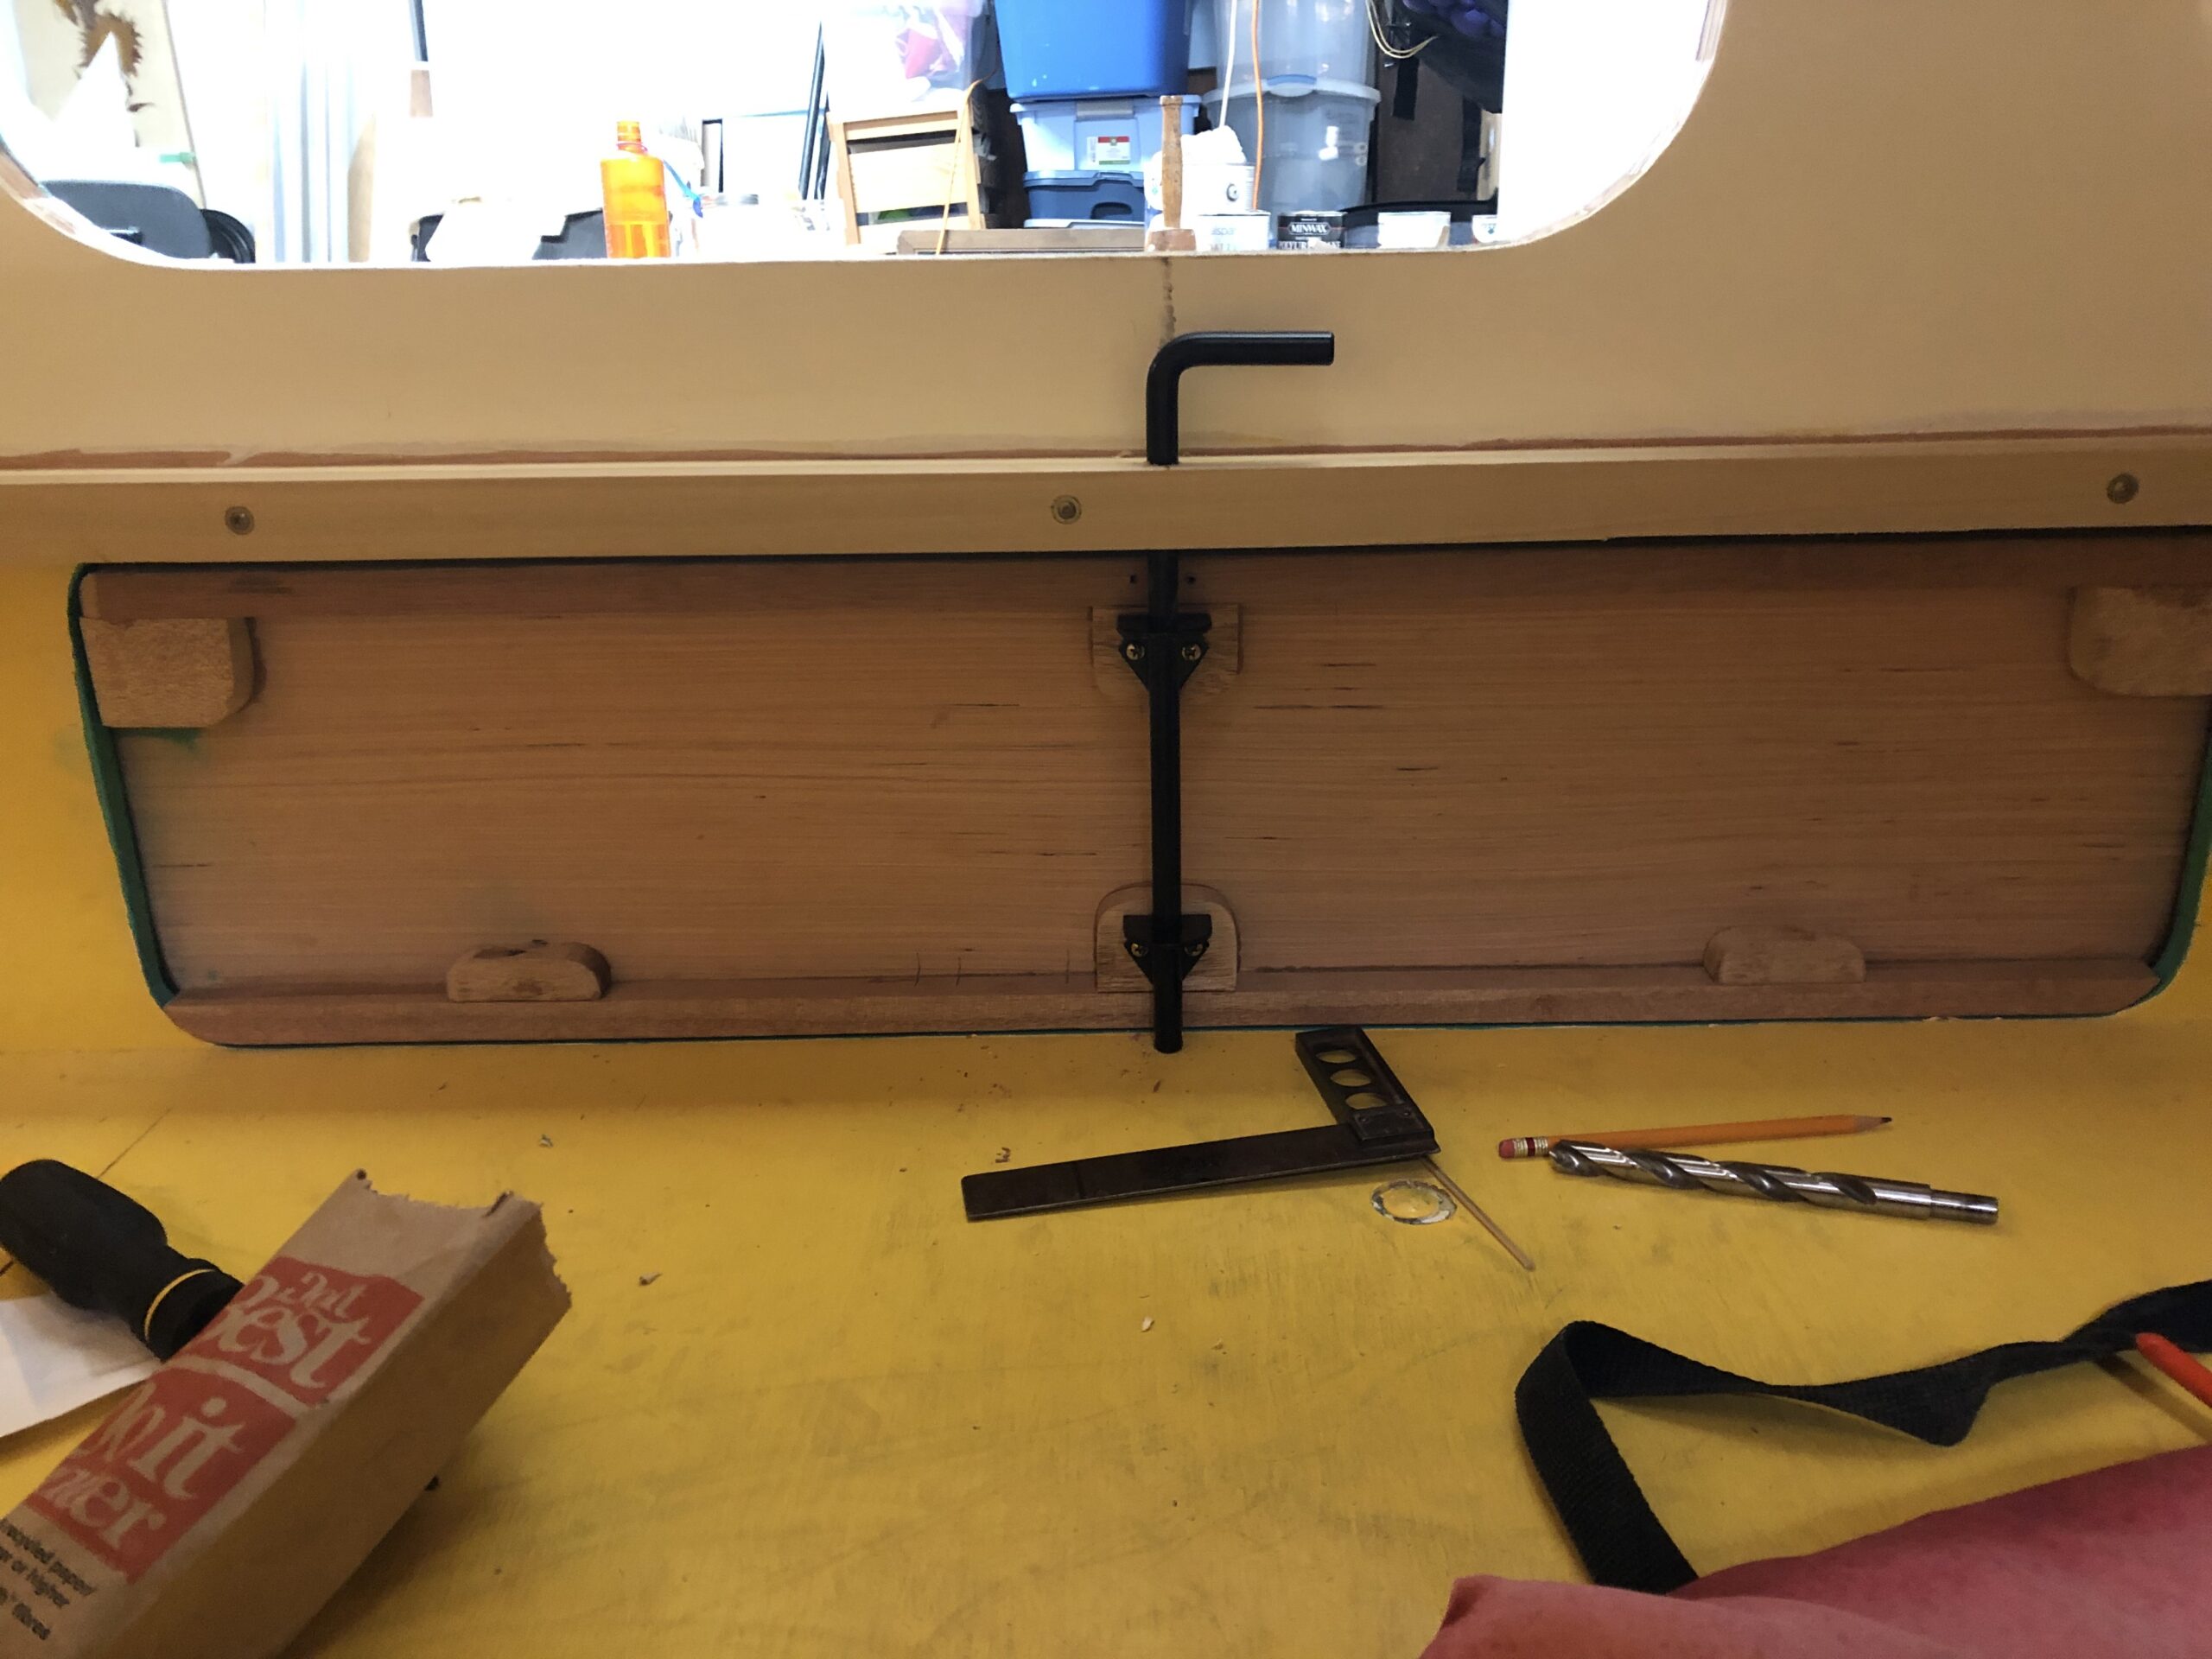
That gap will have a rubber gasket to seal it when all is said and done. The entry and storage doors are also fully installed:
Those tape square are for helping me mount the fender.
A new galley hatch door gets its first coat of paint.
The galley hatch door seems to be coming together. The the big test will be how it fits when installed on the camper, which will be happening soon. Speaking of tests, I’ve been referring to the galley door as my final exam in my teardrop building class. It has been the most challenging build I’ve ever had to do, that’s for sure. Here’s some highlights of the process:
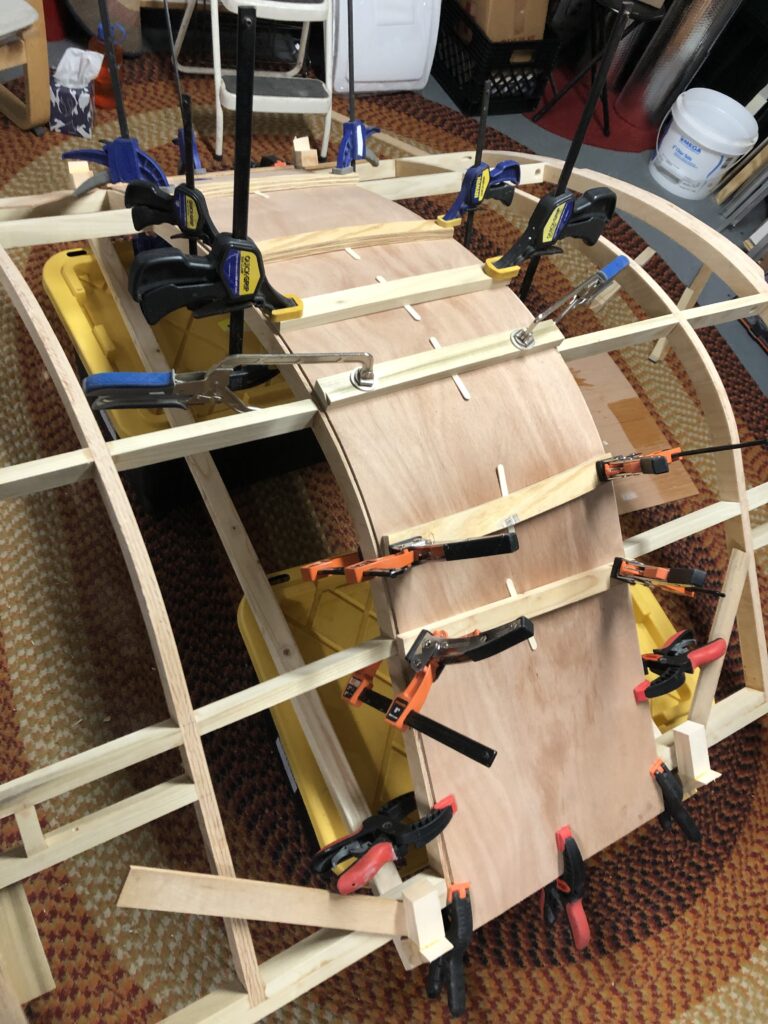
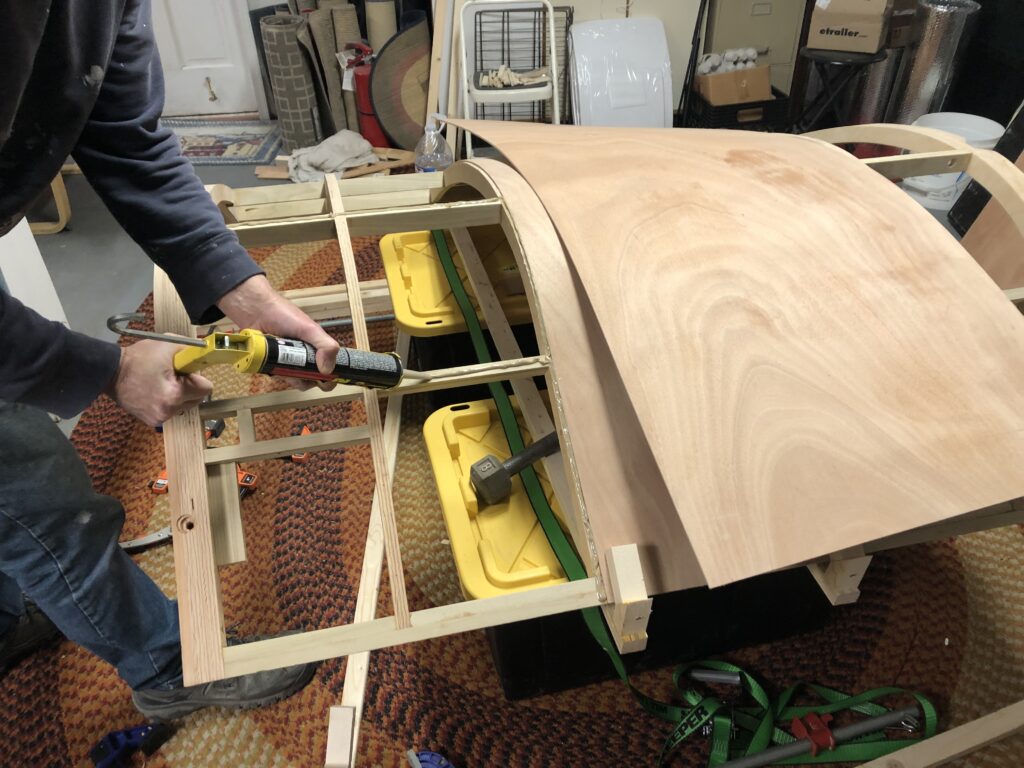
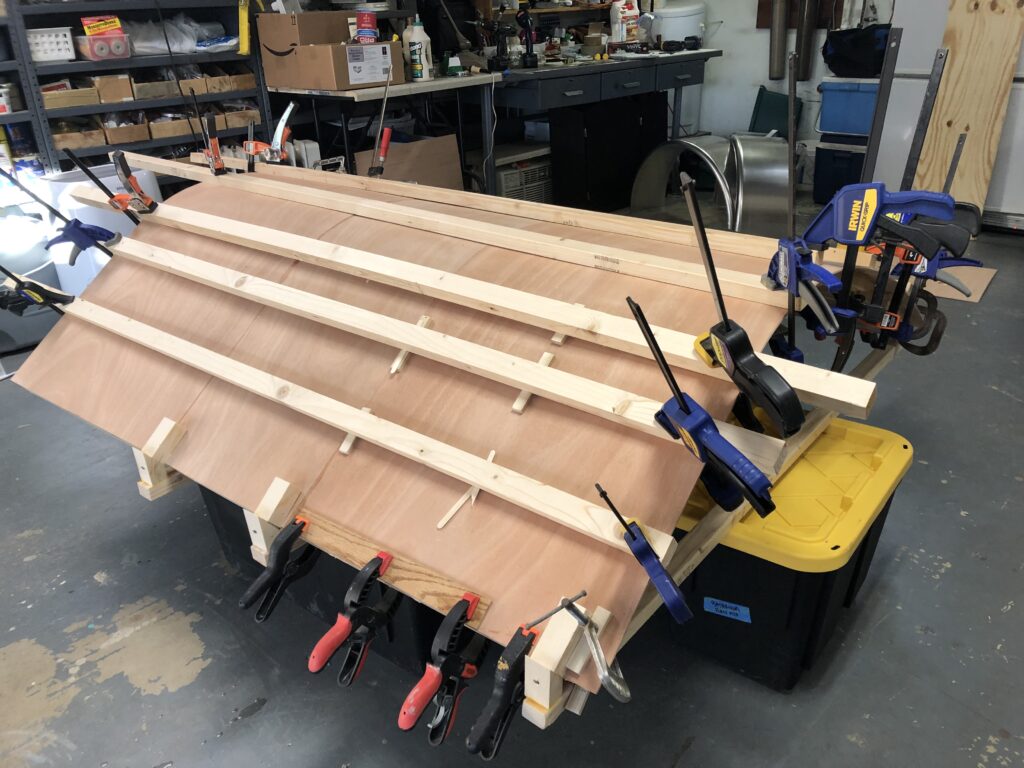
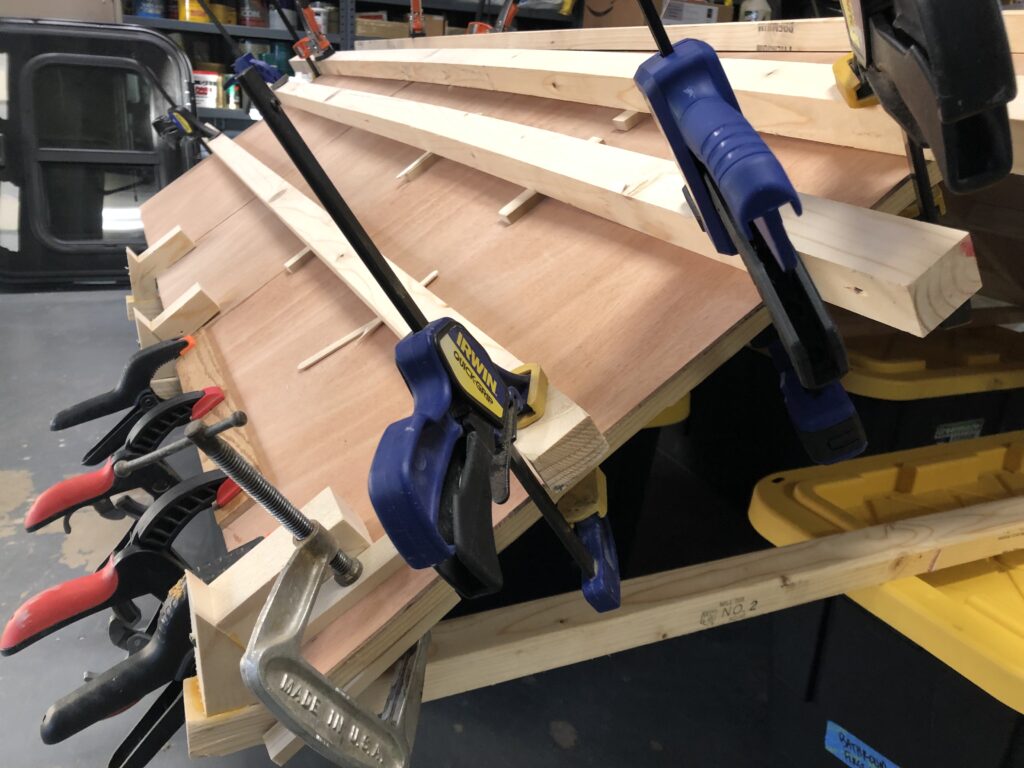
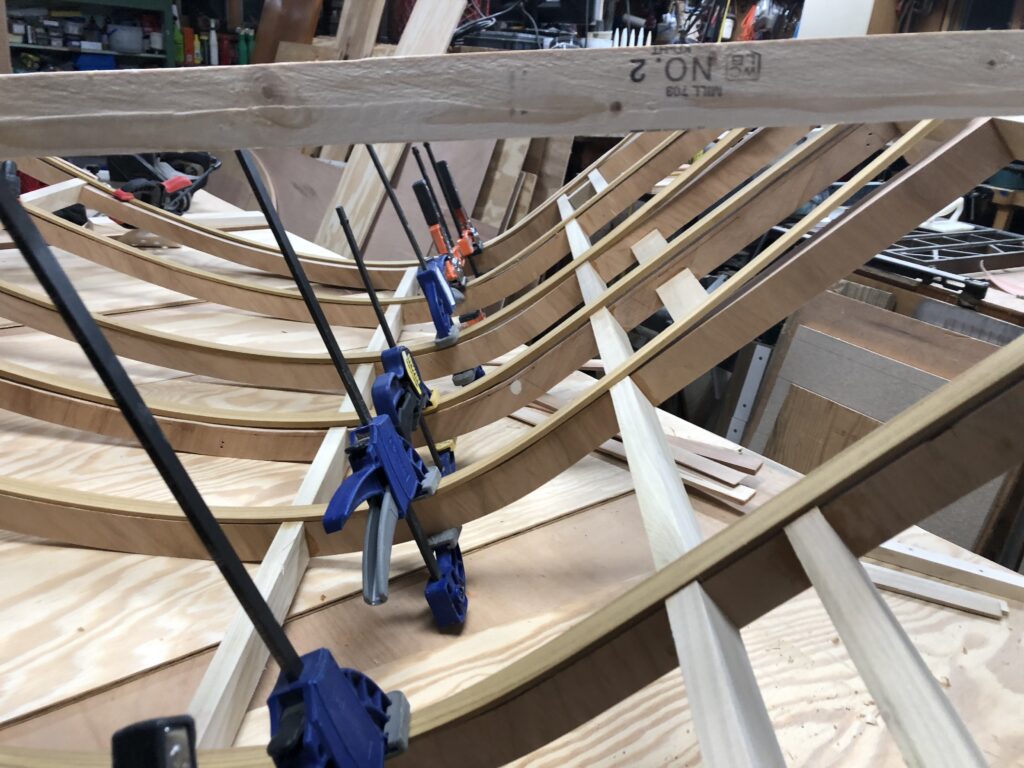
We glued each panel onto the frame separately, allowing us to assure a good fit and use every possible clamp. The center went in first.
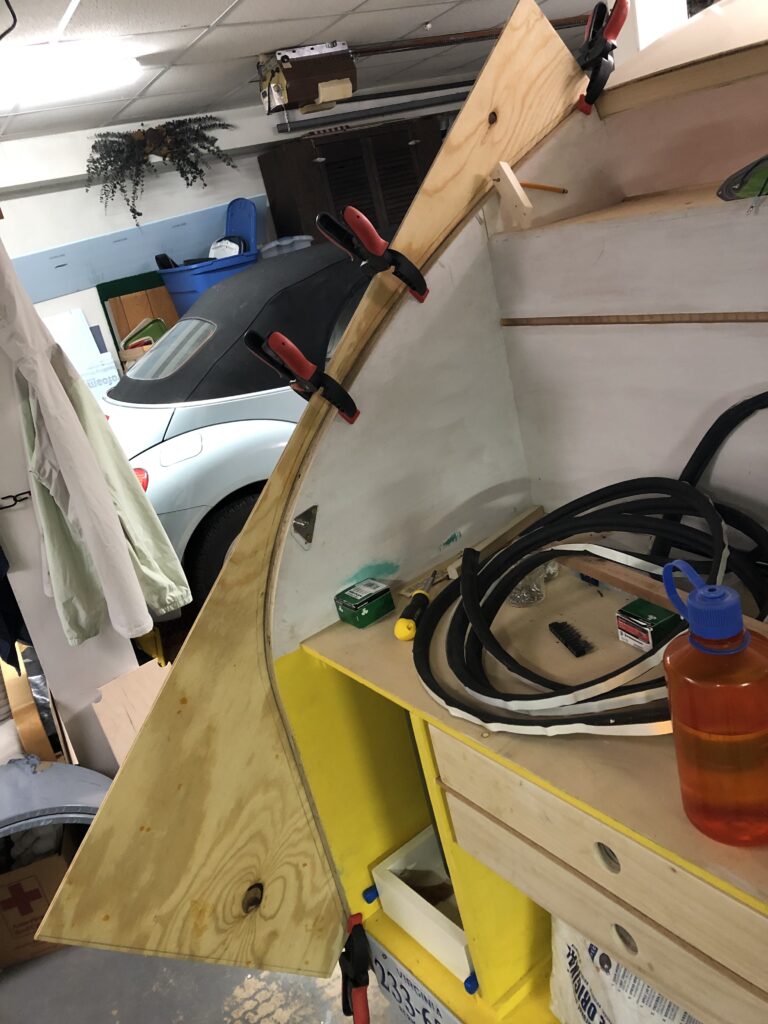
The okoume plywood needs help bending. A wet towel and iron worked best. We heated and bent all the panels to the frame and clamped them overnight, then did another steam heat right before glueing.
Adding good ol’ PL300 to the frame.
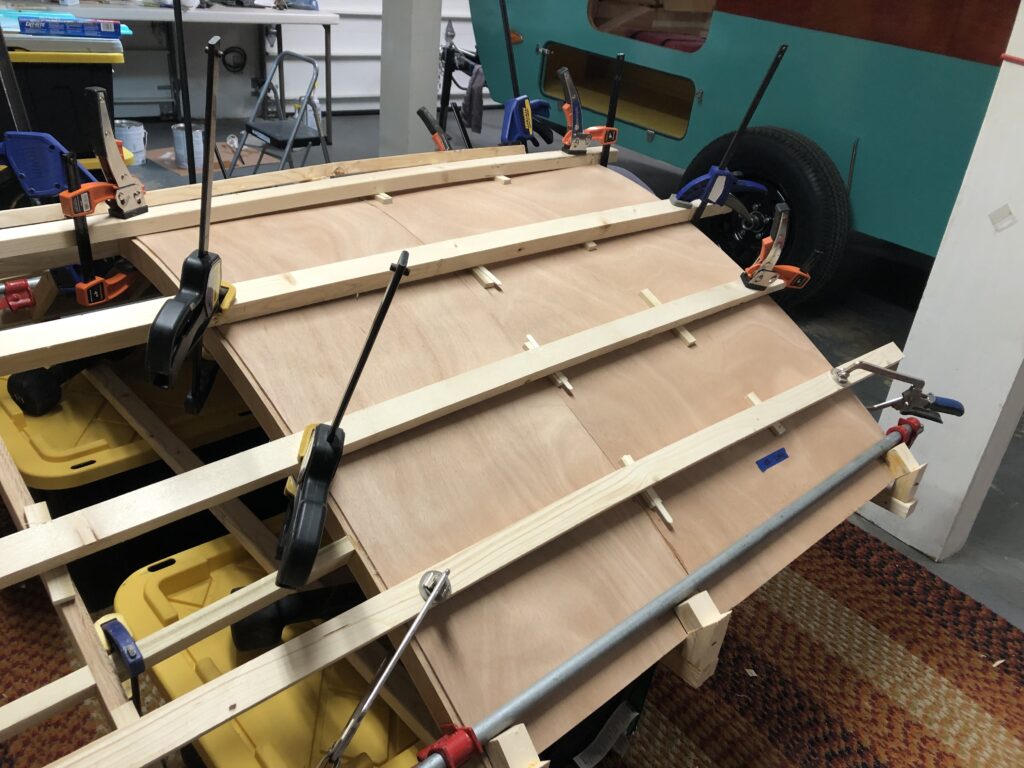
Second panel installed. Lots of wood bits and popsicle sticks helped to get even pressure on the frame.
Third panel installed.
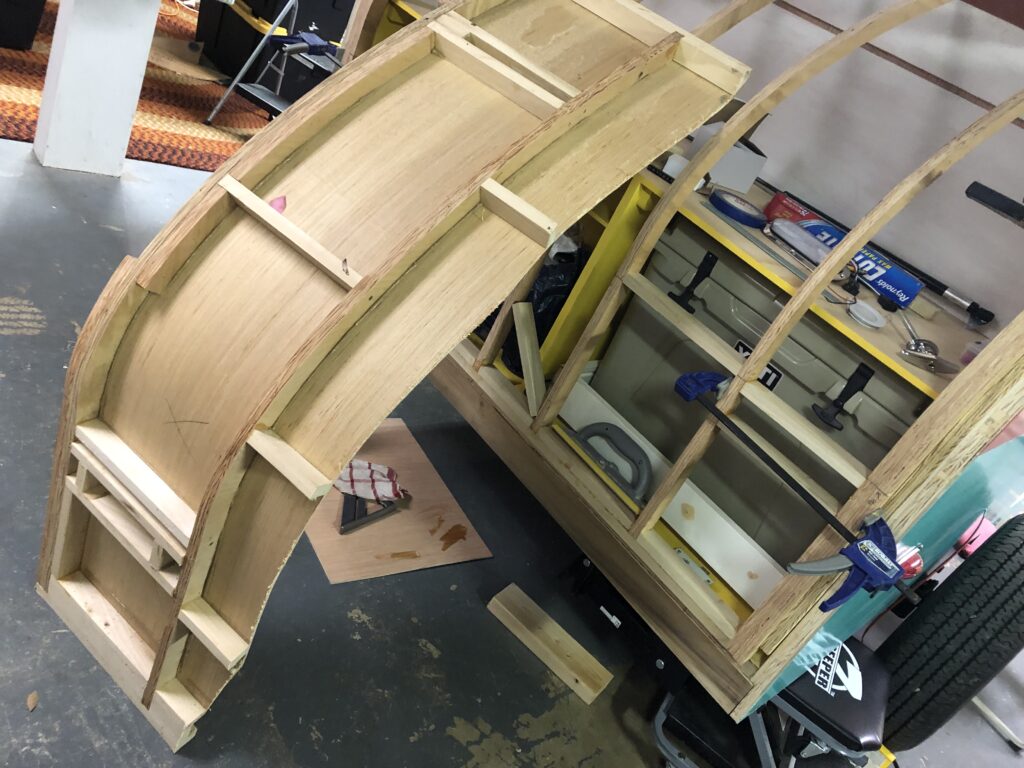
Note the braces that grab the edges of the frame. This is to hold the curve and resist it moving out of shape from the pressure of the panels.
While the galley hatch door is getting painted, we’ll see some big progress with the remainder of the camper. Storage and entry doors will go on today, and the galley shelving should be mostly completed. Stay tuned for an update soon! In the meantime, I’ll leave you with this teaser of the storage hatch doors getting their insides painted…
Not many exciting pictures in this update, but some important steps have been made. There have been a great deal of fiddly bits that have been addressed, mostly around the galley hatch.
Two lockable latches have been installed on the galley hatch. Getting these bad boys to align took both adding and removing wood to get right.
The hatch now closes with a satisfying click.
In a deviation from the original design, I took this bit of edge off the rear. Hopefully this will help in making the tight seal we will need.
Here it is cleaned up. It is emotionally draining to take a fierce router to the side of your beautiful camper, even if it is to take off a 1/4 inch of wood.
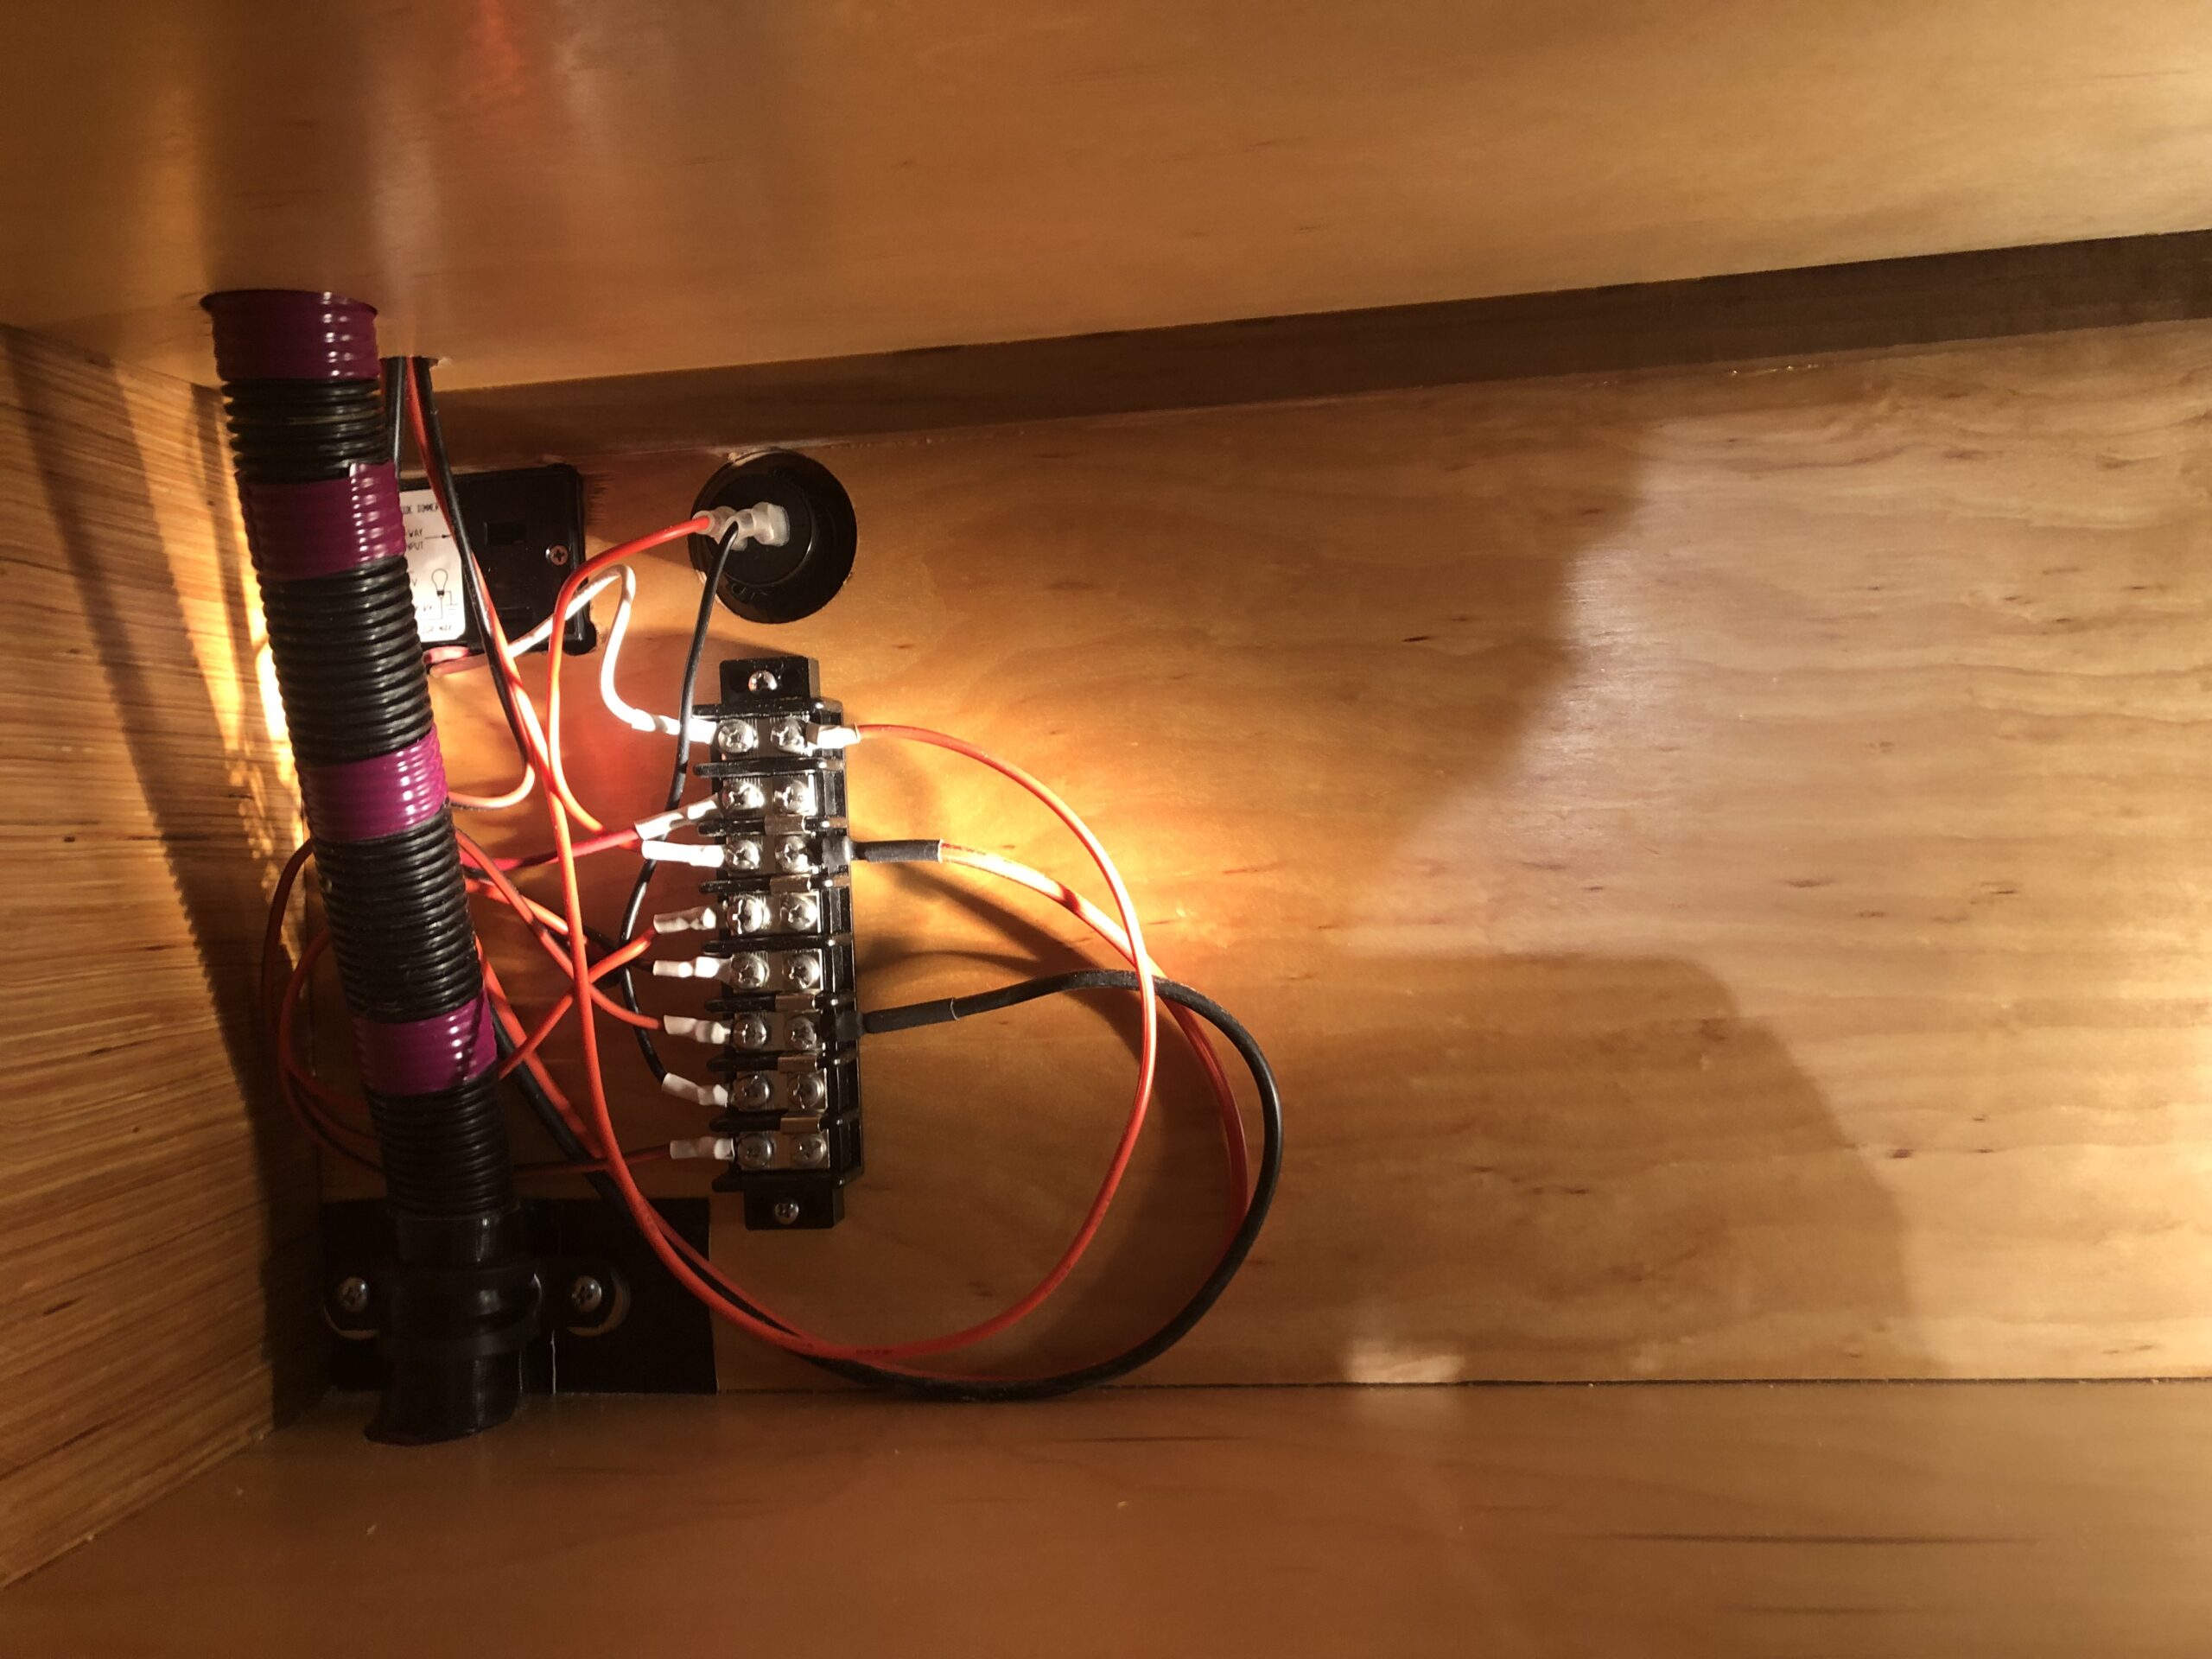
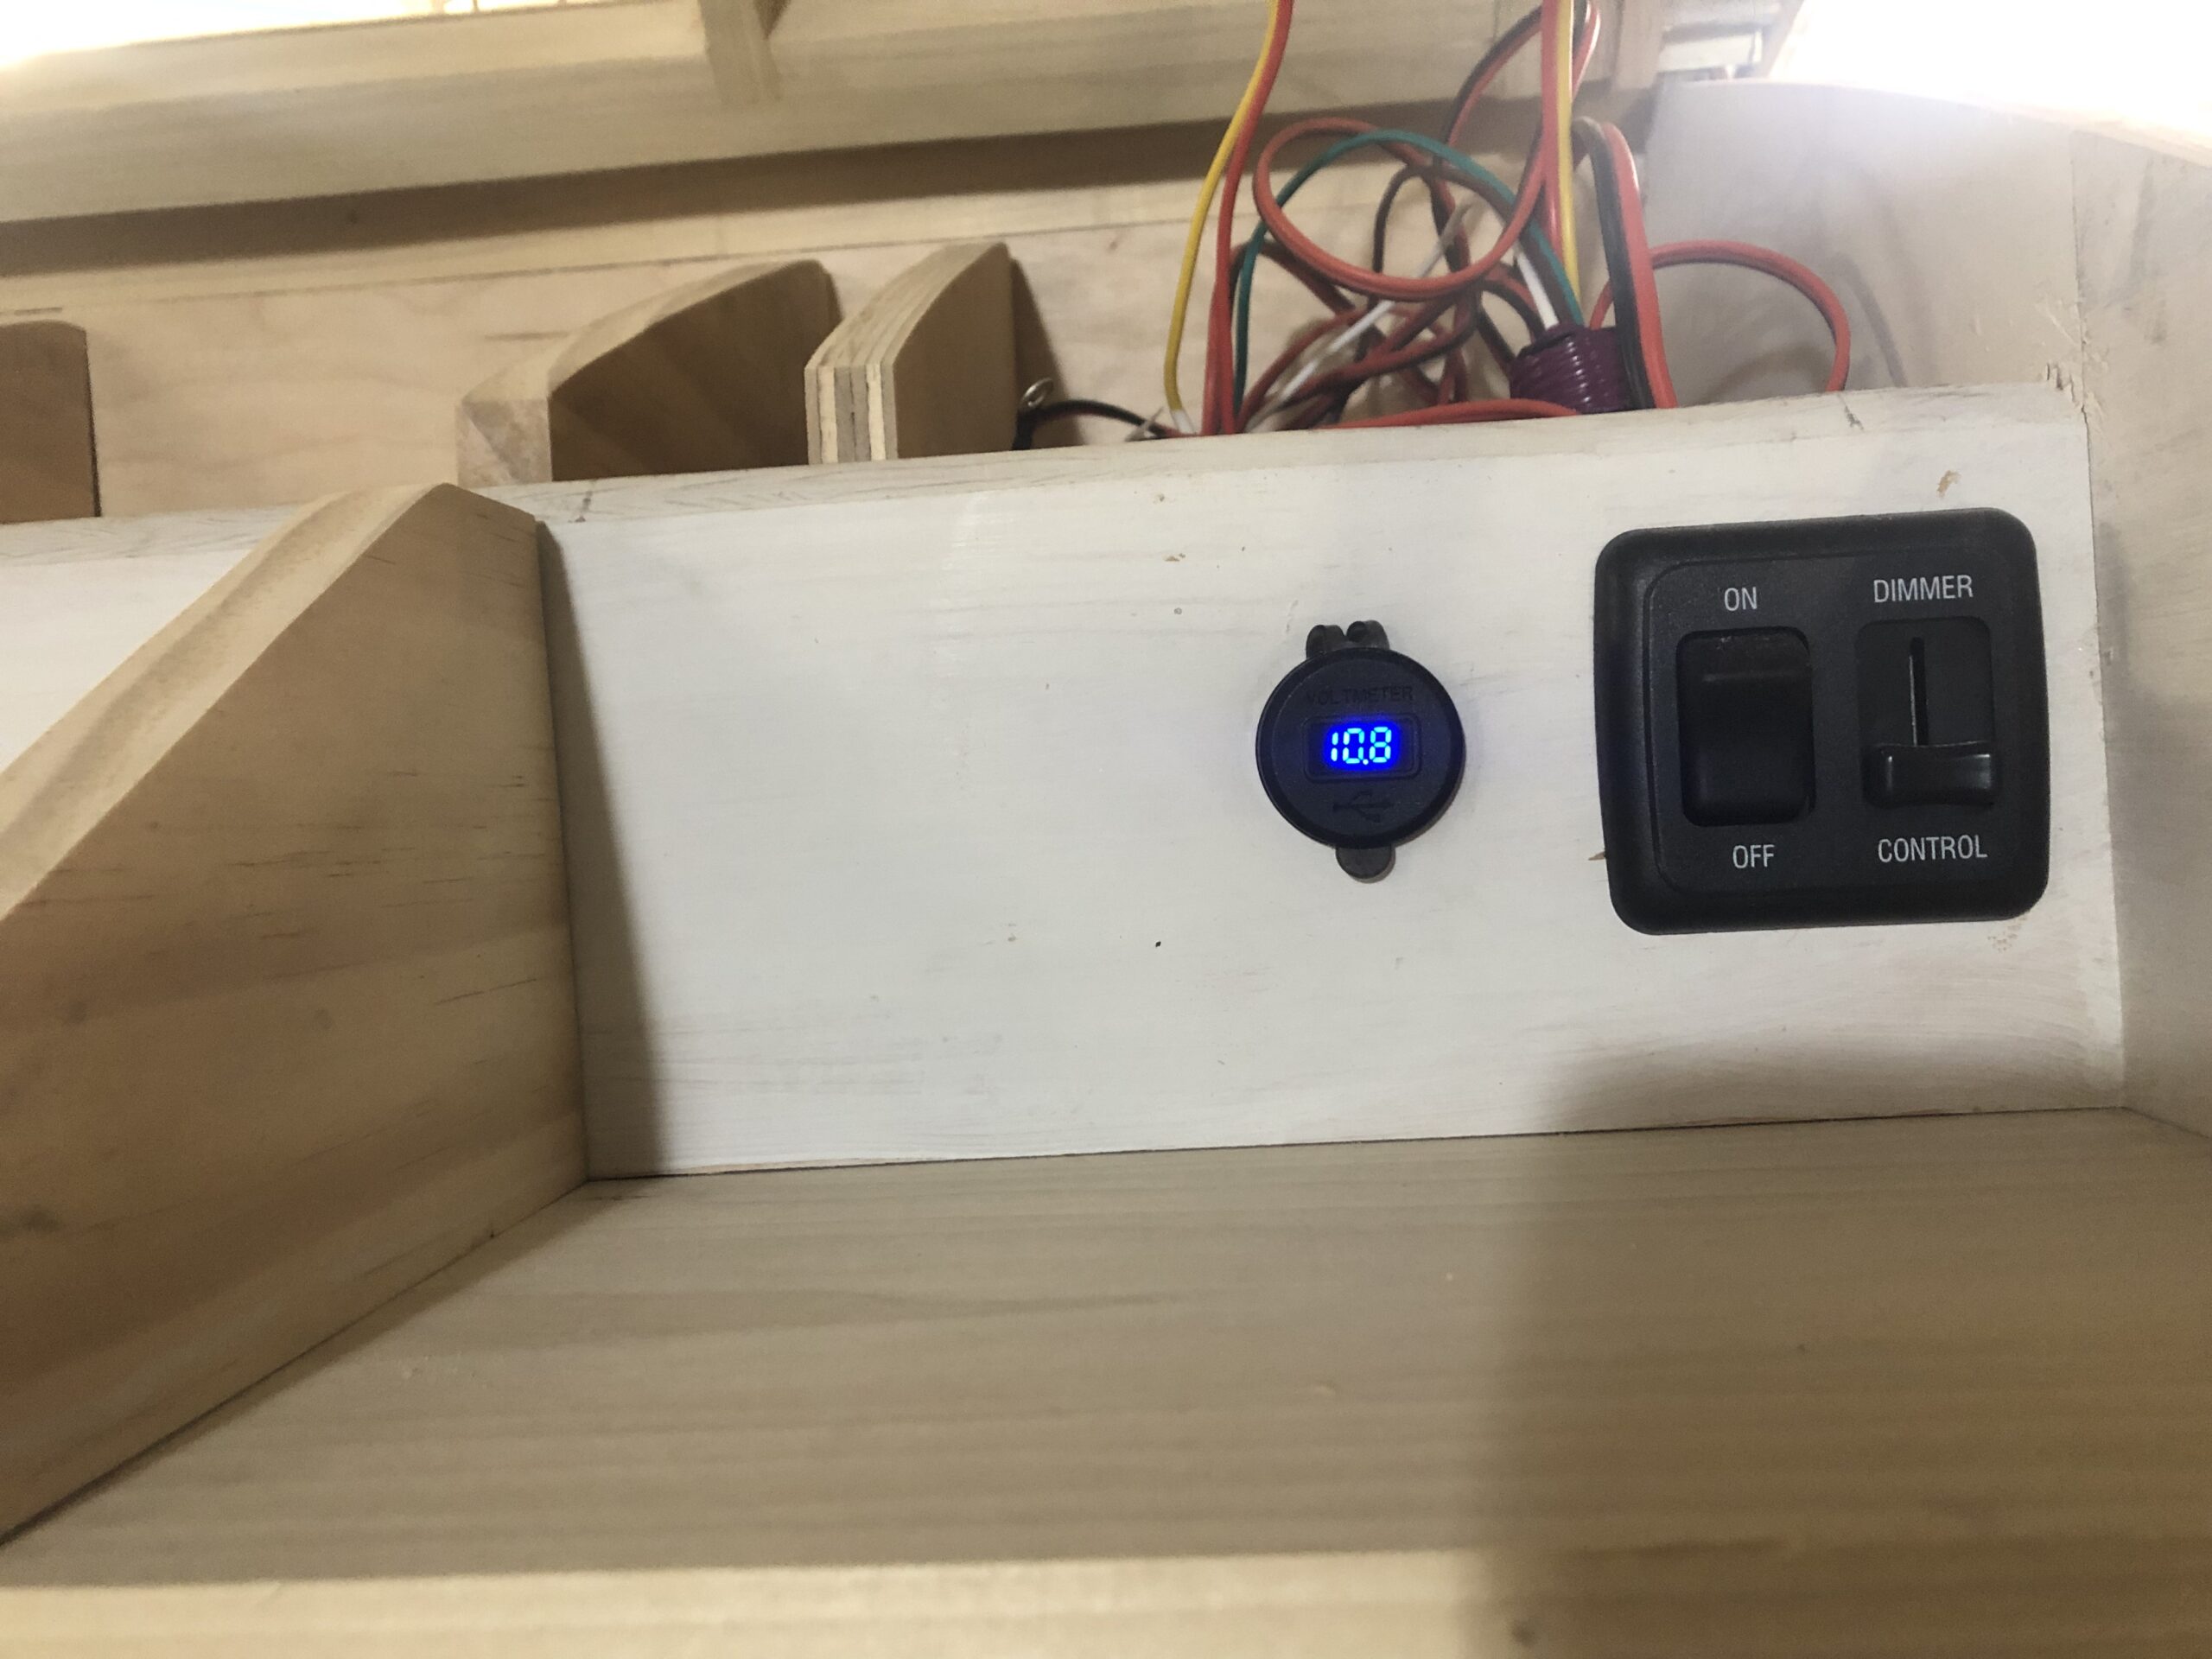
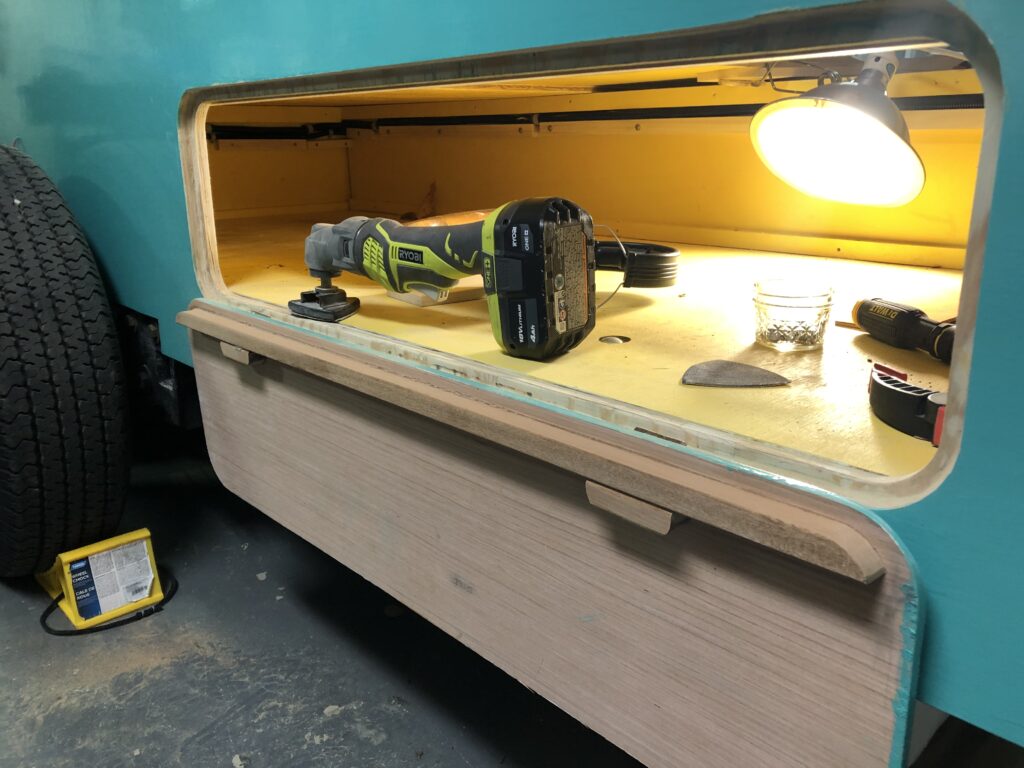
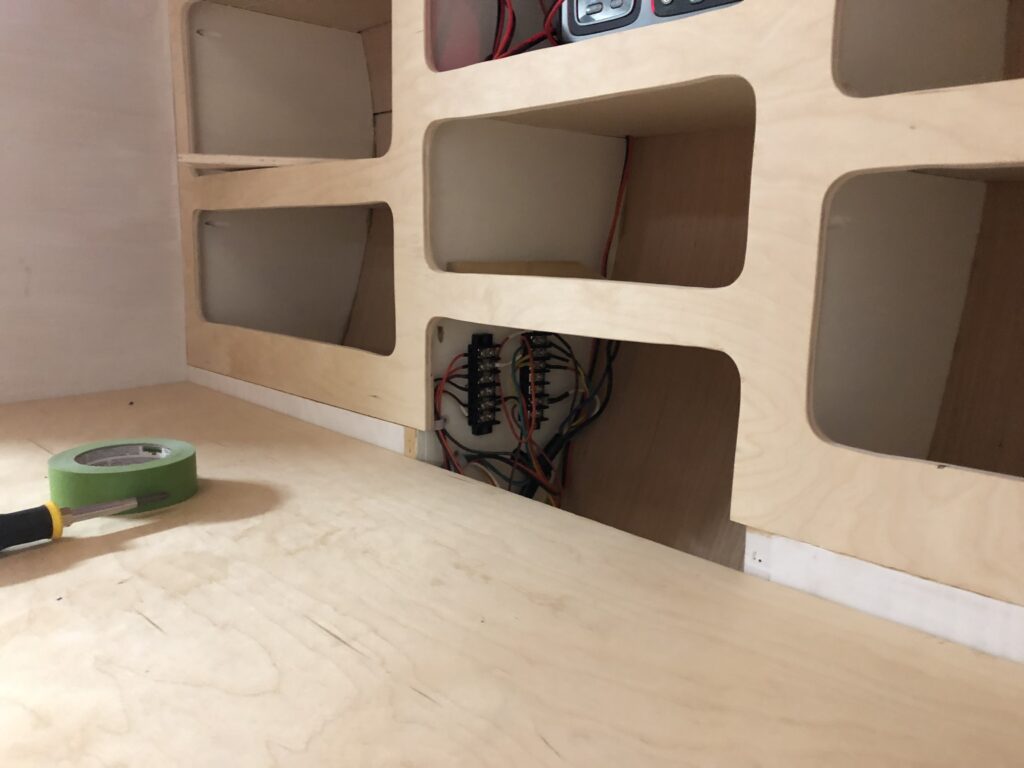
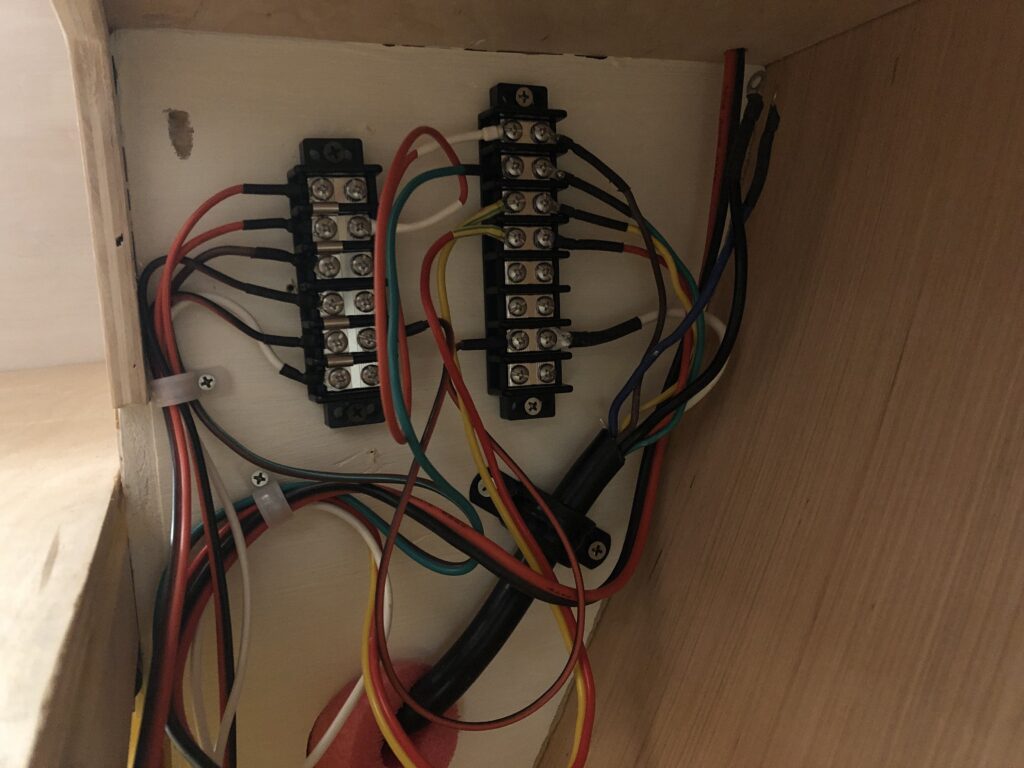
Here’s a shot of the electrical work in the rear of the cabin, inside a cabinet. This is powering a USB hub as well as a dimmer switch for the galley lights.
The USB and galley light switch from the outside. That tangle of wires above will be the final bit of electrical work.
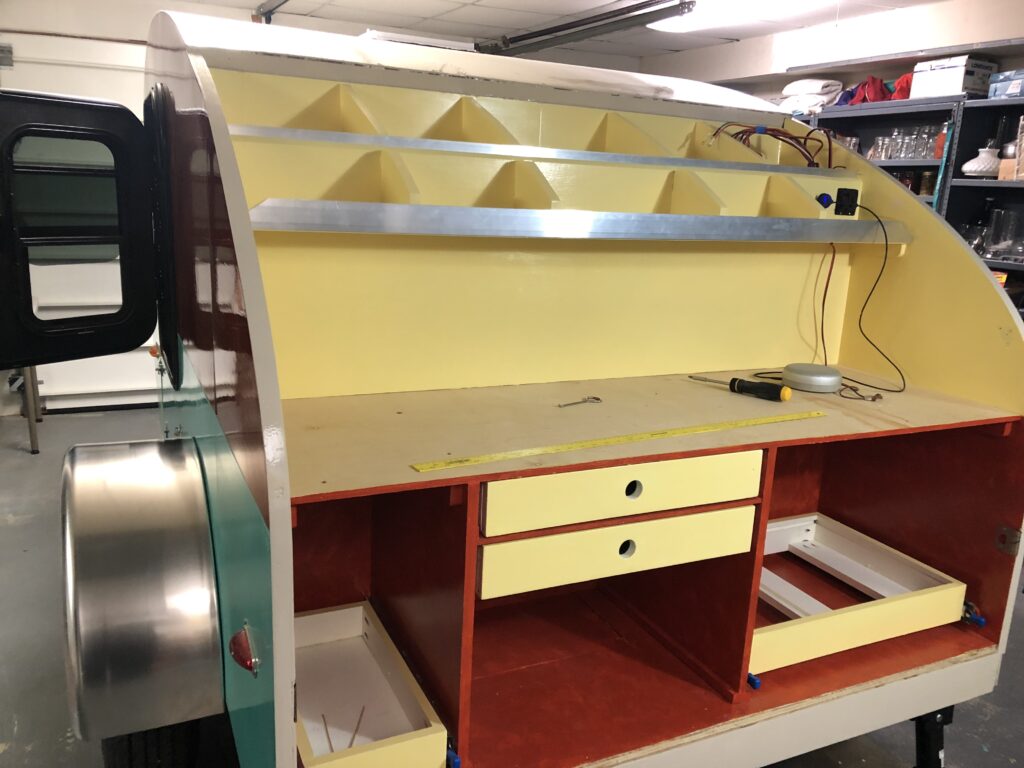
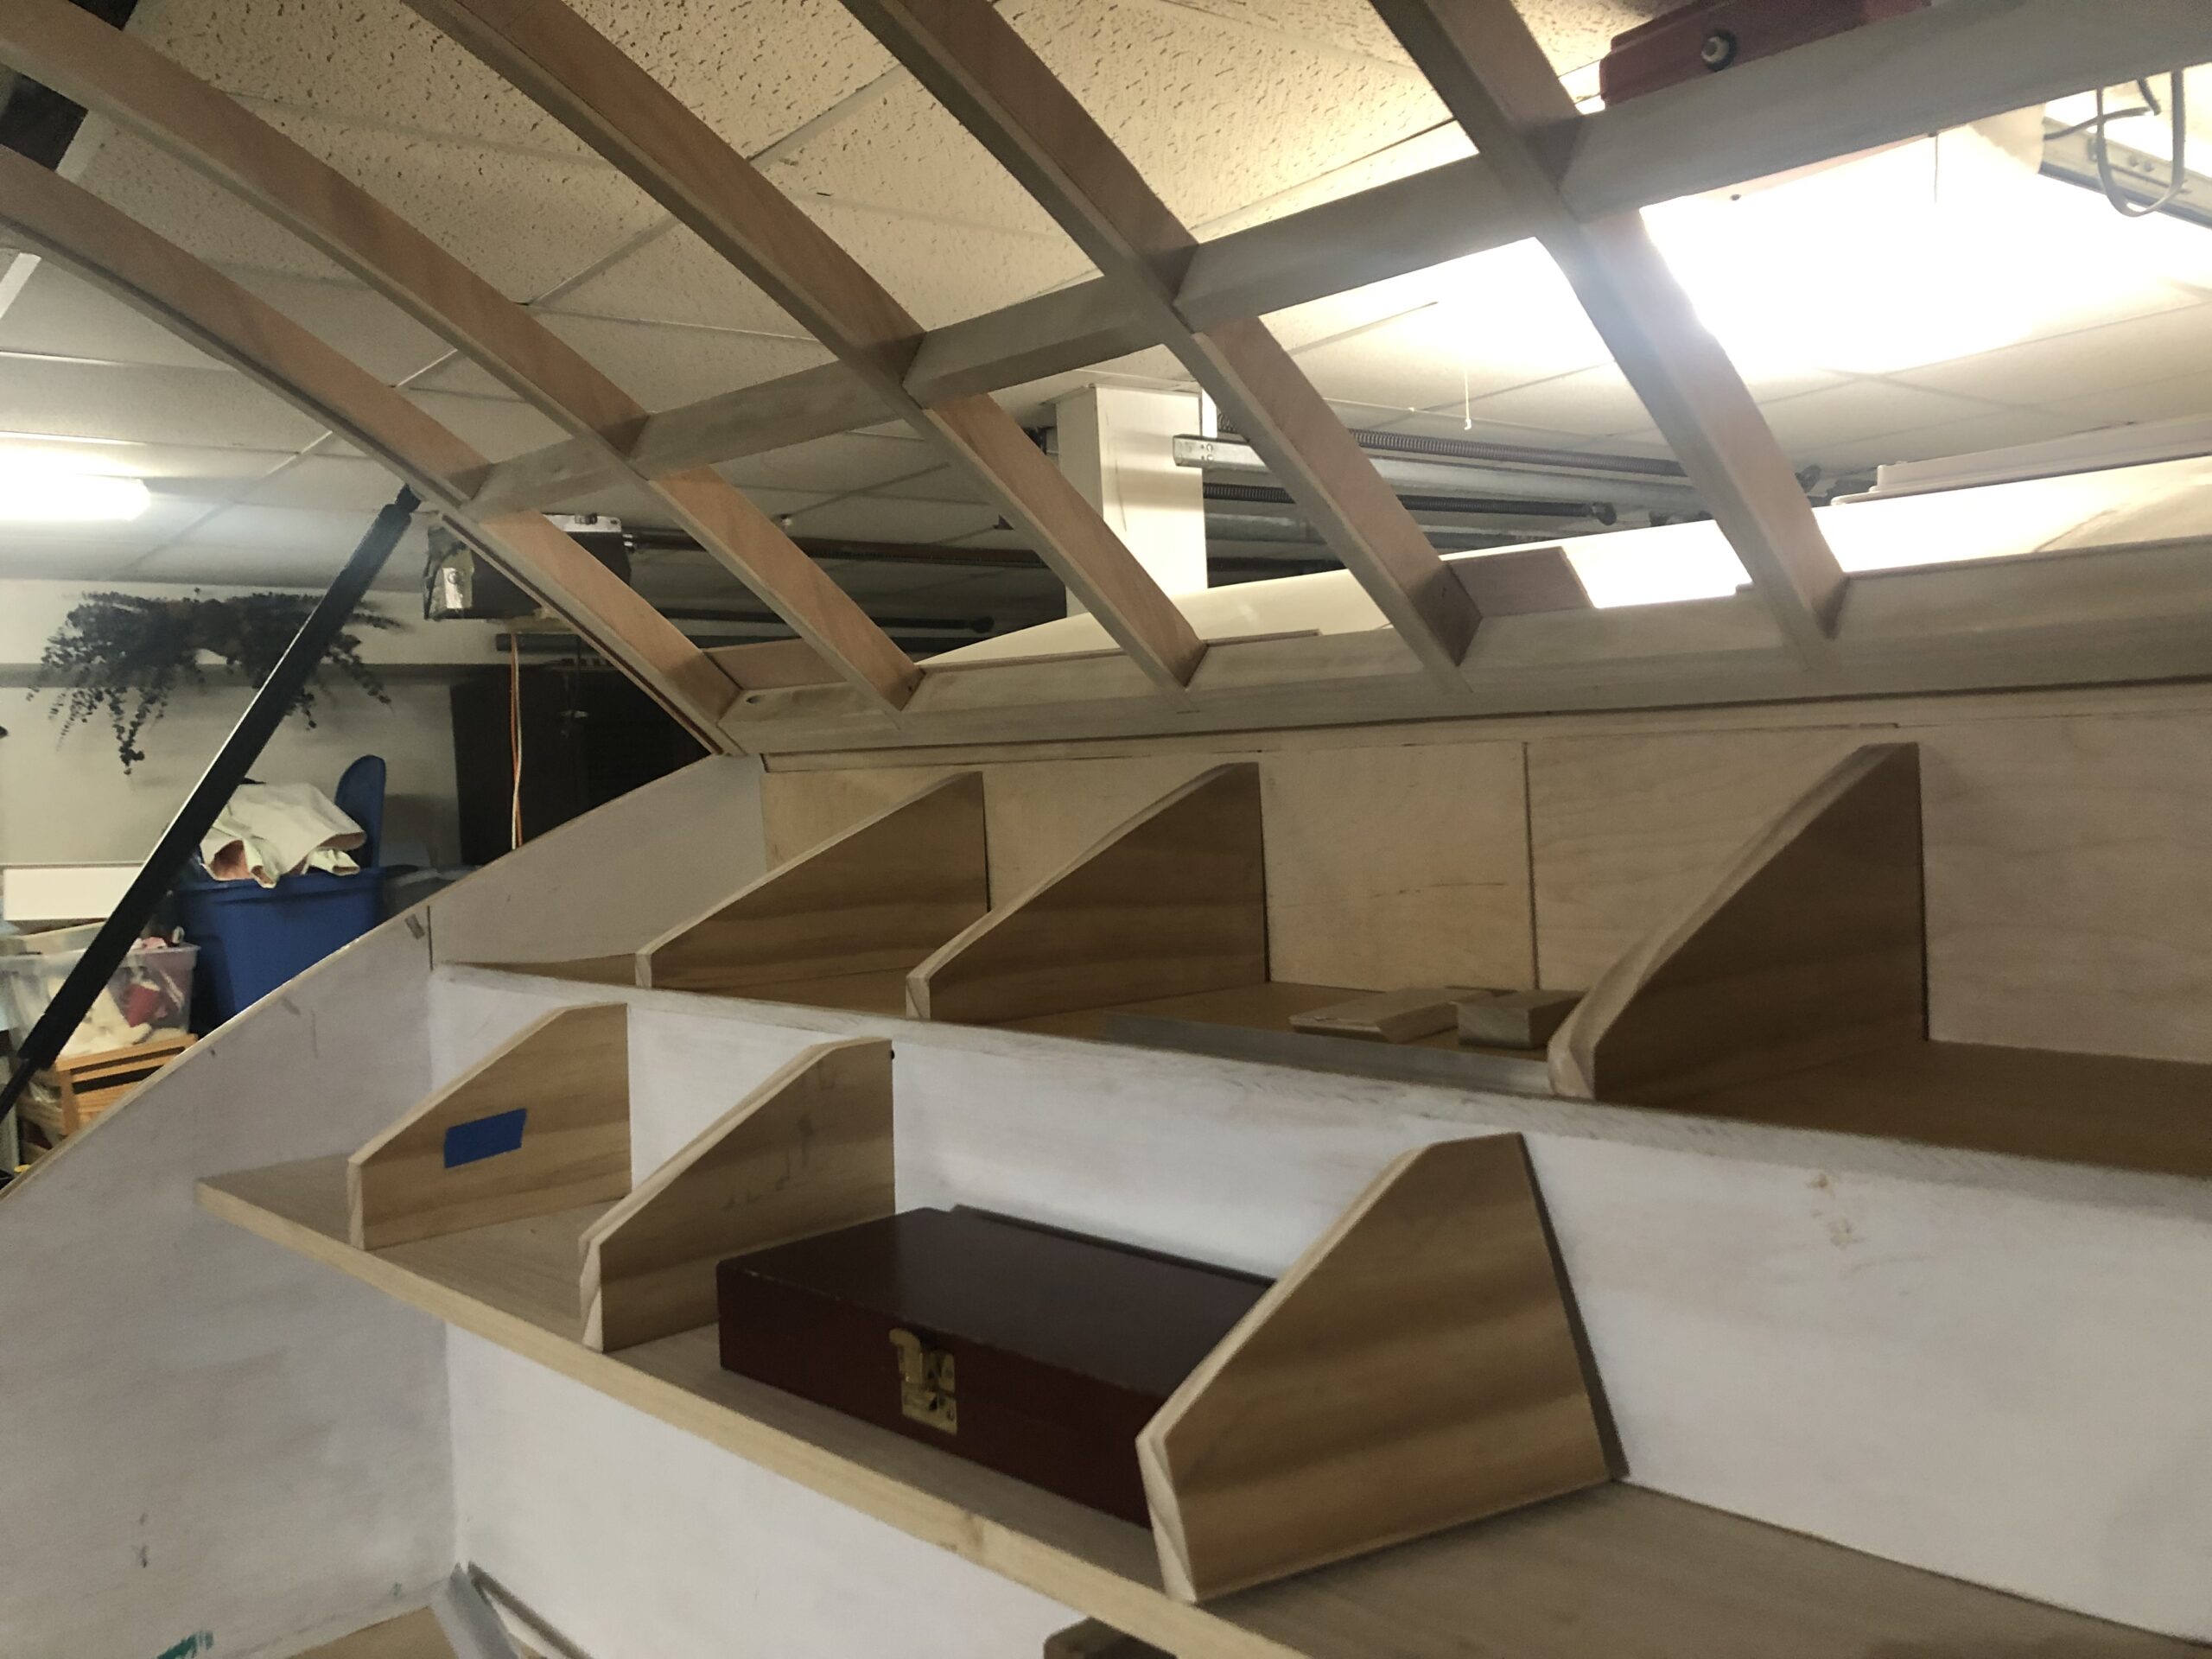
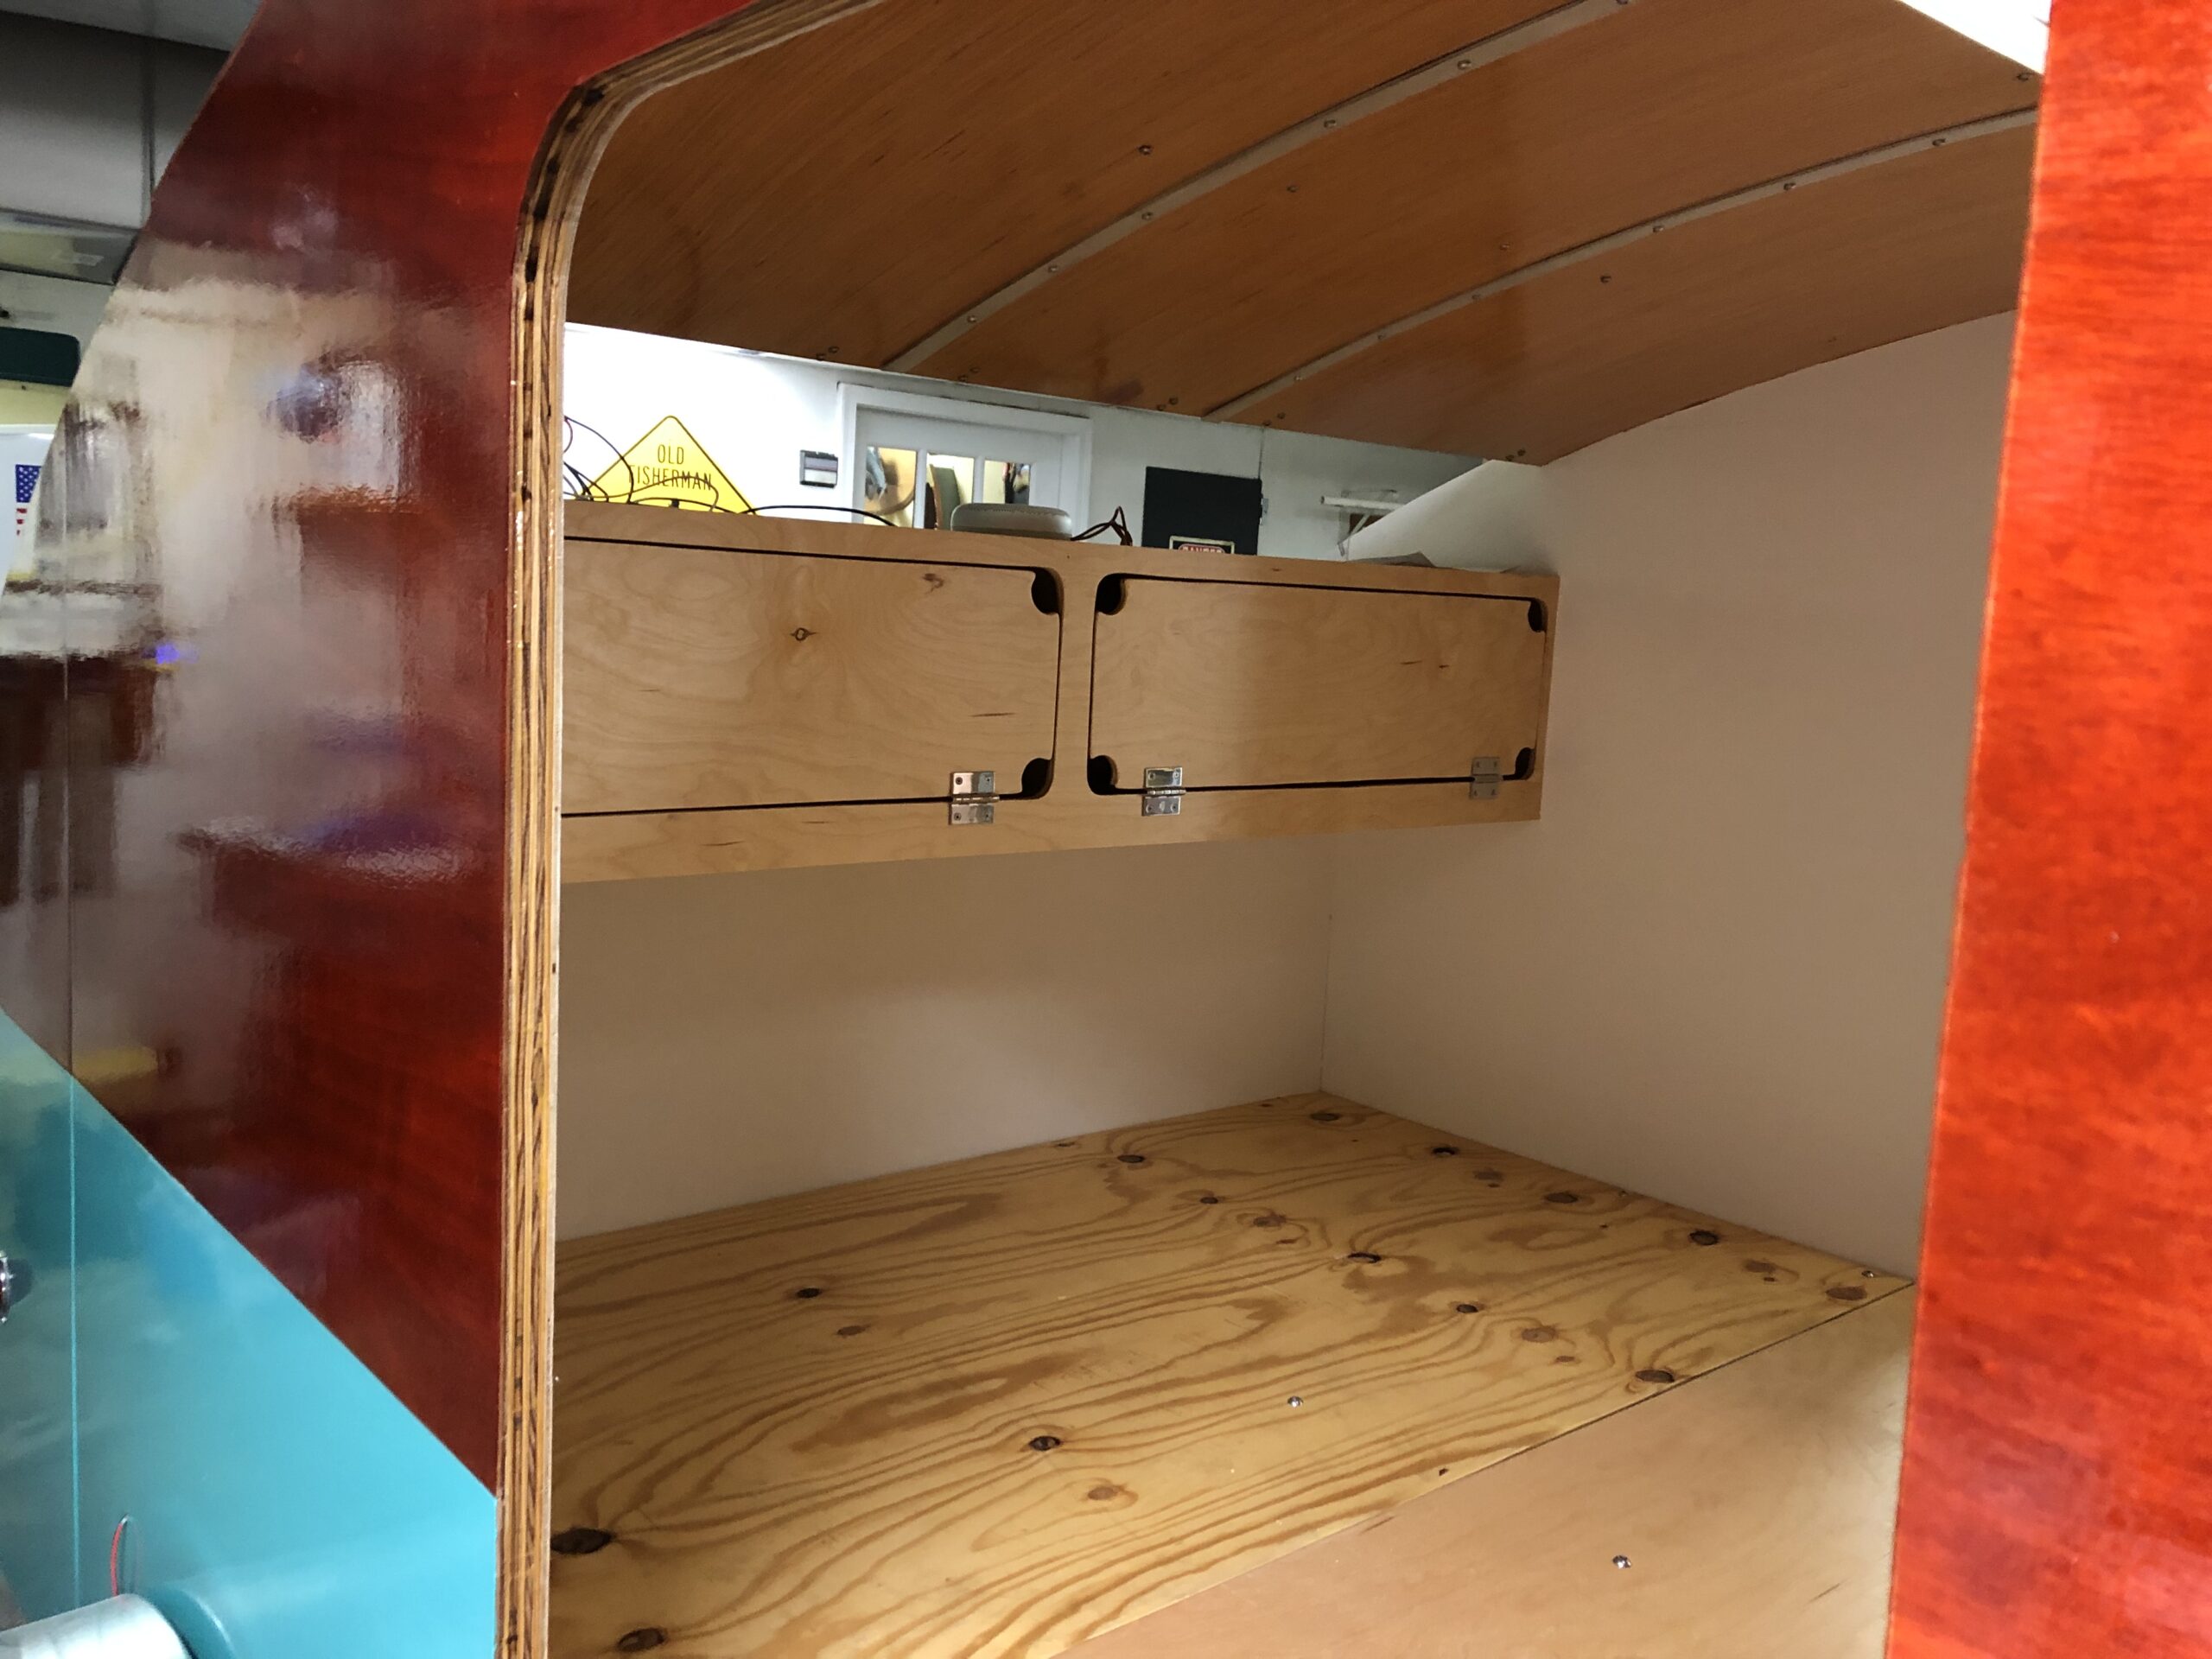
Here’s a sneak preview of some of the galley shelving. Those dividers align with the ribs of the hatch, so when it is closed, items in the shelves won’t be able to fly all over the place.
Next big step is to put the outside skin on the hatch, and finish up cabinet work in the galley. Expect to see some big changes in the next post!
Once upon a time, way back in Plan N or O, we thought maybe we’d be on the road heading west by now. Boy oh boy, am I glad we’re still cozy and warm in Virginia, instead of trying to move across the frozen southland! I hope you are also safe, healthy, and content this Christmastide.
The camper is definitely still progressing, but some of these final details are kind of fiddly and painstaking. Like wiring all the tail lights and interior lights for the galley! And making galley shelves! I really admire and appreciate Matthew’s careful, deliberate approach. We’re still trying to figure out what sort of finishing touches to put on the galley decor, and we may leave some of those things unfinished for now. We’re still aiming to get to southern California by Jan 19, but in addition to finishing the camper, apparently we need to be mindful of weather … so … stay tuned! (I’m sure Matthew will give you a more thorough update on the camper build soon.)
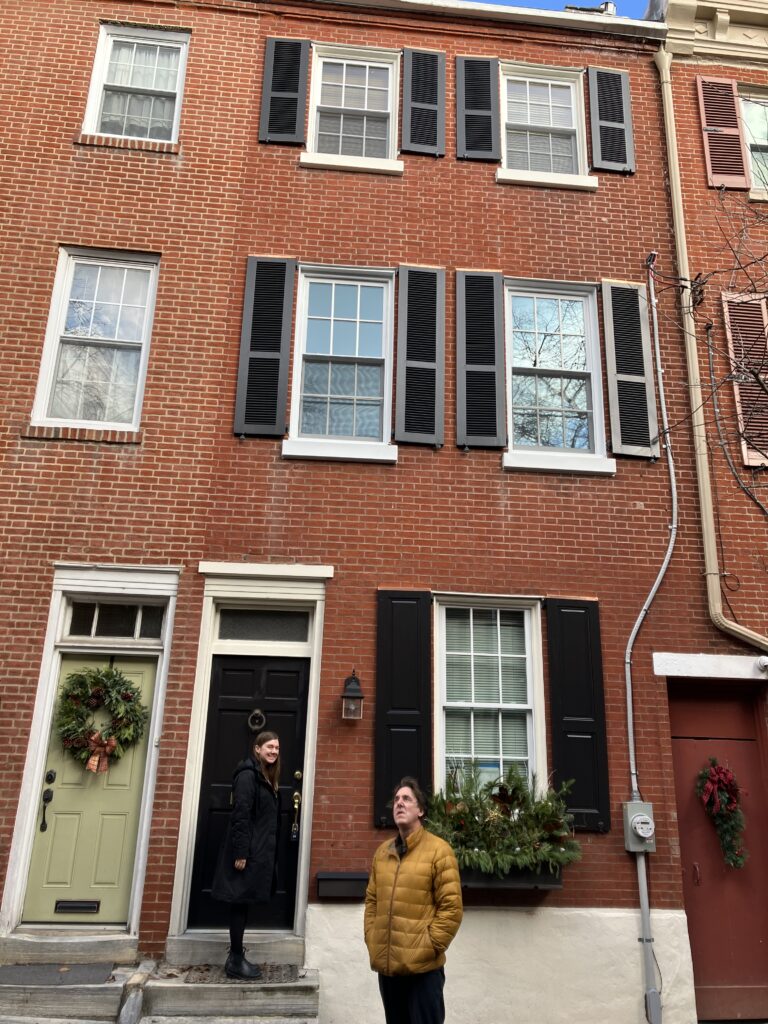
In the meantime, I had another nice trip to Michigan earlier this month to spend time with Iris. I routed my return through Philadelphia, and Matthew came up by train so we could spend a few days with my brother, sister-in-law, and niece. It was such a nice visit! Highlights included an amazing dinner cooked by my brother who pulled out all the stops (!!); a visit to the Museum of the American Revolution (a most excellent museum, where Hannah happens to be Manager of Special Programs); an afternoon in the Italian Market, where we gathered lots of yummy ingredients for a dinner together; spending some time in Hannah’s new 3-story brownstone in Society Hill; and having lovely conversation with all three of them. I didn’t take a ton of photos, but I’ll include a few below.
Happy Christmas to all, and to all a good night!
Helping Iris get her house ready for Christmas, inside …
… and outside!
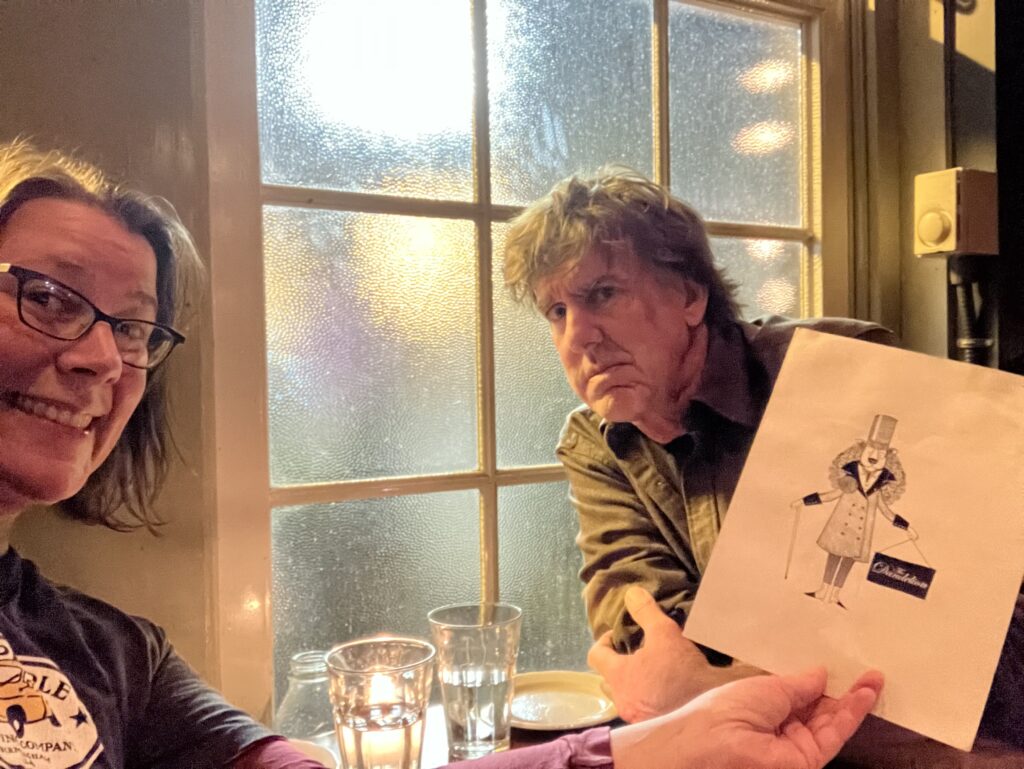
Date night at The Dandelion in Philadelphia! (That’s a dandy lion on the menu, ha!)
Hannah’s awesome house in Society Hill.
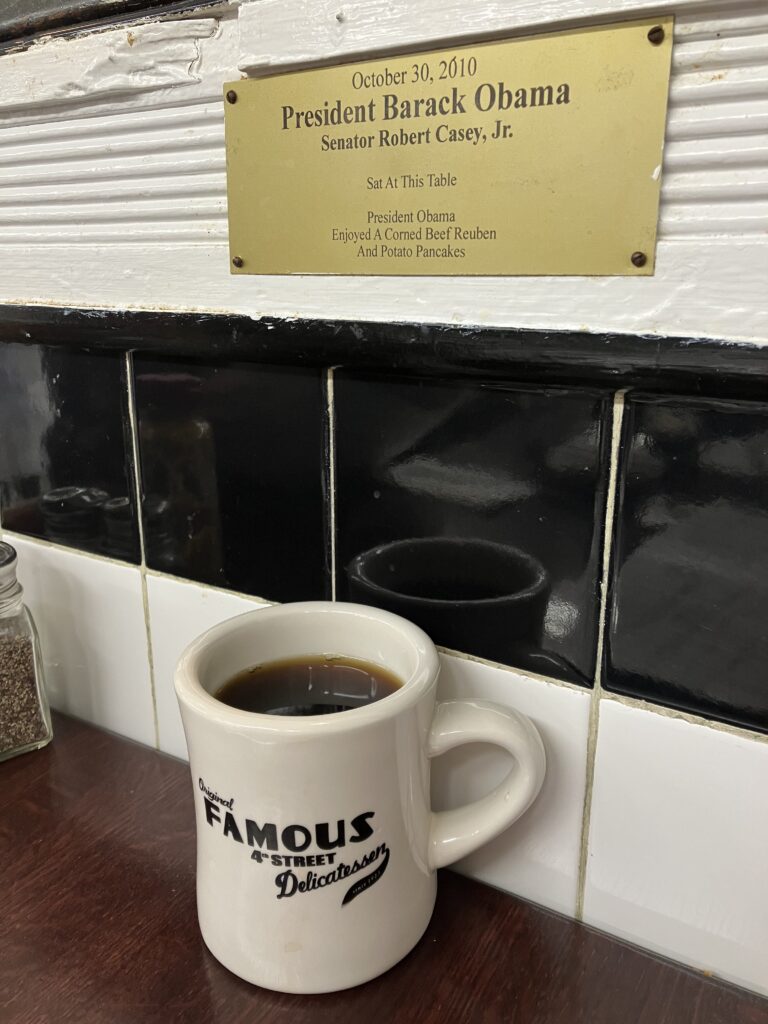
We sat at an auspicious table for breakfast at the Famous 4th St Deli.
All failed attempts at building galley hatches must be burned on a day of a full moon.
The second attempt at the galley hatch is going slowly but surely. I no longer needed the old hatch as a reference, so its last act of service was to provide some warmth and entertainment.
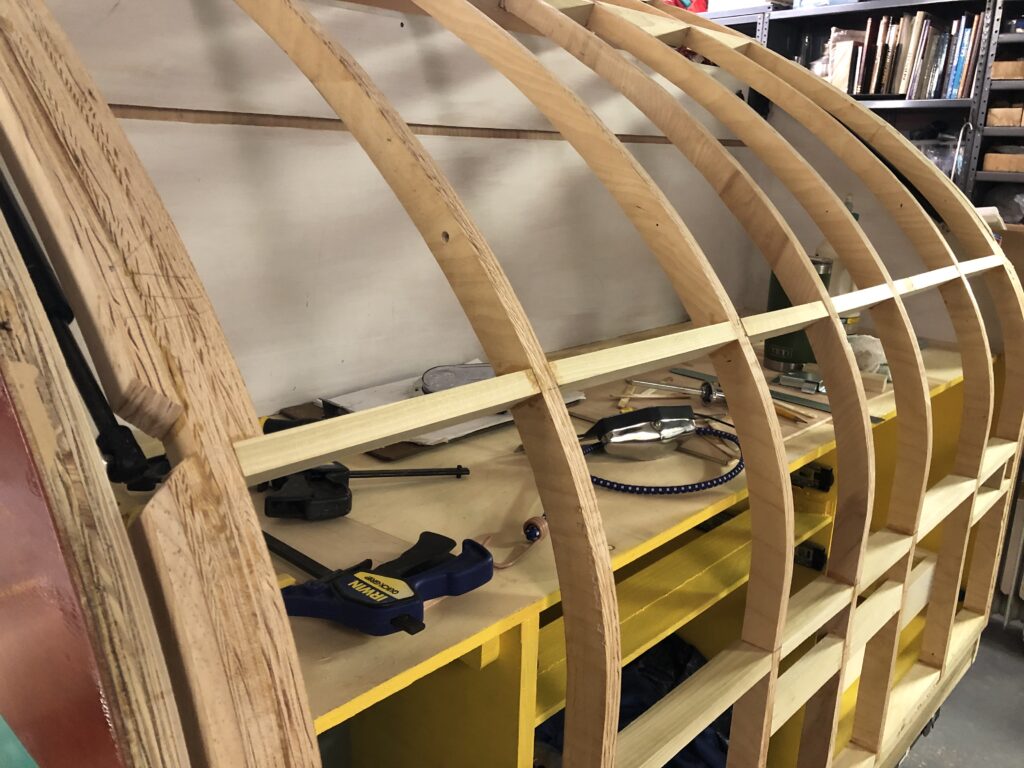
The main failure of the first galley hatch attempt was that the pressure from the interior skin changed the curvature of the ribs, so they no longer would make a watertight seal with the sides of the camper. To mitigate that this time, I’m trying a few things. In the old design, there was an interior and exterior skin on the hatch (much like how the rest of the roof structure is built). This time, I’m planning on leaving the interior exposed. This will make wiring (and one day, re-wiring) that much easier. It should also reduce weight. And it will reduce the forces trying to make my ribs go out of spec by 50%. I also added a few more ribs and reinforcement to the new hatch to really reinforce that curve.
No skin in the interior means that I want to make those exposed ribs on the inside look nice. So the big steps over the past week have been to apply a facing to the ribs from thin strips of poplar. This will cover the exposed plywood of the ribs, and my hope is that once glued in place will actually add another ply to help hold the rib shape.
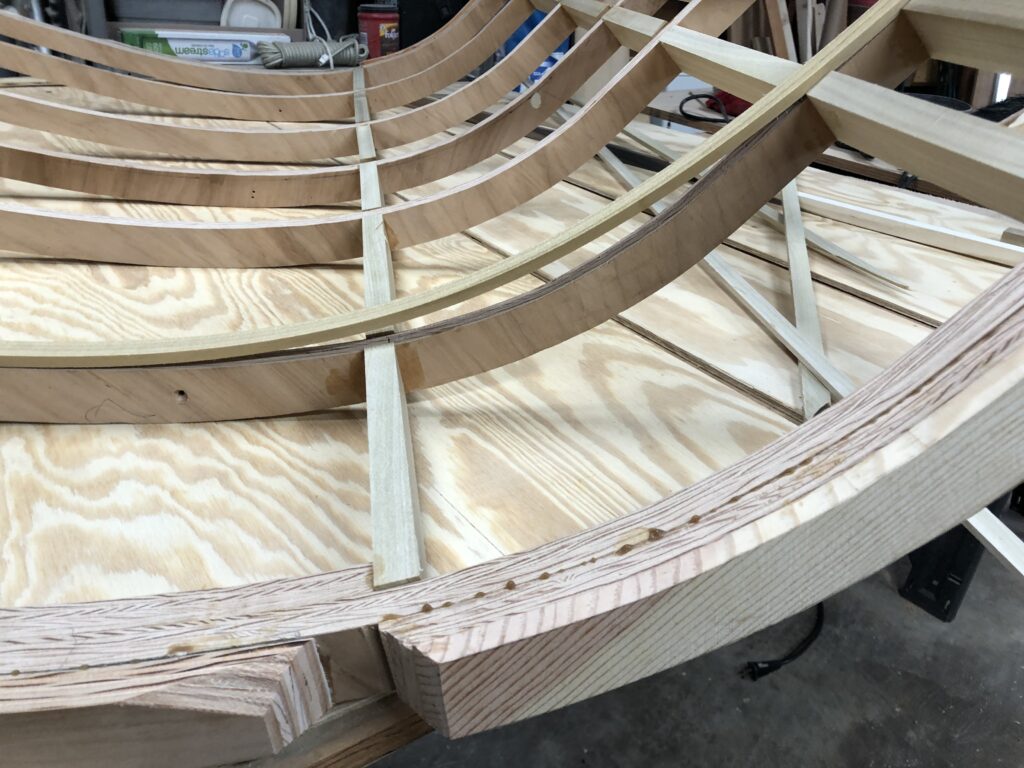
I focused on making sure the exterior side of the hatch was as even and consistent as possible.
The interior side, however, needed some wood added. Note the gaps where the ribs meet the perpendicular supports. Here you see one of the new rib facings being fitted.
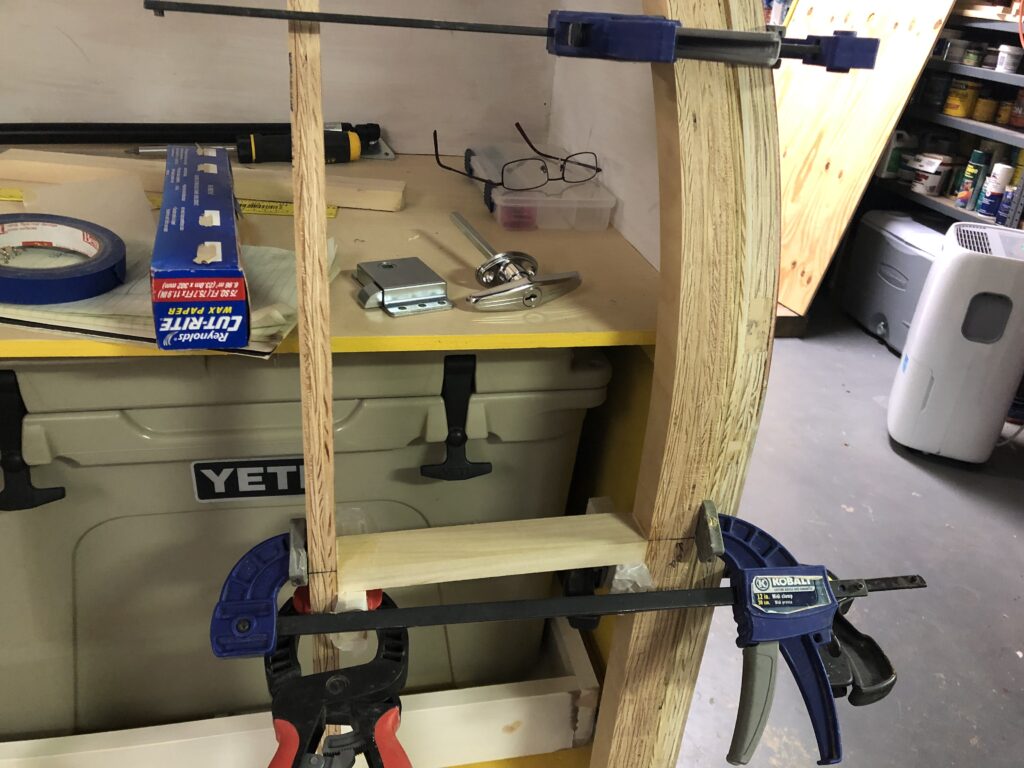
I made temporary braces to keep the curve of the hatch from changing due to the forces of the rib braces.
Here’s another view of the braces.
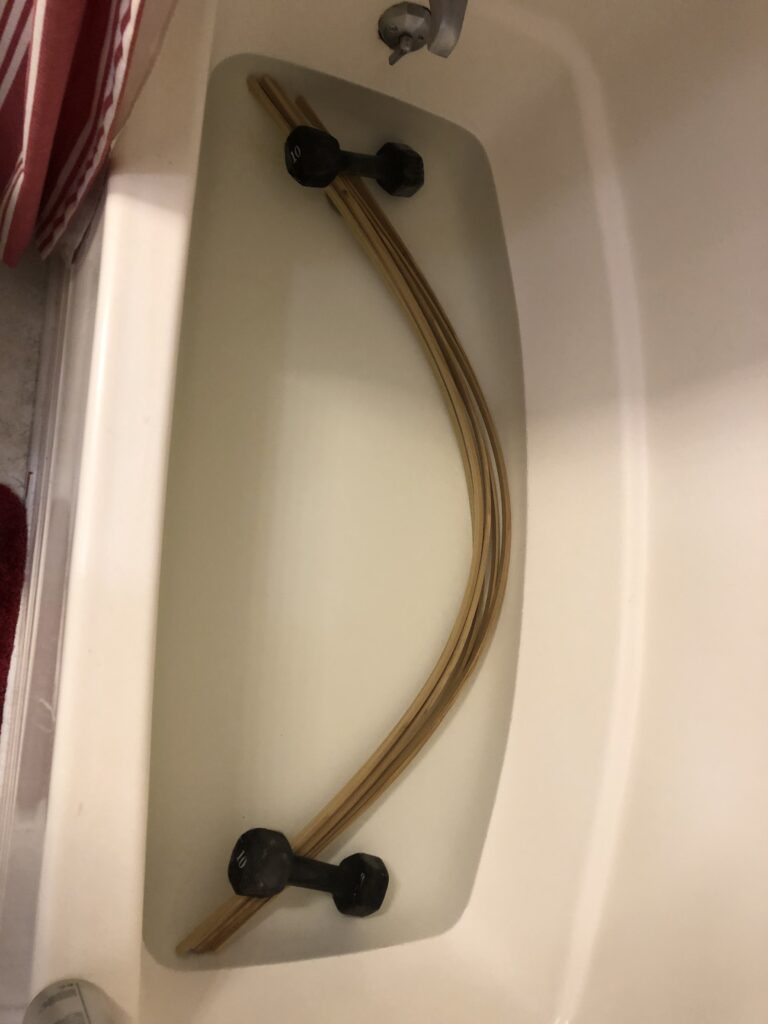
I soaked the rib facings in hot water for a few hours.
I then clamped the wet facings onto the ribs and let them sit overnight.
It worked! The next day the facings were mostly the same shape as the ribs, so there will be little pressure pout on the shap of the hatch.
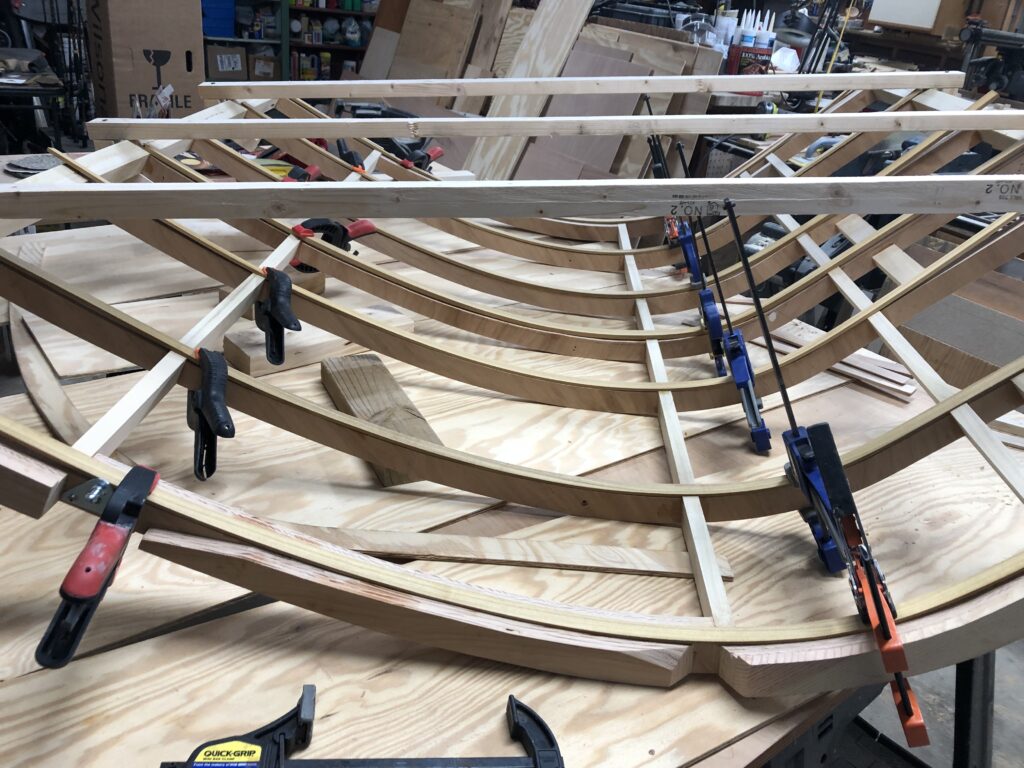
I glued the facings one at a time to make sure everything stayed in alignment.
Here’s a closeup with the facings in place. They will need to be sanded to finish.
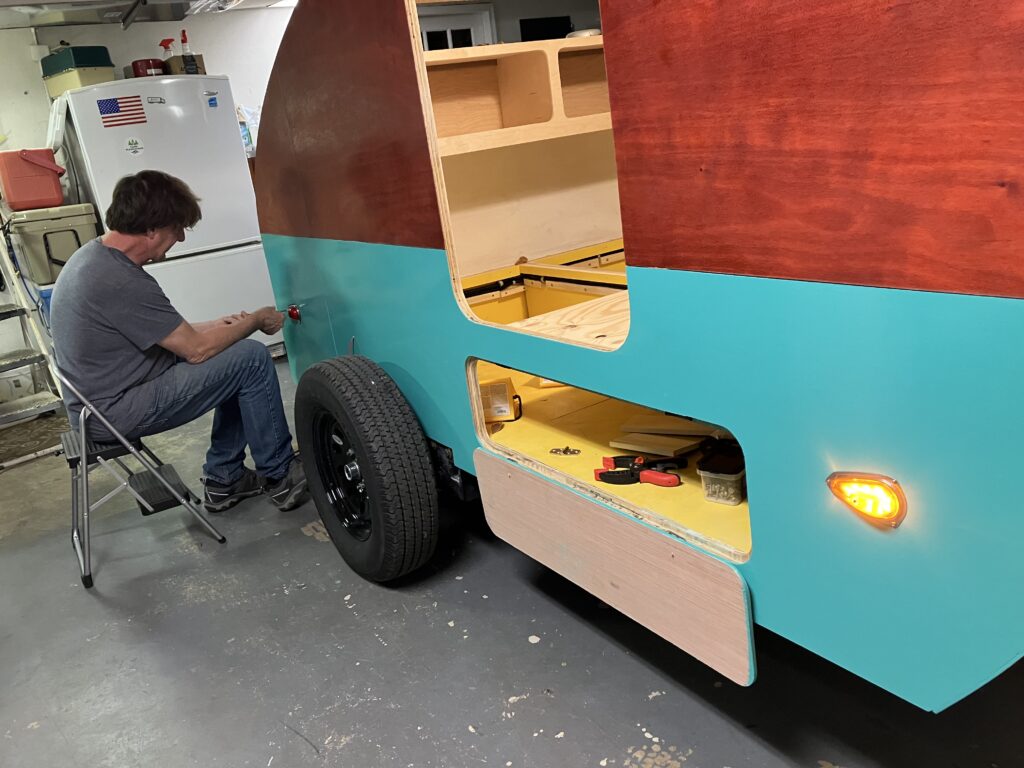
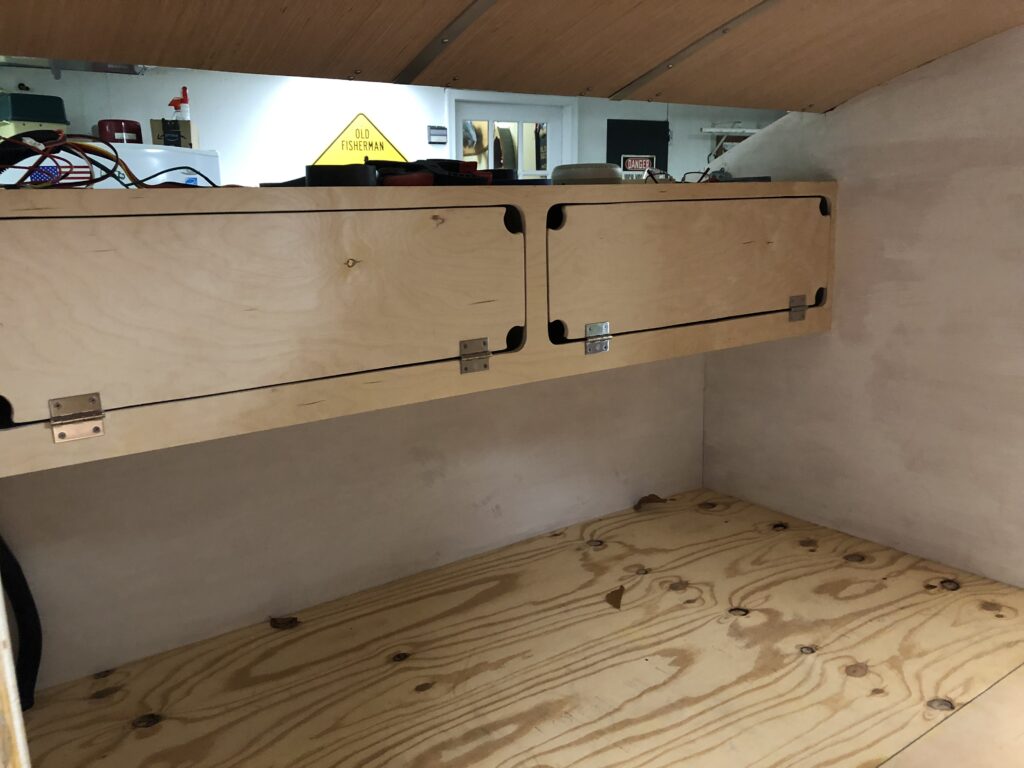
Meanwhile, work continued on the main body of the camper. The big achievement during this spate of work was getting everything finished in the “basement” – thats the storage area under the bed platform. The storage hatches are lined with a rubber gasket (sorry, I didn’t take a picture of that for this series). The hatch doors seem to fit well, though I guess we will get our real test once we hit the road. I also used butyl tape on the through holes for the lights, and coated the screws that hold the lights with 3M 5200 marine sealant. I’ll use this for all instances where screws enter the wood from the outside. Hopefully that will keep water and rot out.
I still need to paint the inside of the storage hatch doors and do some finish work on the outside, so you’ll be treat with more pictures of that work in a later post.
Here’s one of the storage hatches with all the equipment installed. Those latches are super cool, but the latch and clasp have a very low tolerance for variance.
I added another 3/4″ strip of poplar around the edges of the interior. This is provides the base for the bed platform. It gave me an opportunity to use and old school approach to getting the top surface nice and even.
Here you see an interior view of how the storage hatches lock. Rather than making a key access outside, this simple gate latch slides in place from the inside.
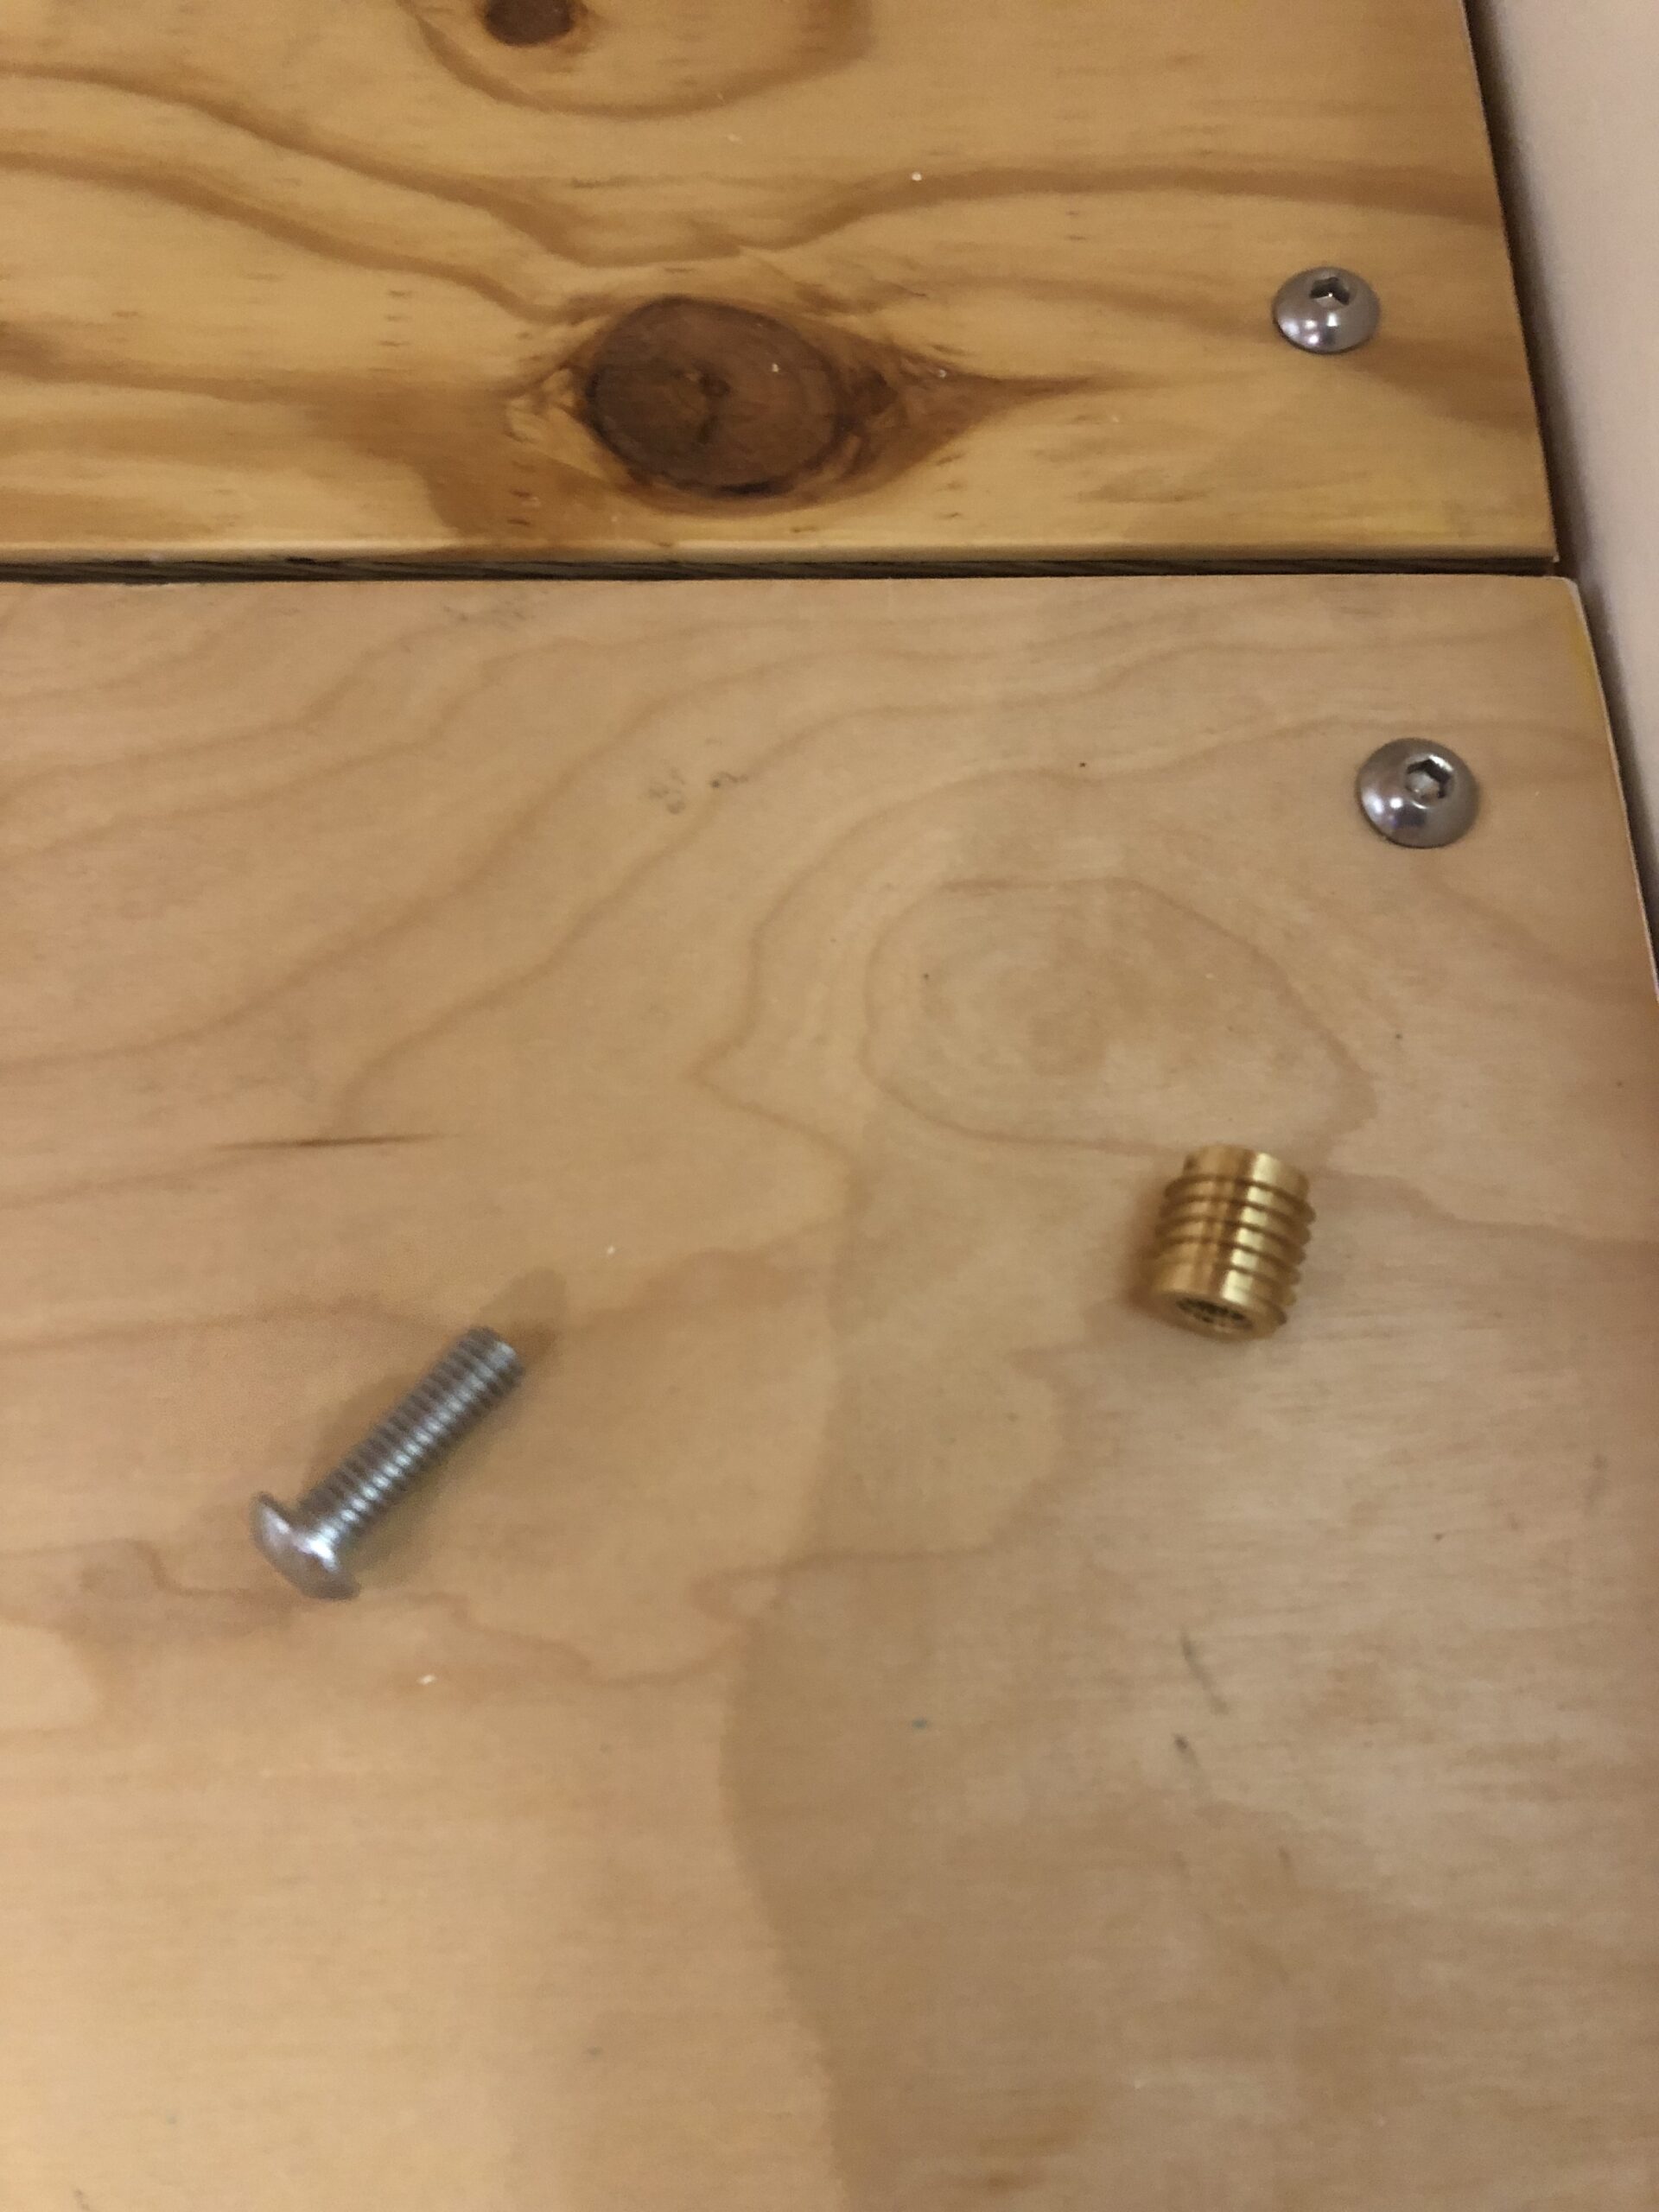
I had originally planned to glue the bed platform in place, but I have enjoyed gaining access to the “basement” by sliding the two pieces of the bed platform around, so instead I put in threaded brass inserts to hold the bed platform in place. It makes for a very stable base.
Bed platform in place. I had enough birch plywood around to use for 2/3 of the platform. The other 1/3 is just plain old plywood. It won’t matter – all this will be covered by our mattress.
What?! Two posts on the same day?? That’s an awful lot of Betties. But I have a story to share.
Once upon a time, way back in November of aught-6, Matthew and I were in Australia. On the day of American Thanksgiving, we bought ourselves some special items at the grocery store (kangaroo steak!) and went back to our camper van, which was parked in a beautiful beach trailer park. This particular park was primarily occupied by retirees who had built impressive compounds and were living their golden years in community, sharing morning exercise classes and evening game nights. We needed a key for the “barbie” in order to grill our steaks, so Matthew went to the park office to get one. While our host was looking for the key, Matthew told him we were gonna grill our Thanksgiving dinner, and the guy said, “Every day is Thanksgiving around here, mate!”
We repeat that quote frequently, and I’ve definitely been thinking of it A LOT these last few weeks. I’m happy to report that my sister’s surgery went very well: the post-surgery pathology reports show that all residual cancer was successfully removed from her abdomen/pelvis, and the surgeon said her chances of living a normal life span are very good! Oh my goodness, so much relief and gratitude for that news! She’ll have 3 more rounds of chemo to further address the tumors in her lungs, and then likely be put on an anti-hormonal therapy for life to keep those guys in line. I’m heading back to Grand Rapids next week to be with her for the first of these last three chemo rounds; I’m looking forward to spending more time with her and hopefully joining her in some Advent observations and a little Christmas decorating.
But even in addition to that great news, there’s so much to be thankful for. I love my job; this crazy camper dream of ours might actually be coming together (knock on wood!); there’s a lot of laughter and music around here; and our families are in good health and doing well. And boy oh boy am I grateful for all our amazing friends. I feel like I haven’t been very good at being in touch with you lately, but I have been thinking a lot about all you lovely people, and feeling so truly blessed to have you in my life.
So THANK YOU!! I’m sending out lots of love and looking forward to whenever I get to give you a big hug again!
And because no post is complete without some photos, here are a few more:
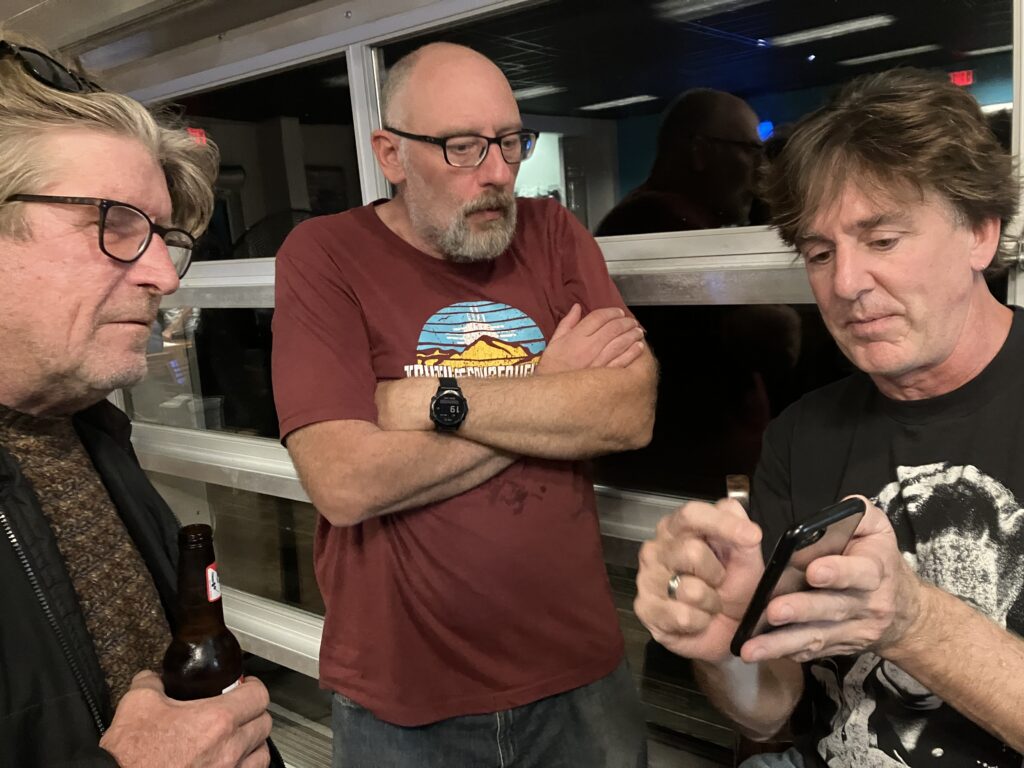
Getting trailer advice at the bar from some experts.
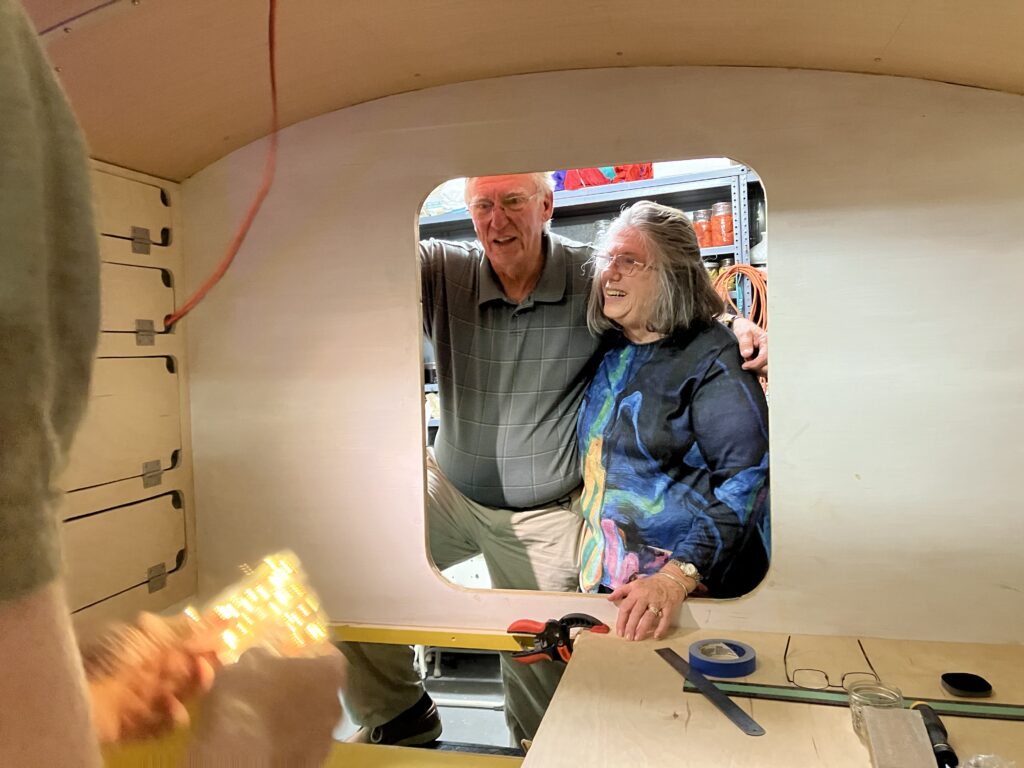
Jim and Tammy inspect our progress …
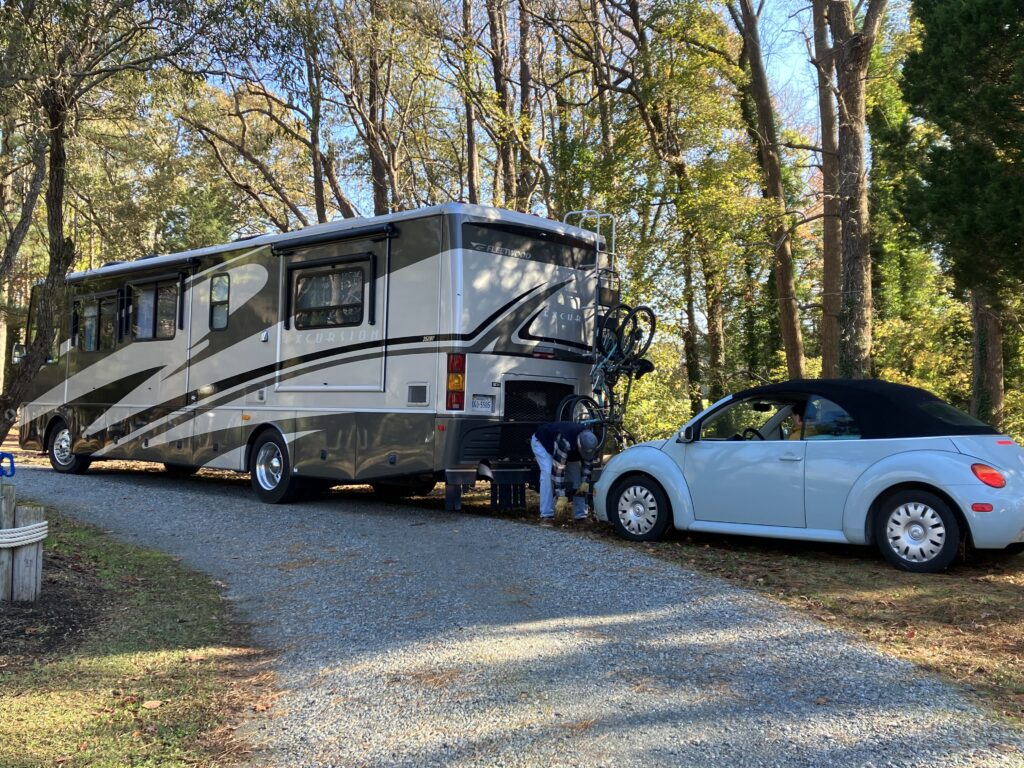
… but then it was time for them to pack up the bus and head back to Florida.
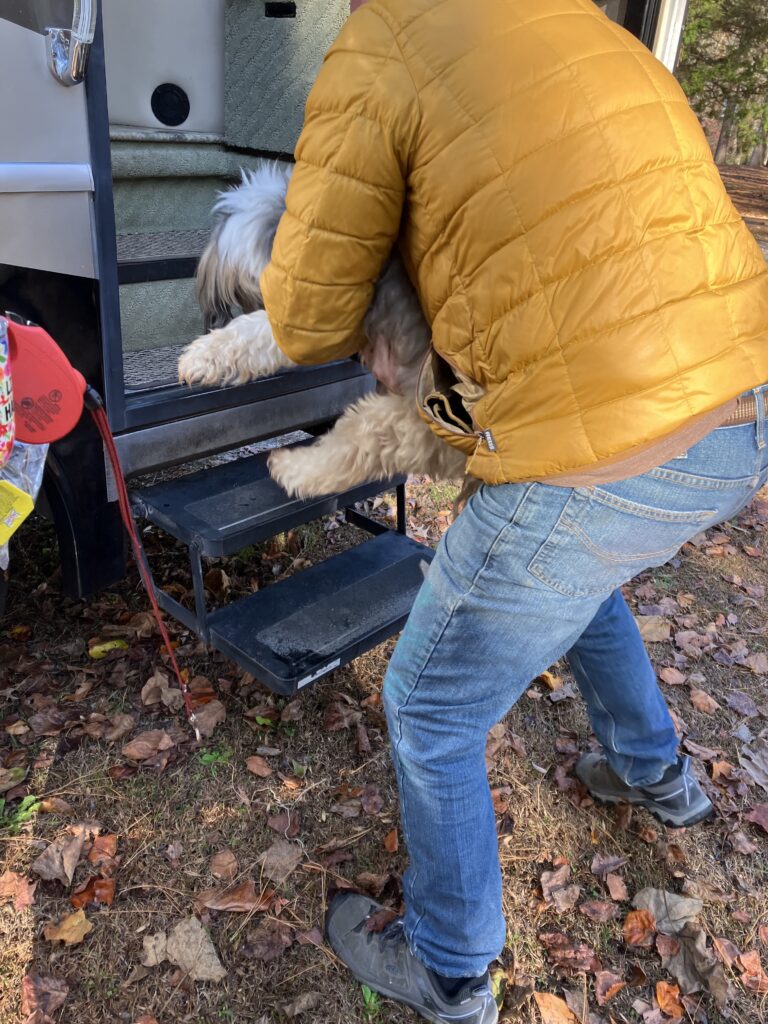
Buster does NOT like riding in the bus. Poor Buster.
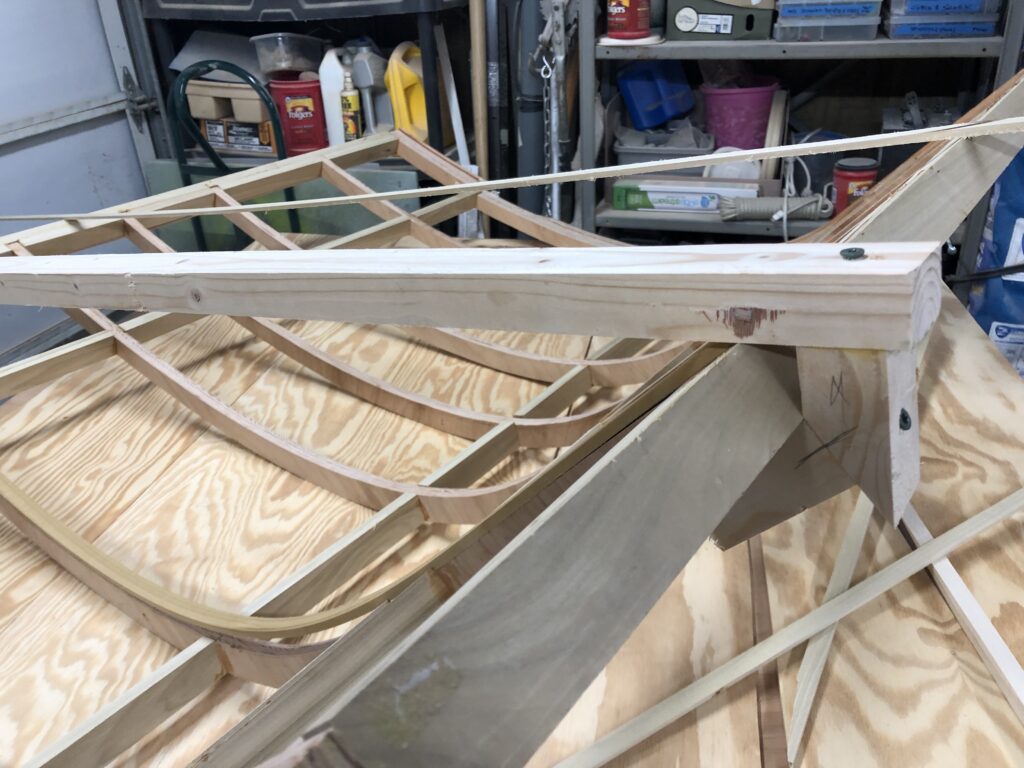
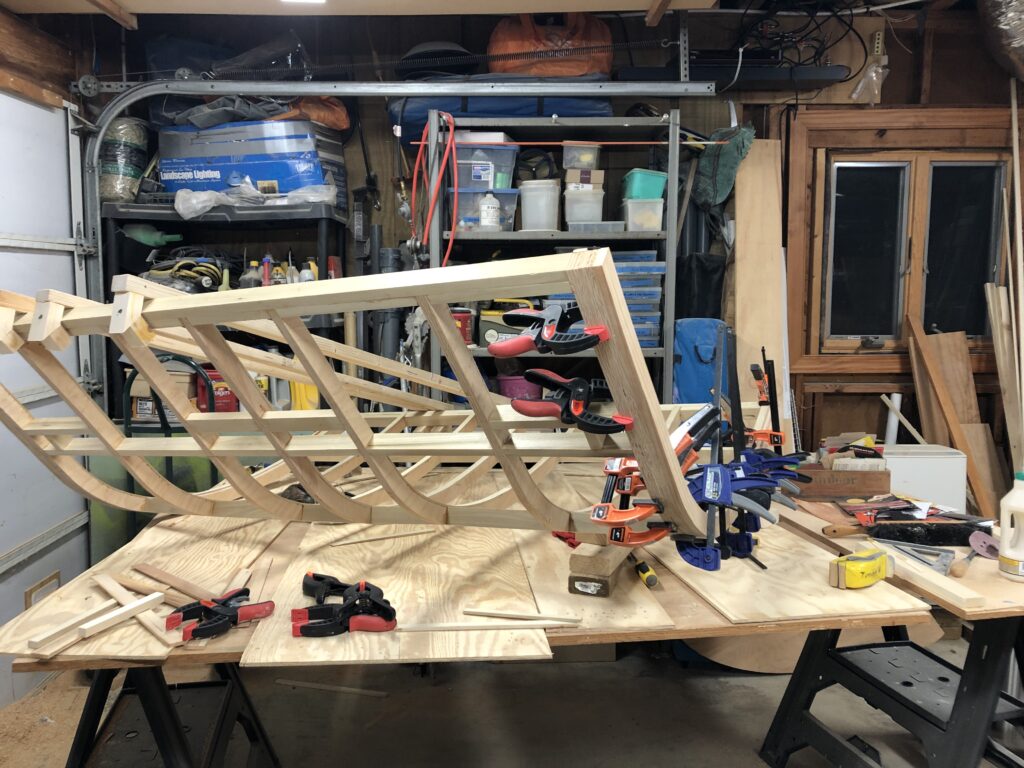
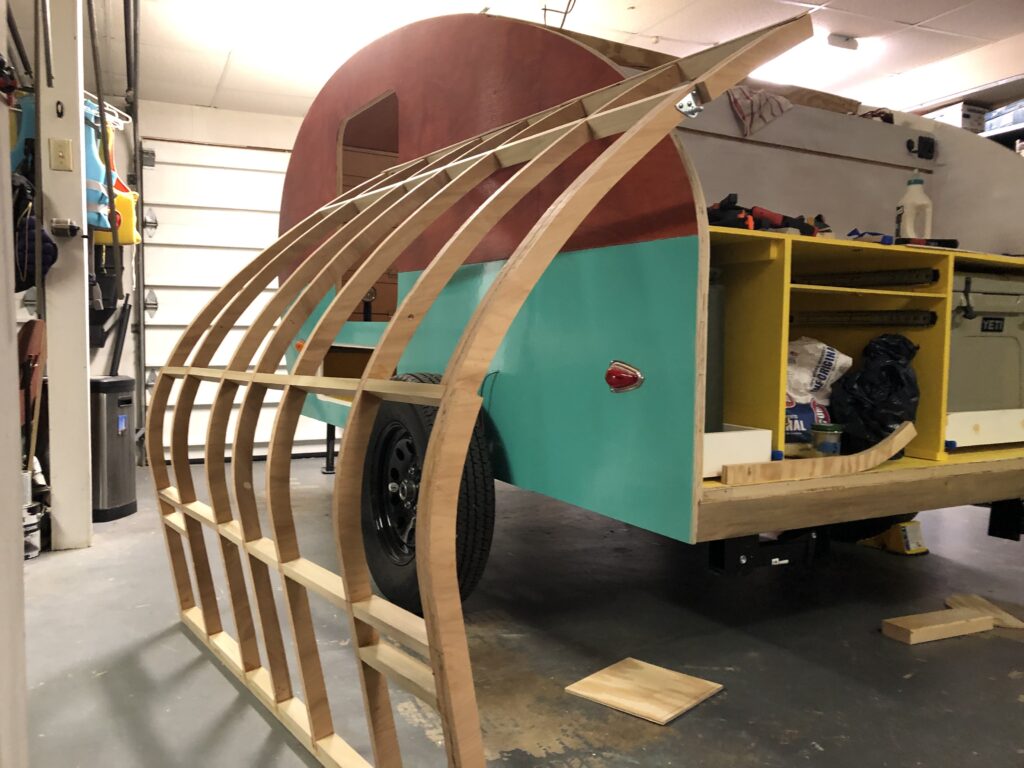
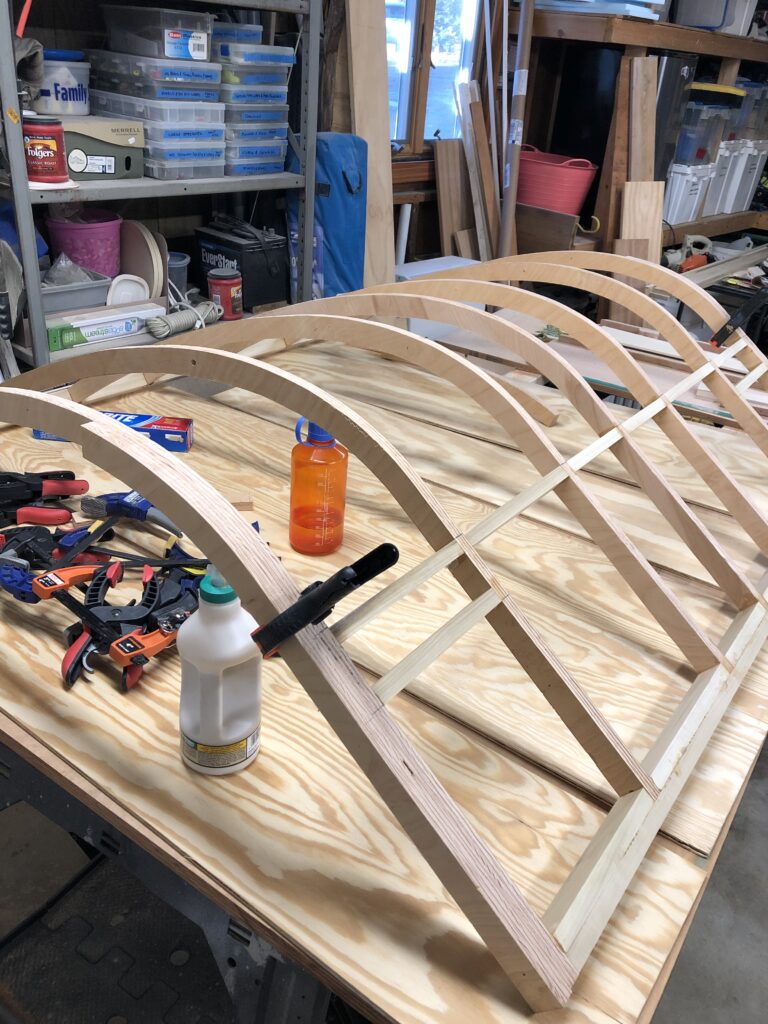
This frame is square, stiff, streamlined, and fits the galley perfectly – so far.
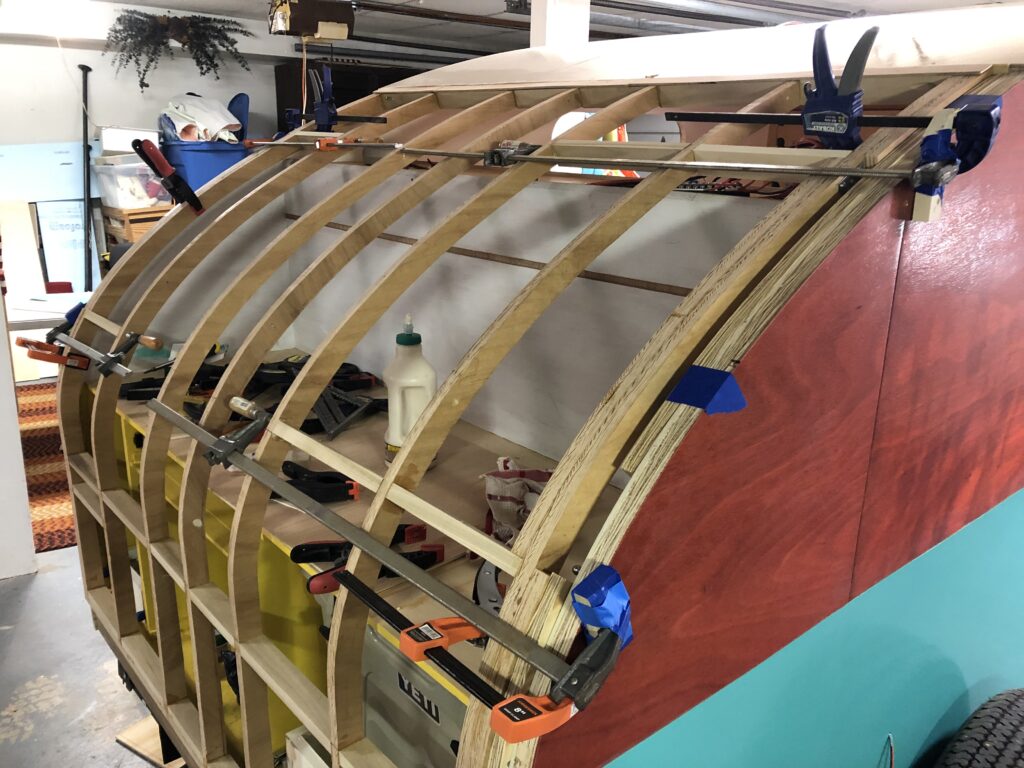
I’ve been taking the second build of the galley hatch very slowly and deliberately. Where the last time I tried to glue a lot of wood at the same time, with things slipping a sliding all the while, this time I would place just a few pieces at a time, make sure they set true, let the glue cure, then move to the next. Also key this time was doing most of the gluing in-place.
I guess I wasn’t in a picture taking mood for the first step. I routed new ribs and did the first round of gluing in the shop.
The frame went back on the trailer.
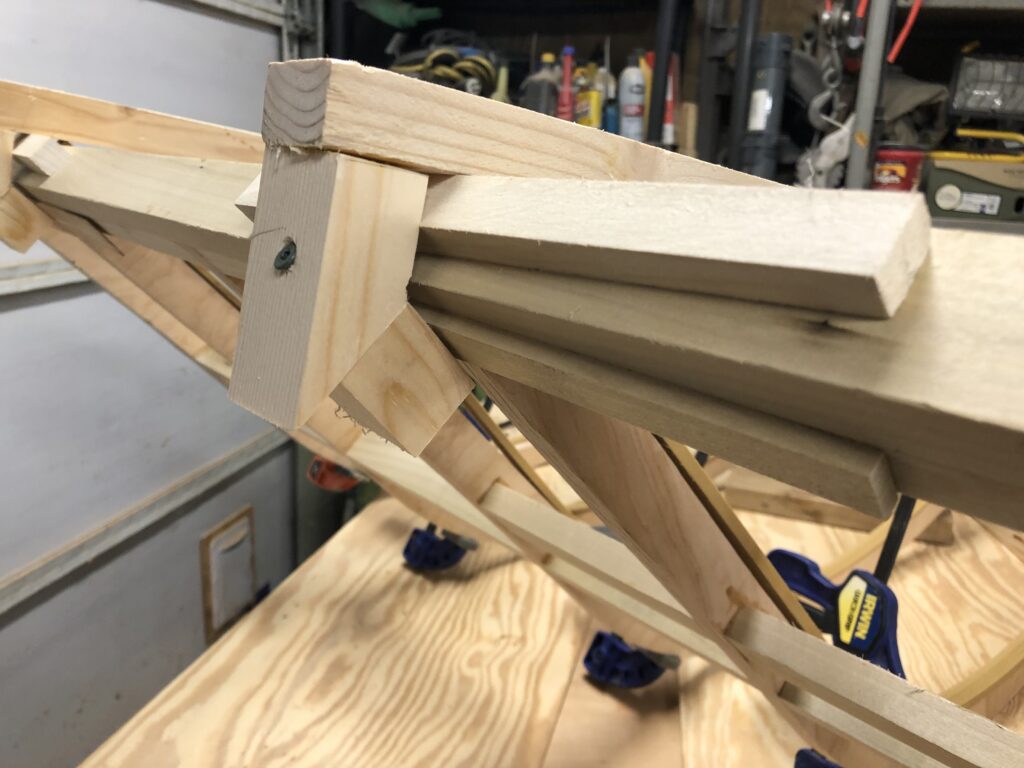
Detail of the frame corner. II only used four screws to secure the initial square. Everything else is held with wood glue.
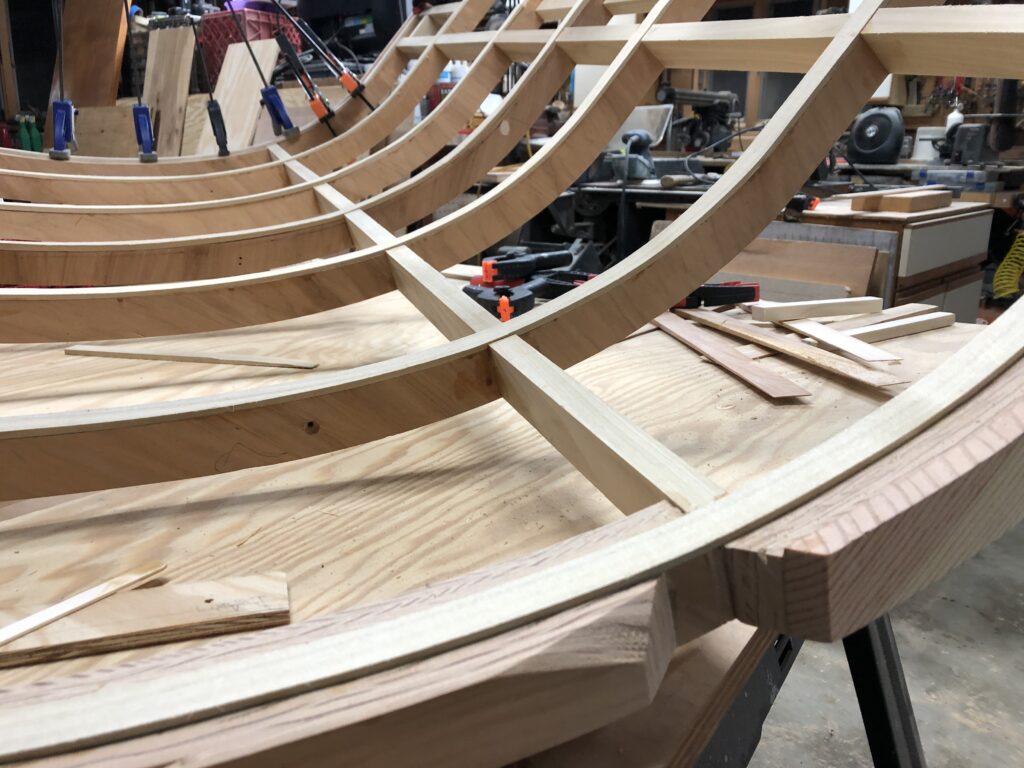
I used wooden spacers to make allow for the spaces needed for hardware. Here you can see the even 3/8″ space around the trailer edge that will allow for the hatch to rest against the rubber seal that will go on the trailer edge.
Carefully fitting the first of the support struts.
I kept a portion of the old hatch handy to remind me of what worked and what didn’t as I built the new one.
A quick test to make sure that the hatch lifts were in the right place.
One quick visit to the shop to add the supporting ribs that work around the gas lifts.
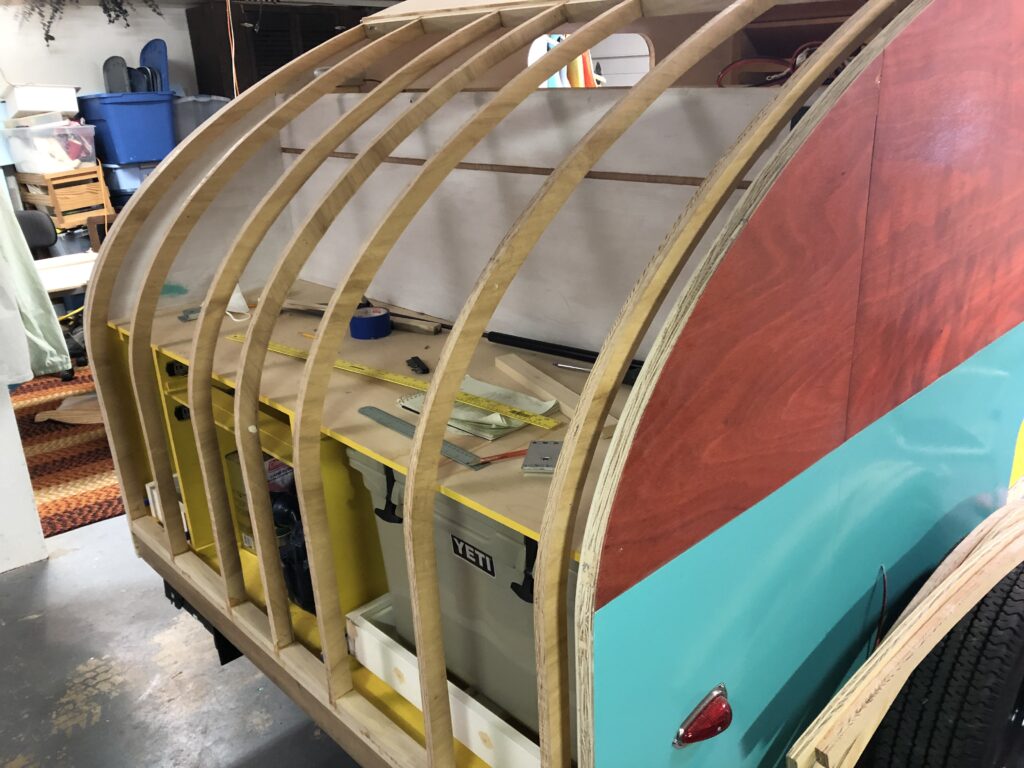
Getting close to completion.
In between bouts of gluing we put layers of varnish on the interior. This required multiple coats with sanding in-between. Watching varnish dry is slightly less interesting than watching paint dry.
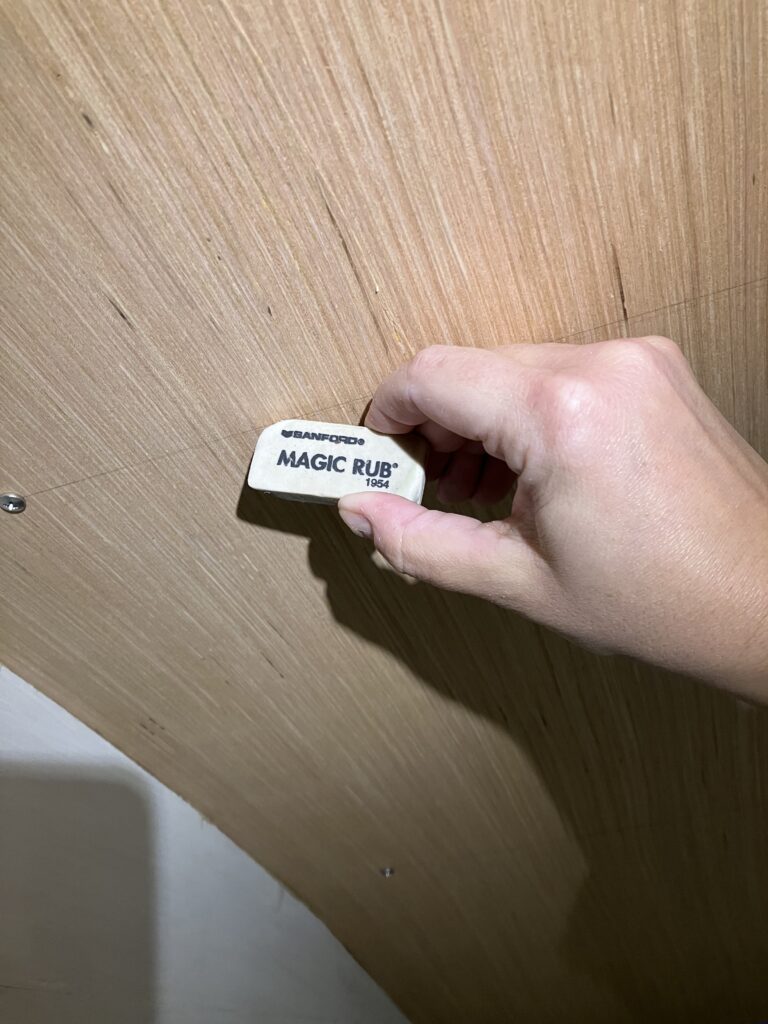
A little Magic Rub to erase pencil marks I had used for aligning screws.
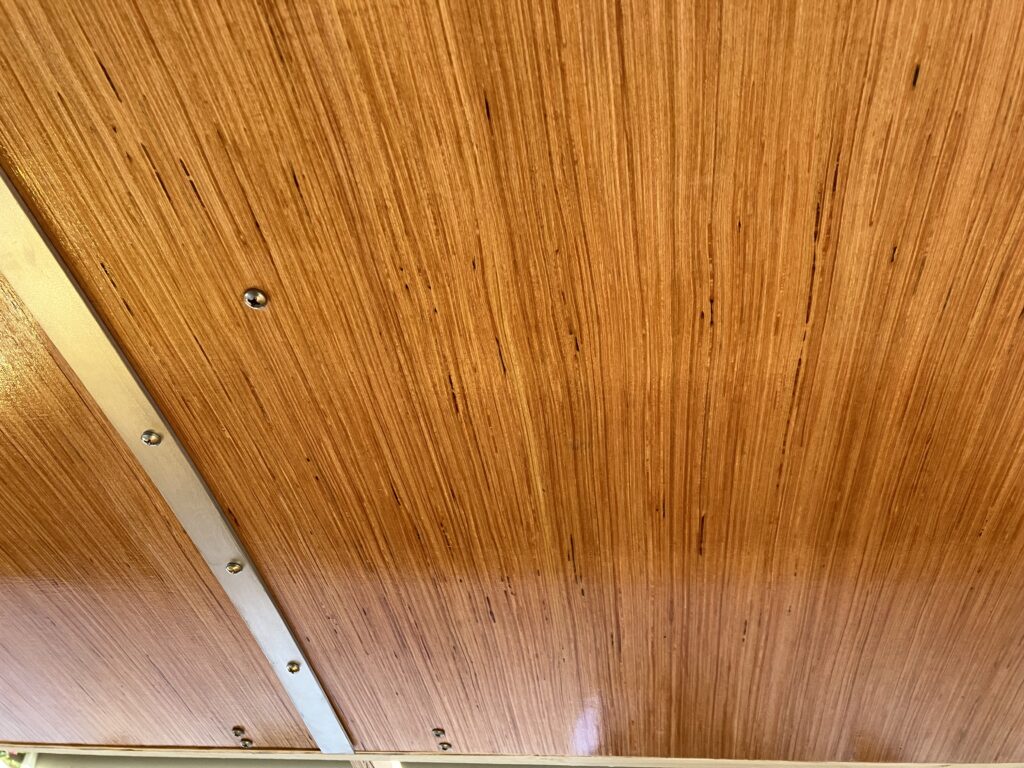
We had a day warm enough to work outside, which was nice for all the varnish fumes we were making.
The finished interior ceiling.
We also had time to wire up the running lights.
We are getting really close to completion. The galley hatch still has plenty of steps to go, but that’s pretty much the main focus at this point. There’s some final exterior finishing to do, and some galley cabinetry puzzles to solve. But mostly it is crossing steps off the galley hatch list!
The doors have a hidden latch and are braced to allow for sitting up in bed. I wanted to allow for plenty of airflow to keep contents from getting funky.
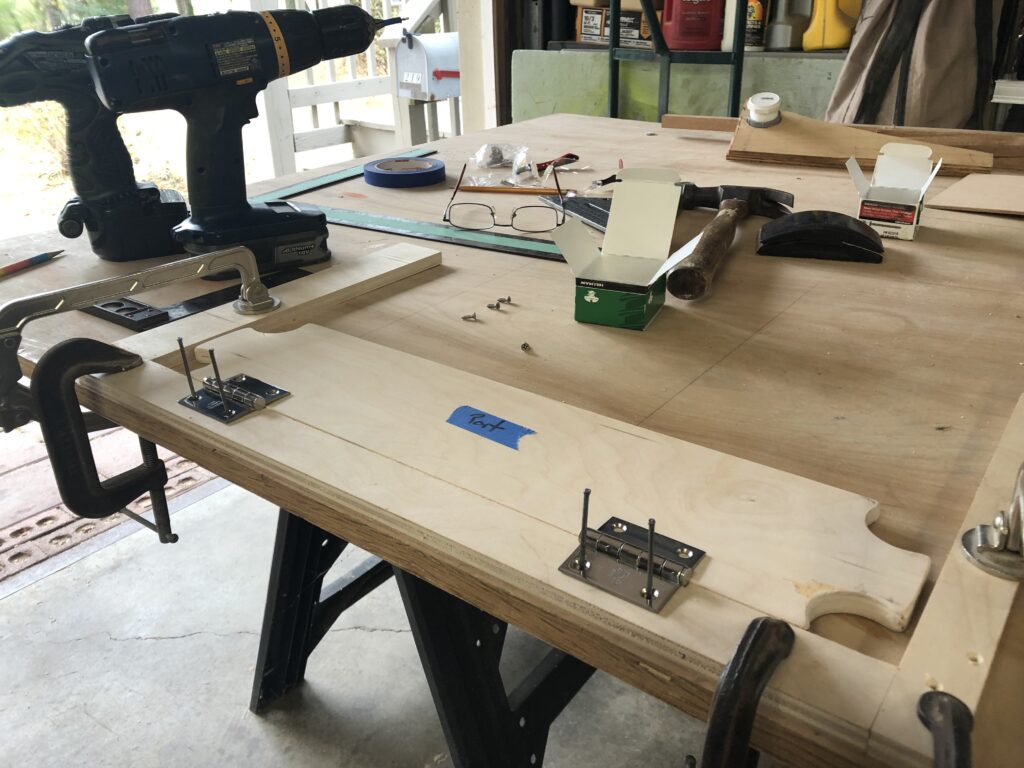
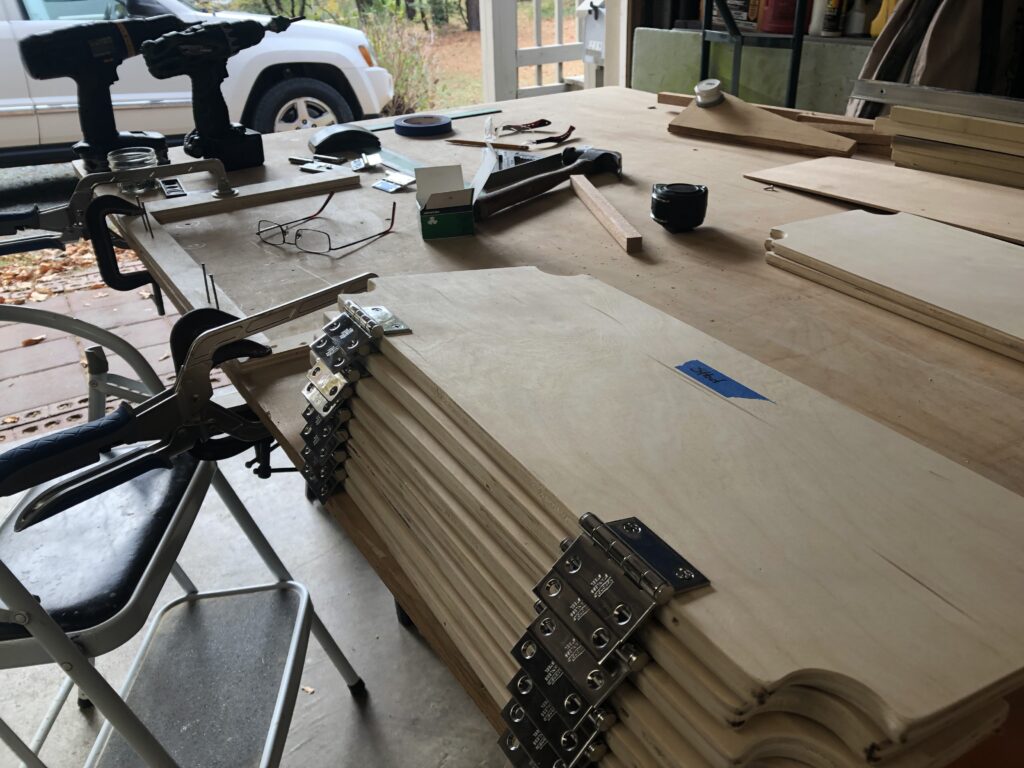
I made a jig to try to get the hinges aligned. It kind of worked.
12 doors, 23 hinges, 92 screws.
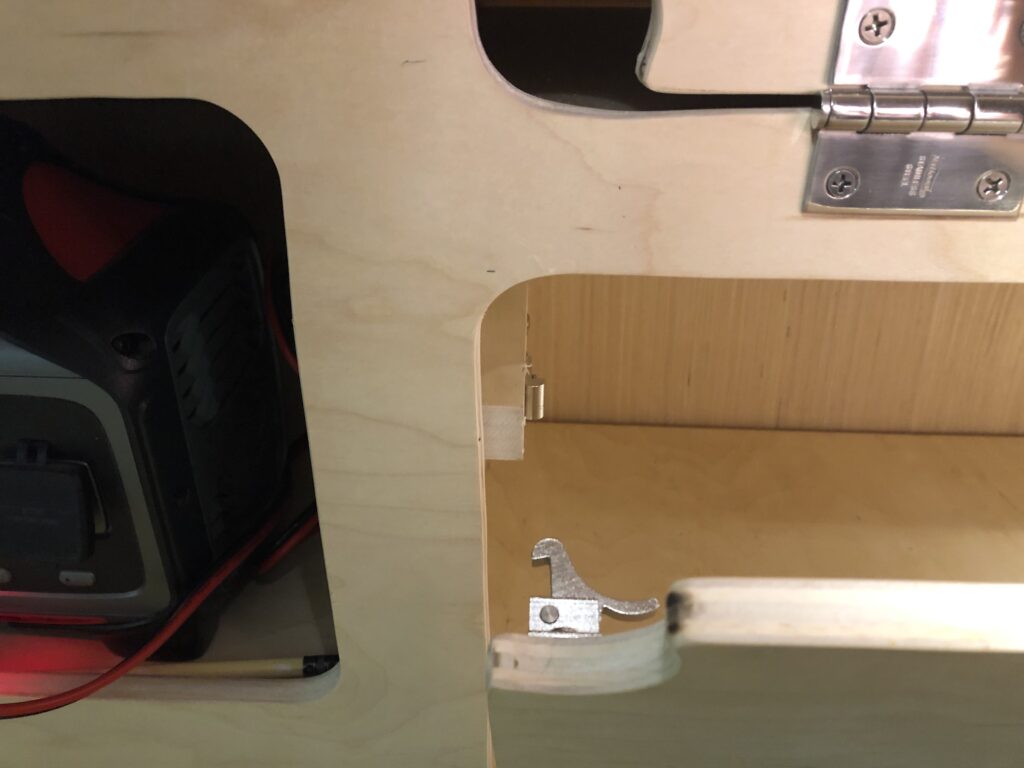
Here’s a view of the latch.
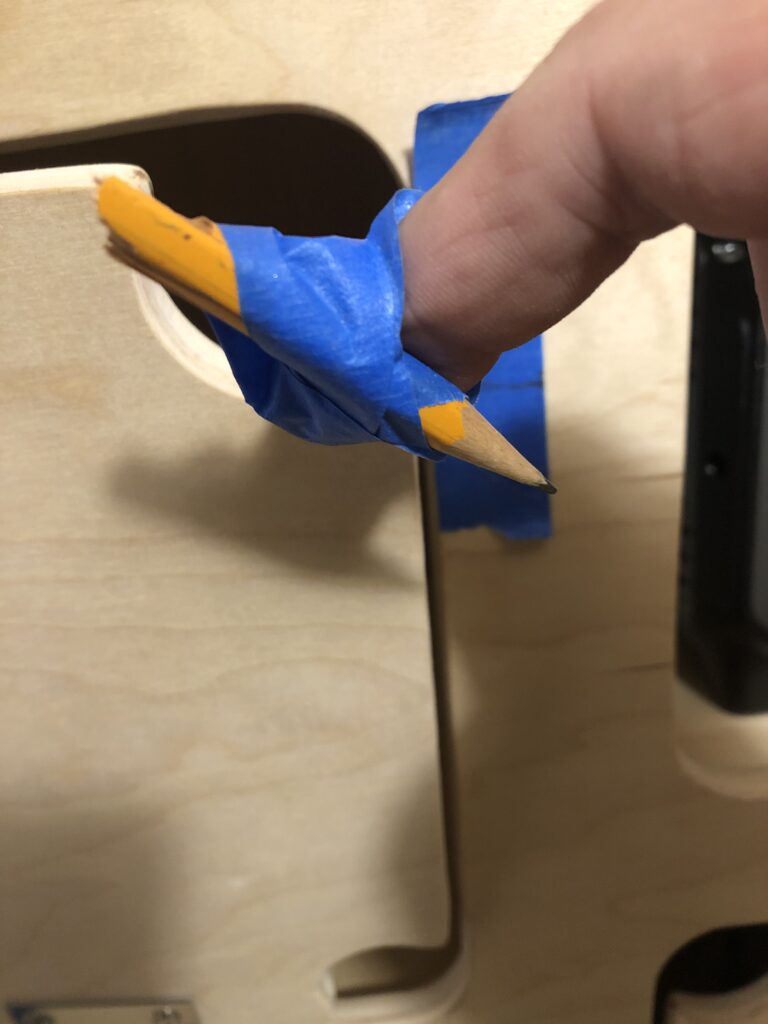
I had to make a blind mark with the door closed to get my latch location. Here’s how used the pencil.
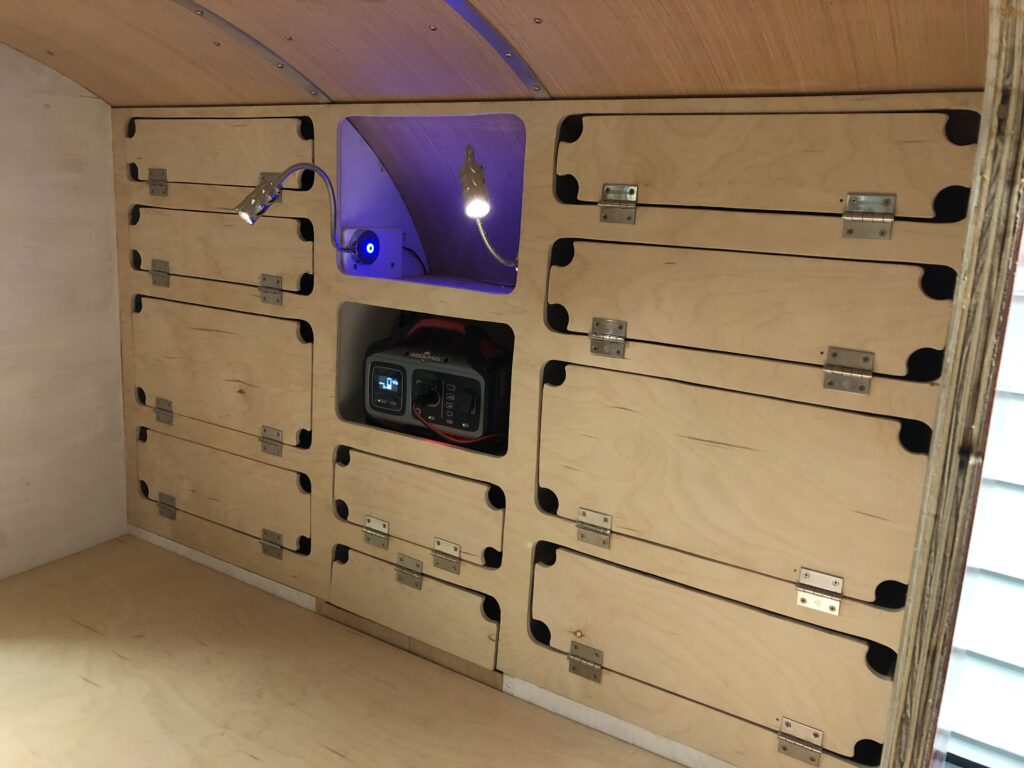
The cabinets at the foot of the cabin.
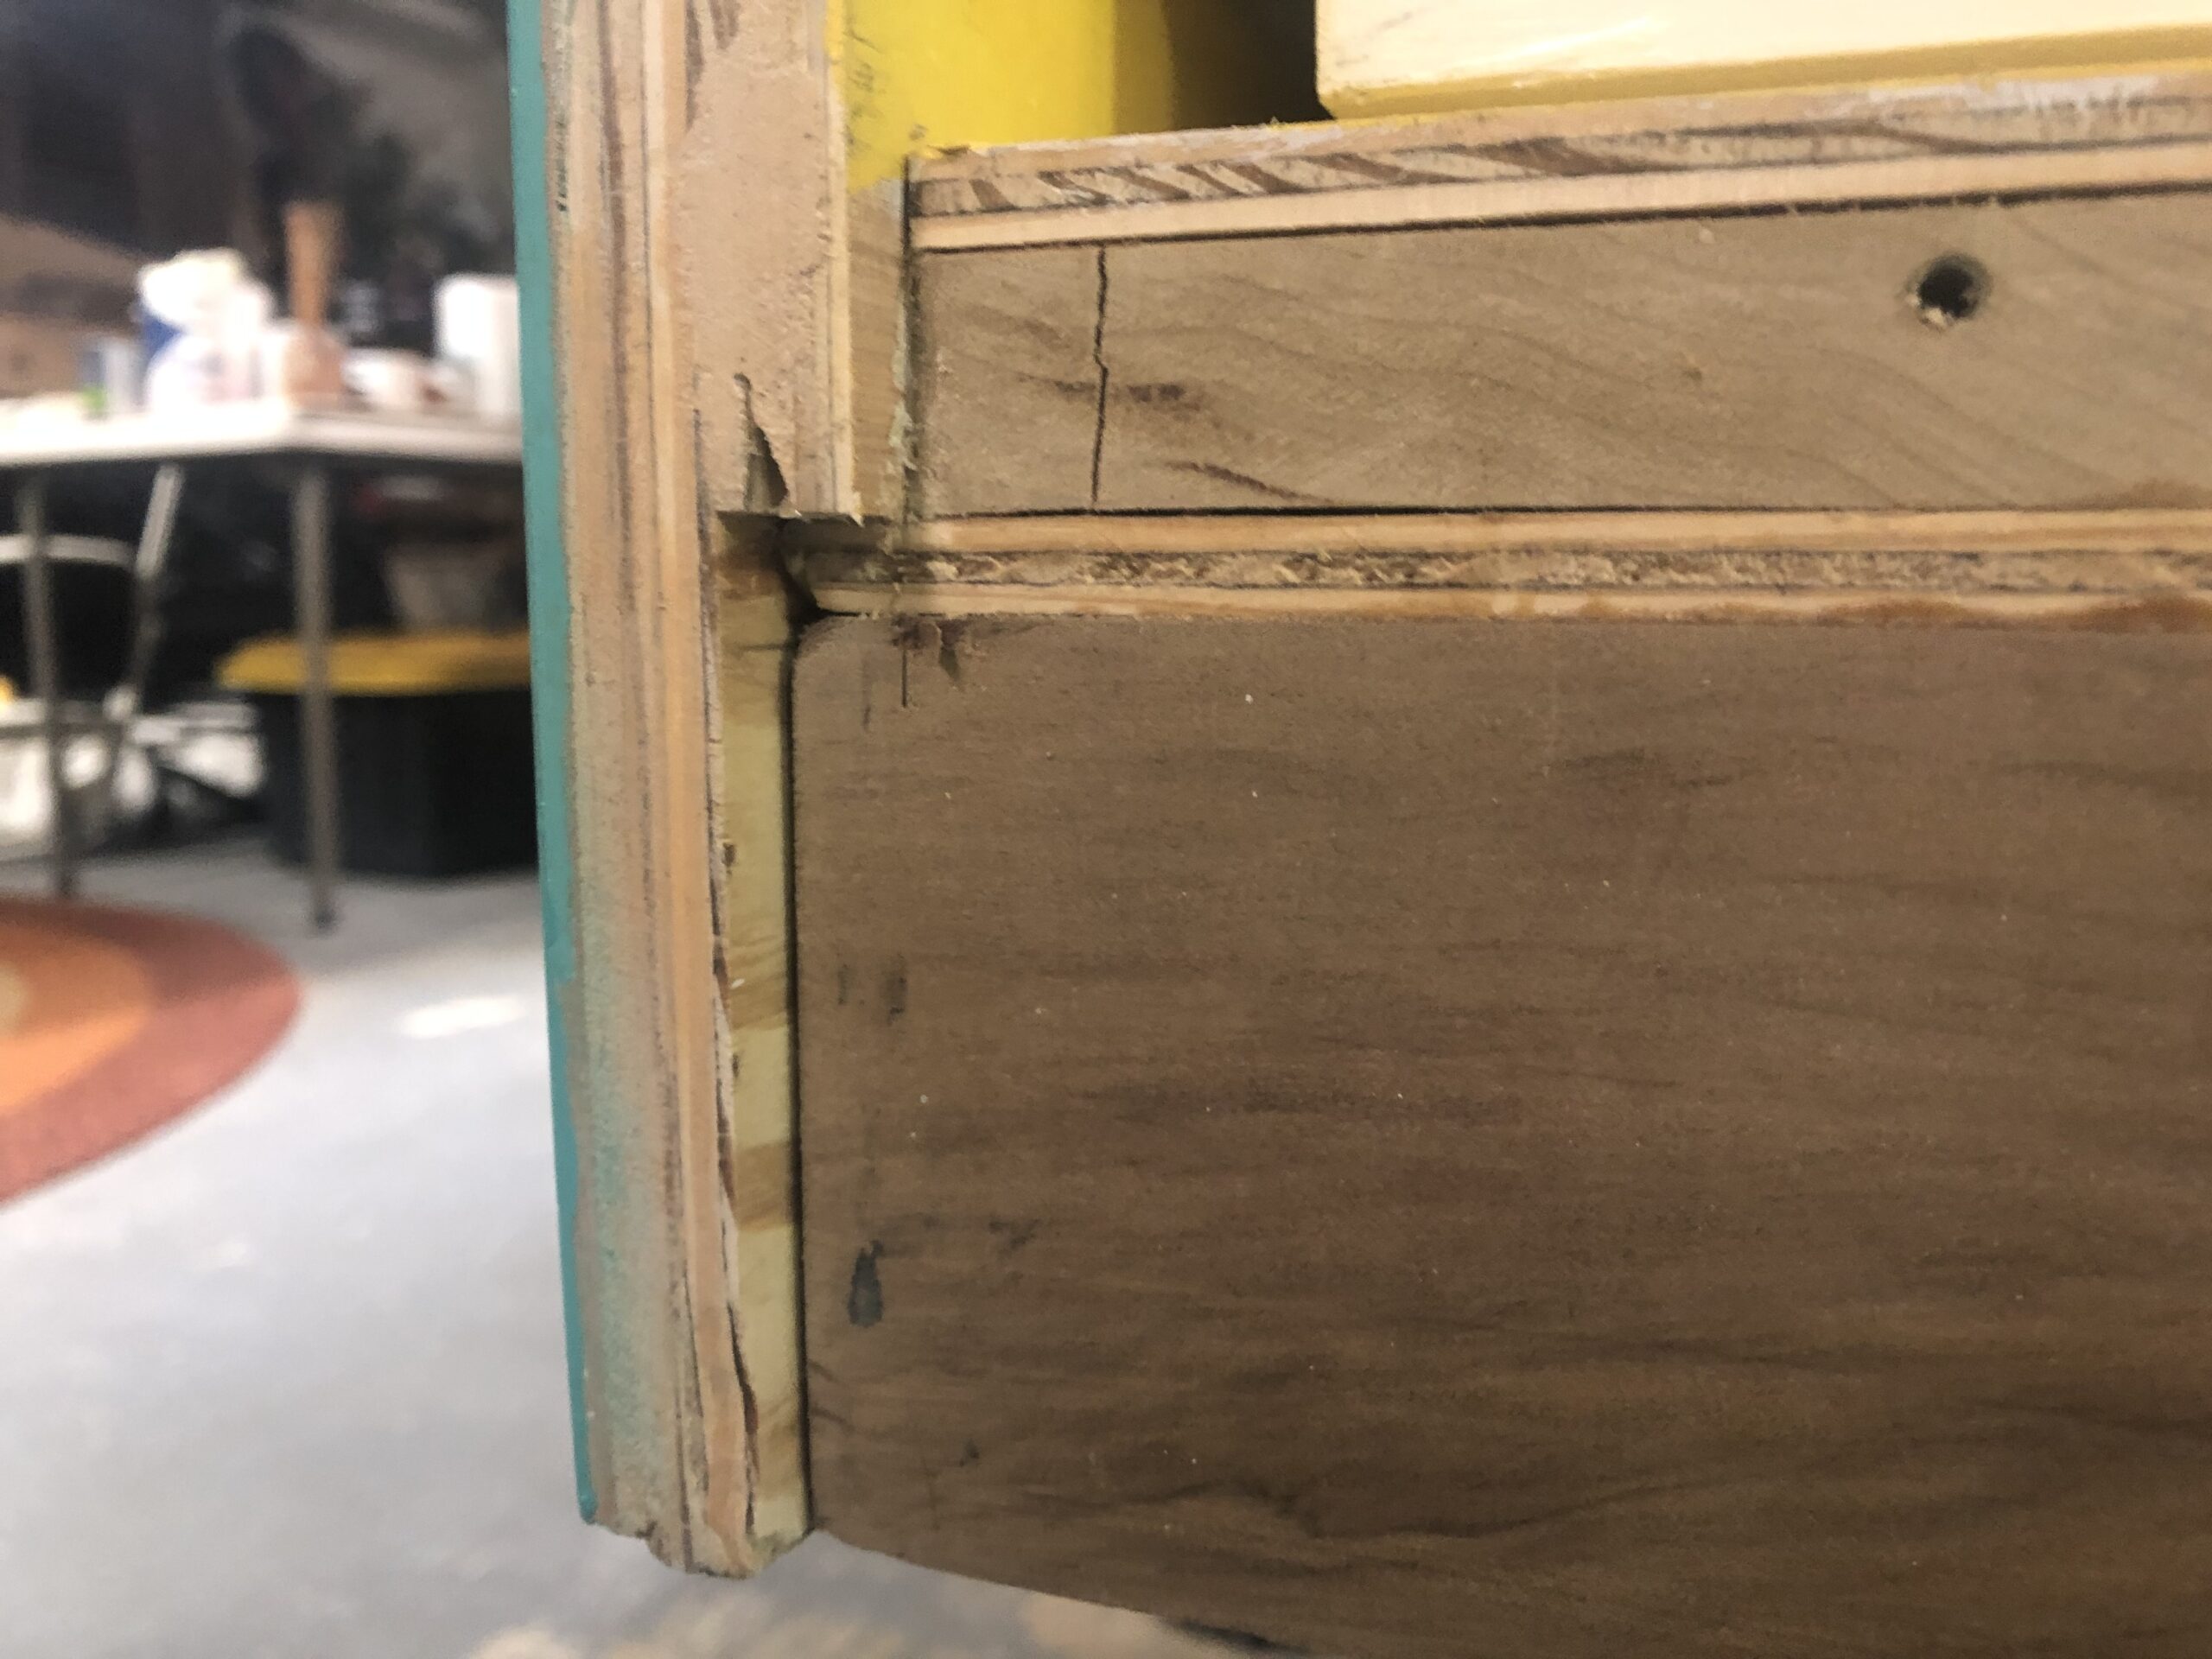
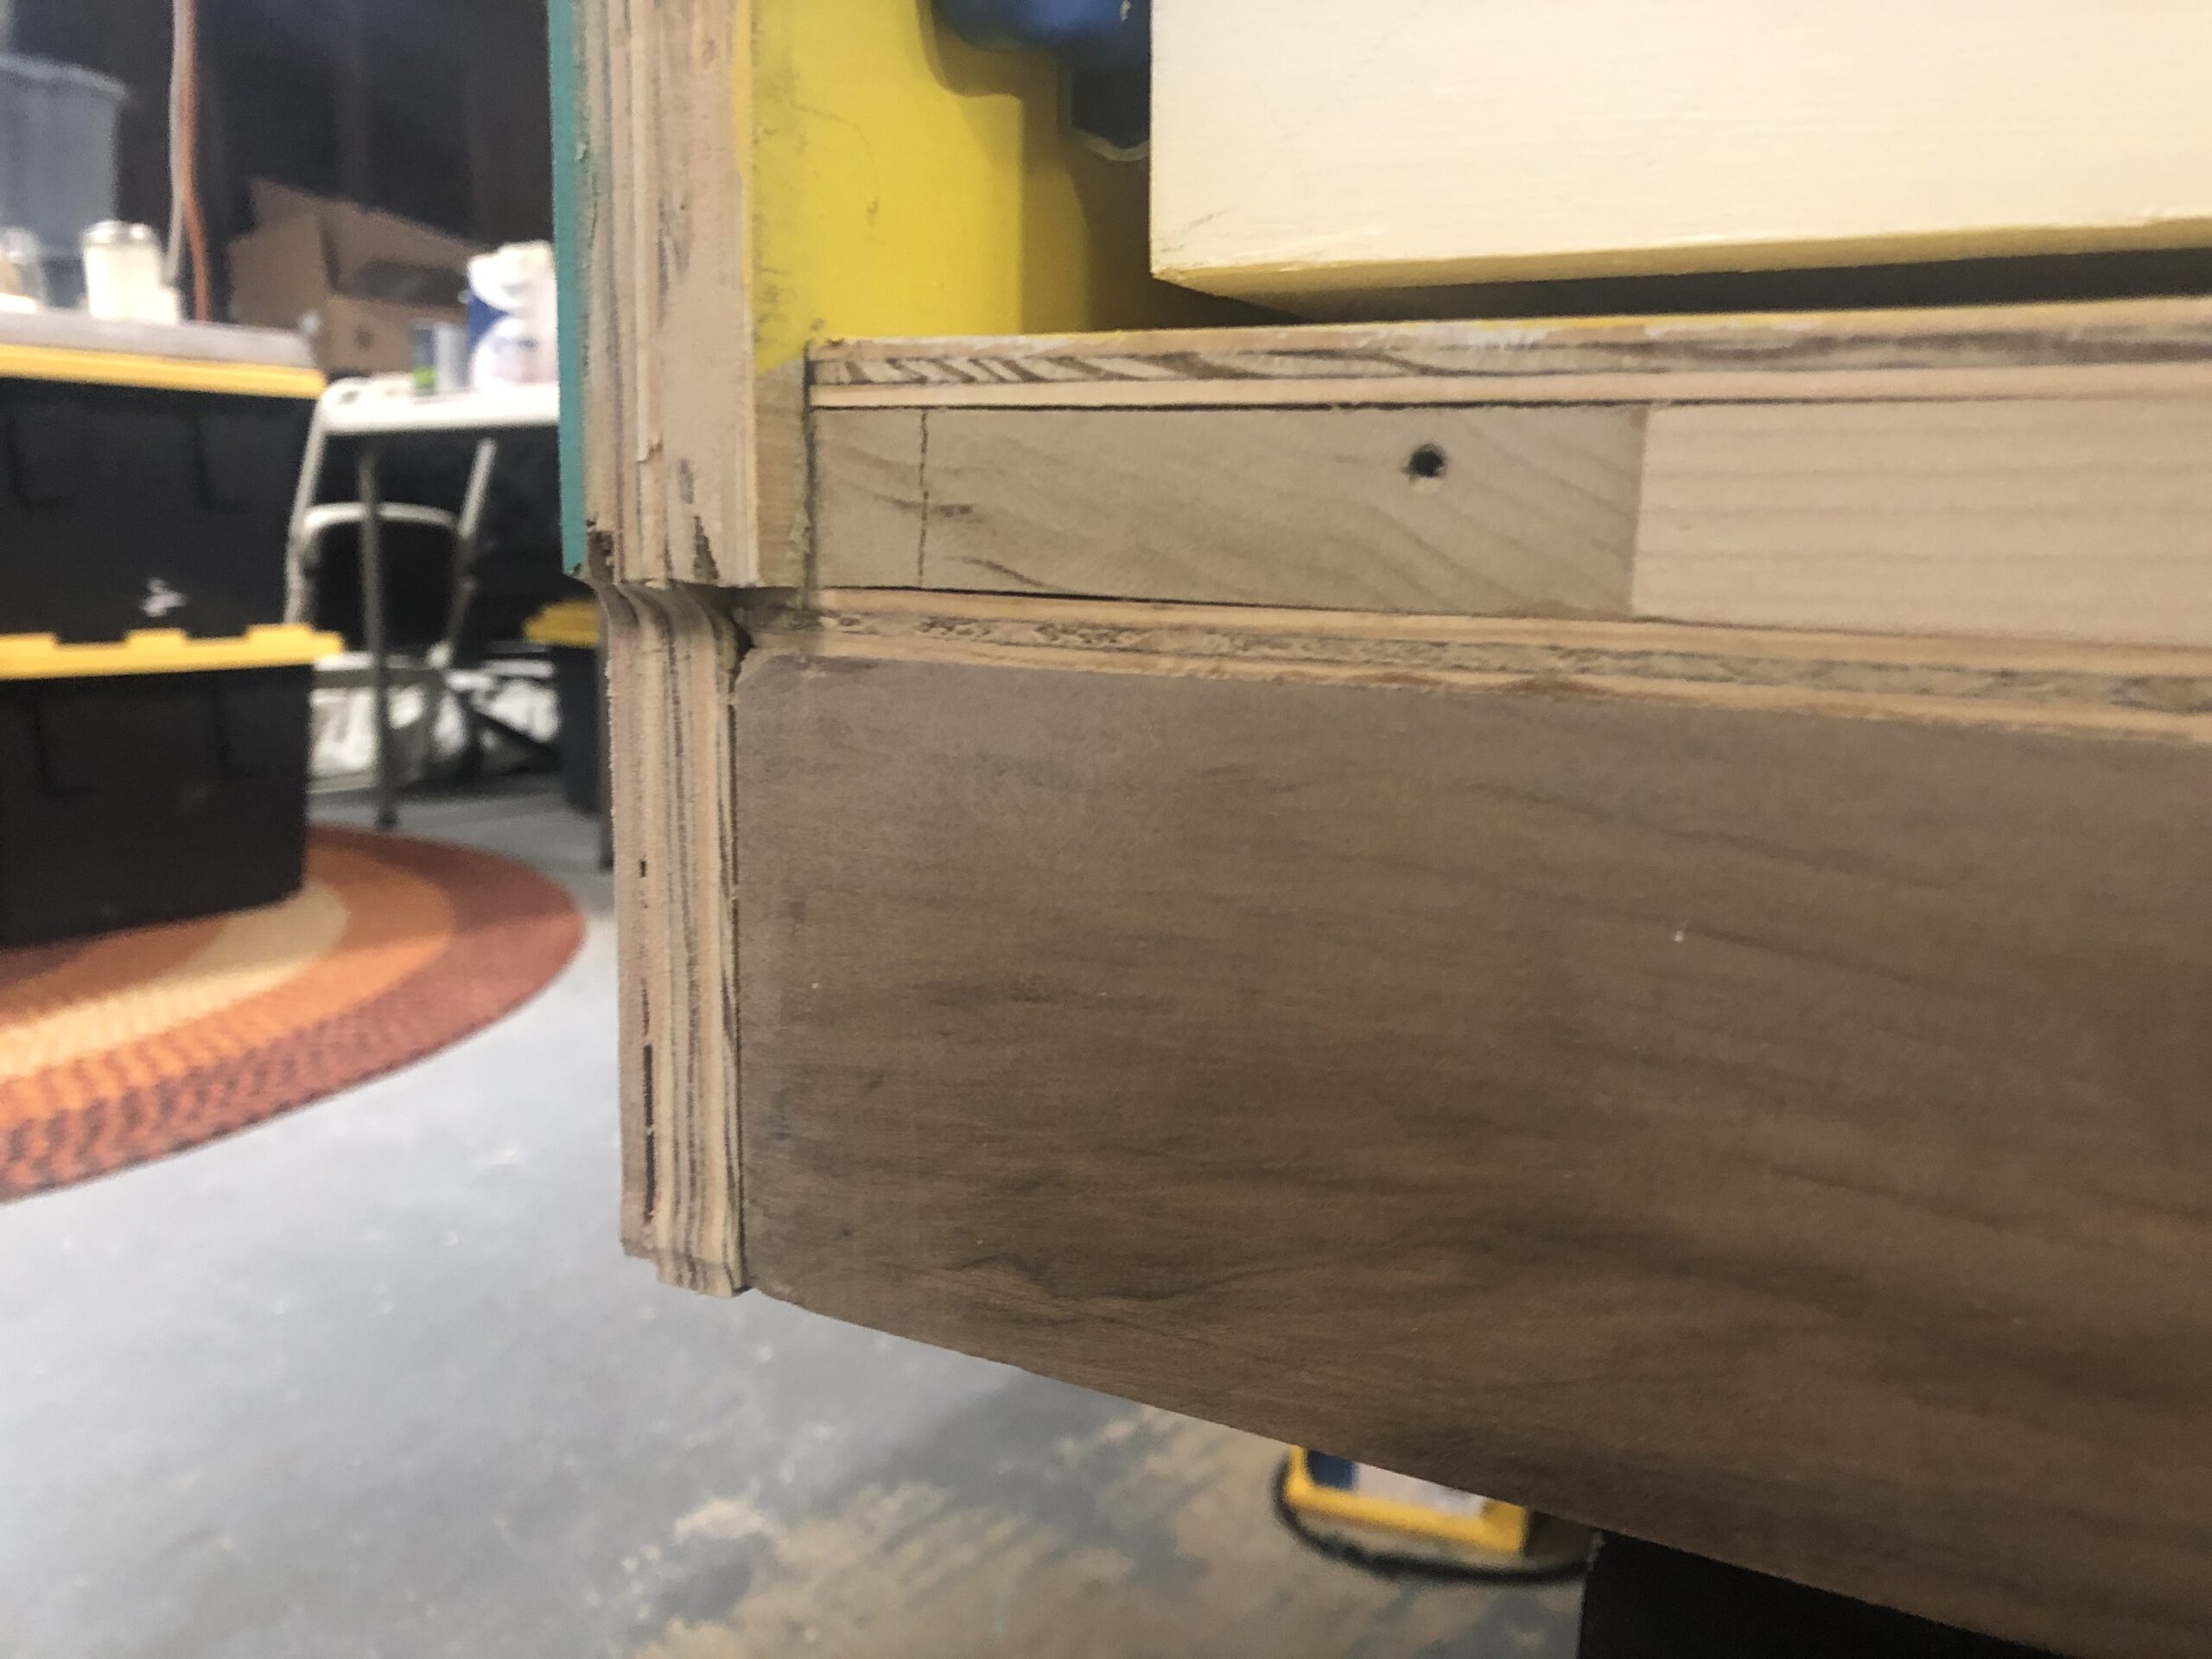
Meanwhile, I did a lot of sanding on the storage door to get a good fit. One of the challenges with using plywood here is that the depth of the rout exposes some really low-grade wood, which is wavy and hard to get smooth.And, yes, I’ve begun work on the galley hatch v2. Here I’m outlining the form I’ll use for a template for the ribs. This time, instead of the inside curve being the same radius as the side walls, they are 3/8 inch larger, which will allow for the rubber gasket that will seal it water tight. At the top of the photo you can see the fancy tool I made to draw the 5/8 radius.
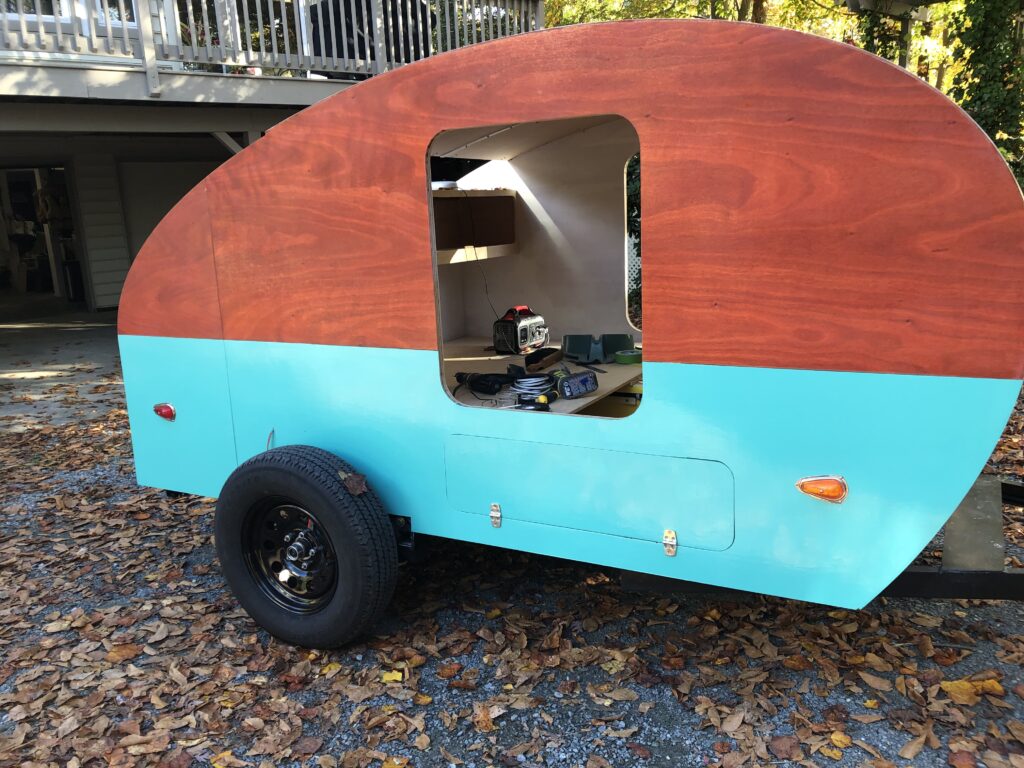
Not a lot of “action” photos to share for the past week’s work. Most of my time has been spent painting and sanding. Three coats of poly paint on sides and top, each time with a sanding (first with 220, then 400, and 600 grit paper) a thorough scuffing to get a “mechanical” (my new favorite term) bond, then a wipe down with alcohol and again with tack cloth. It has really led to a beautiful finish.
The wood grain will get some more coats of epoxy and varnish, but that will come a little later.
Meanwhile, all the wiring at the front of the trailer is complete.
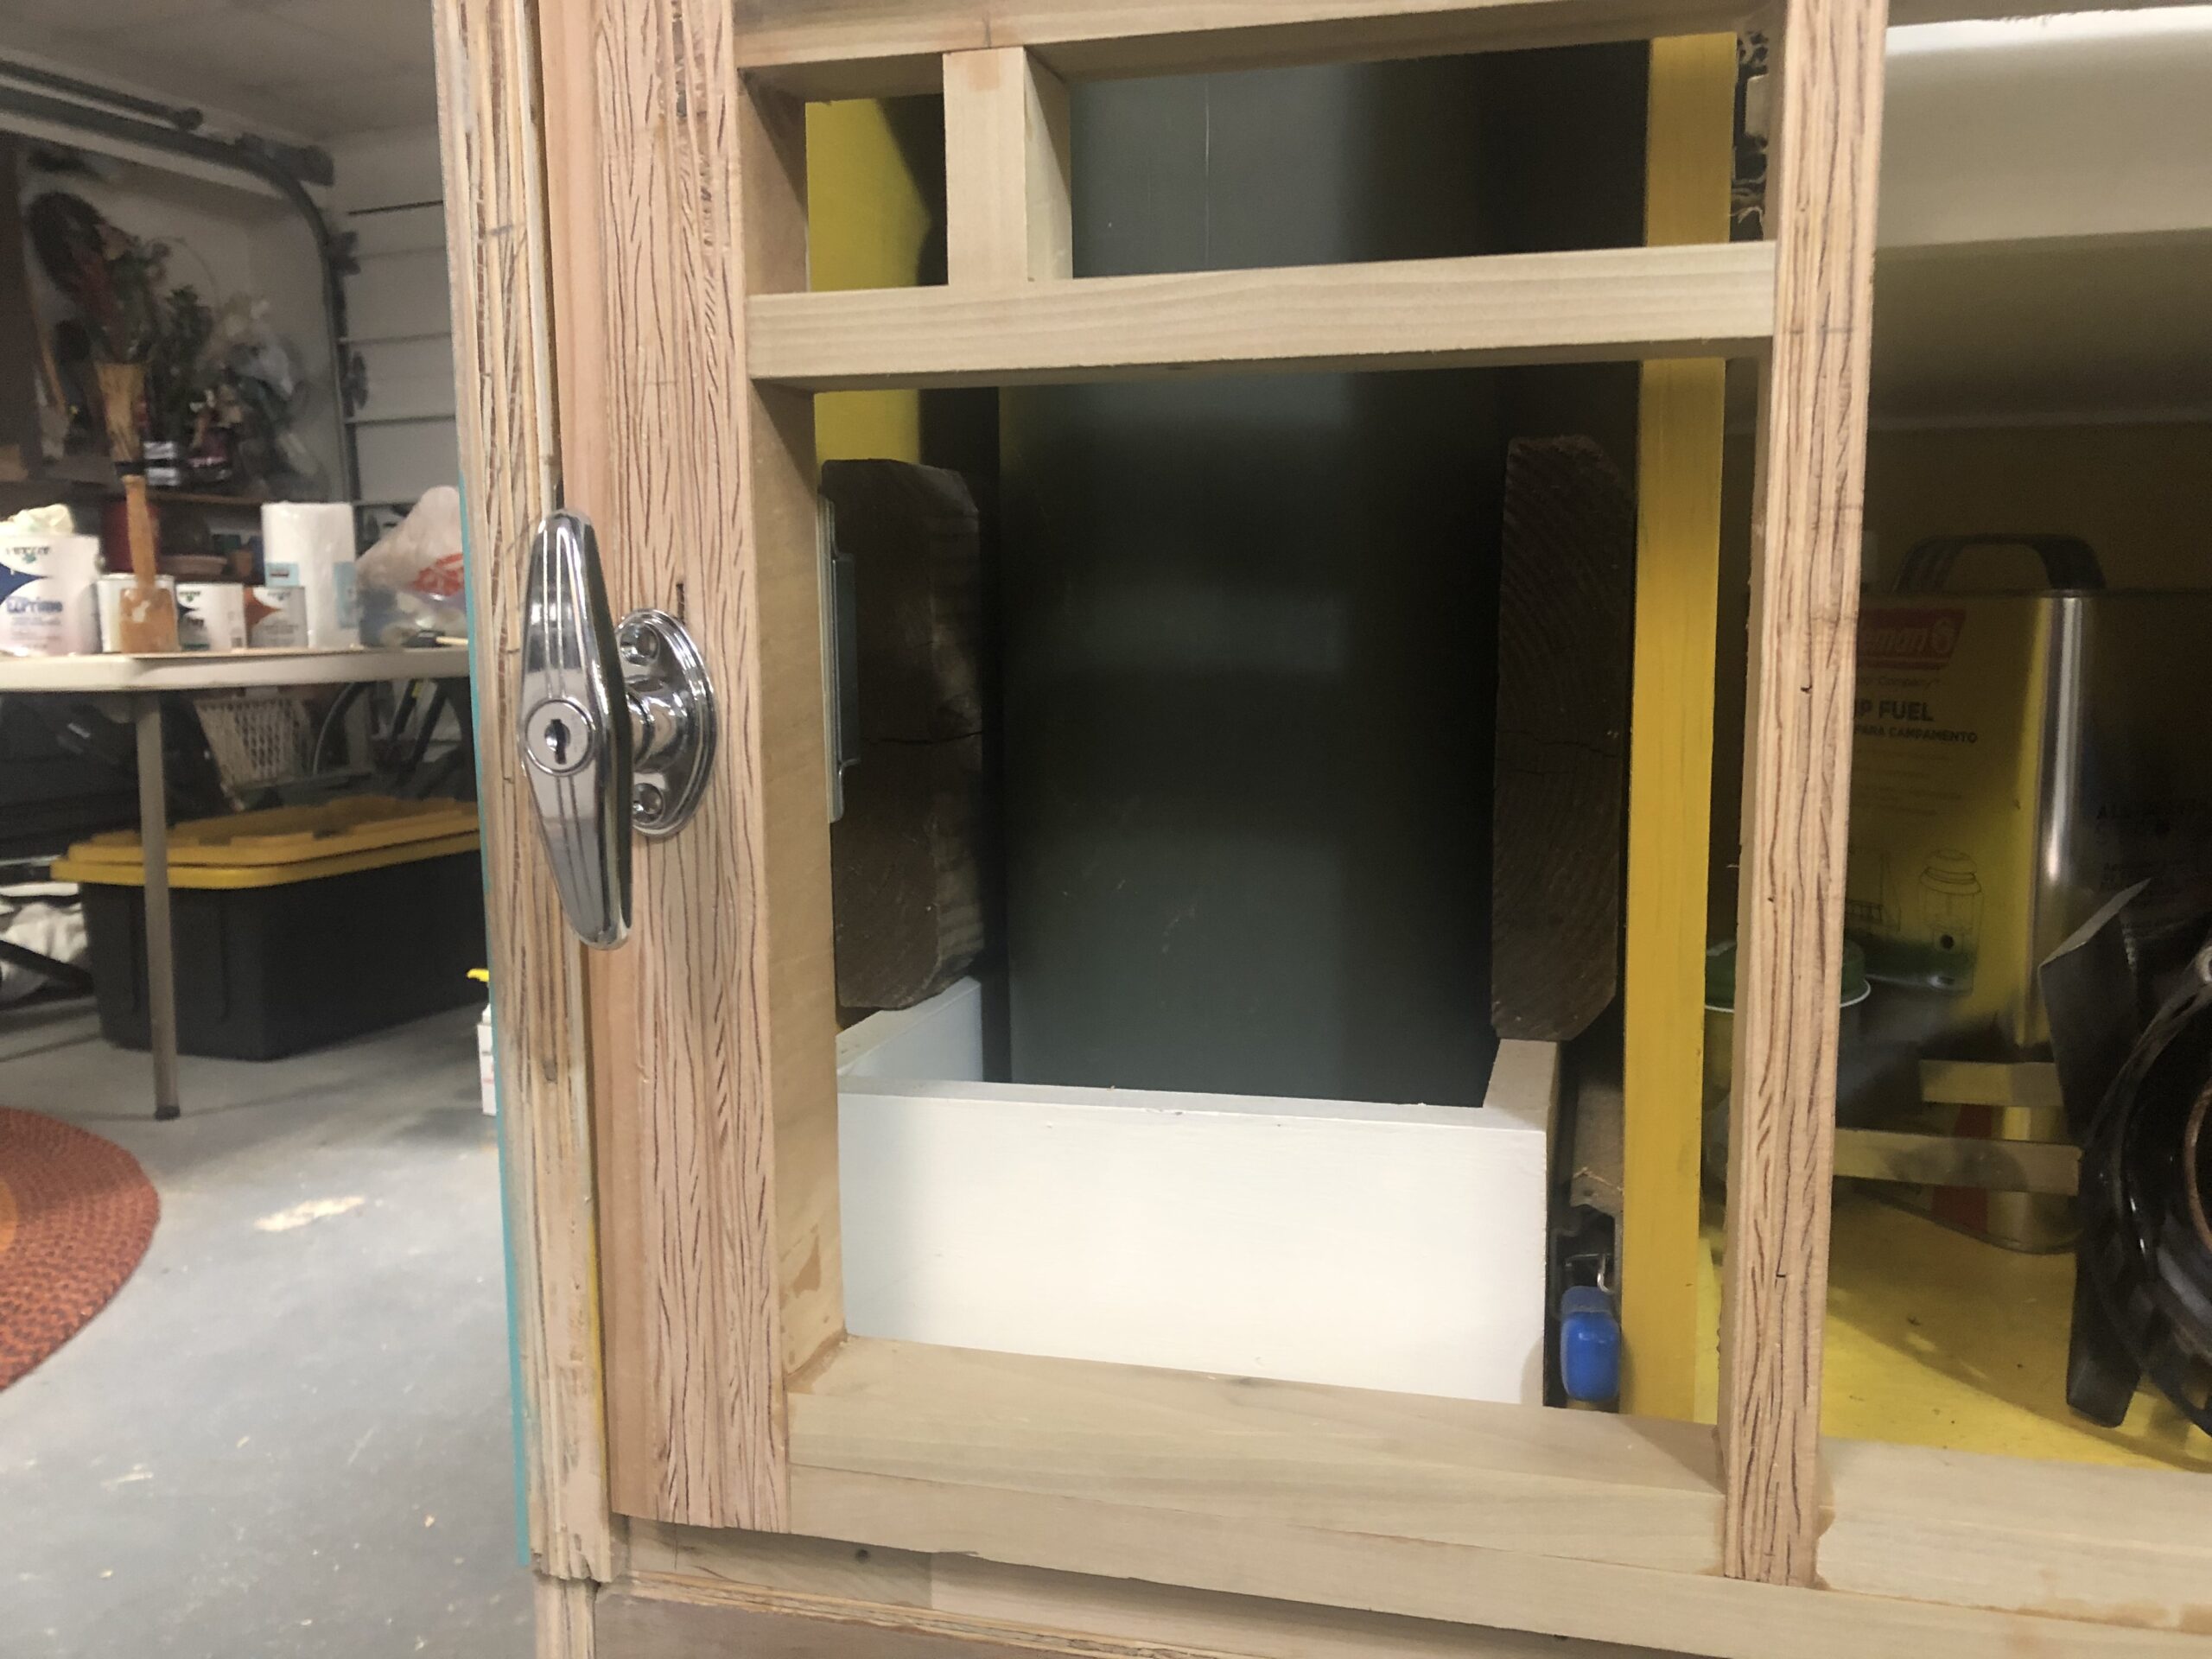
Electric will be accessed from a secret hatch.
Here’s the innards.
Next steps are getting those storage hatches on the side to seal water tight, and get the cabinet doors installed inside. There is also the small matter of rebuilding the galley hatch, but I guess I am still waiting for the bruises from my first attempt to heal?
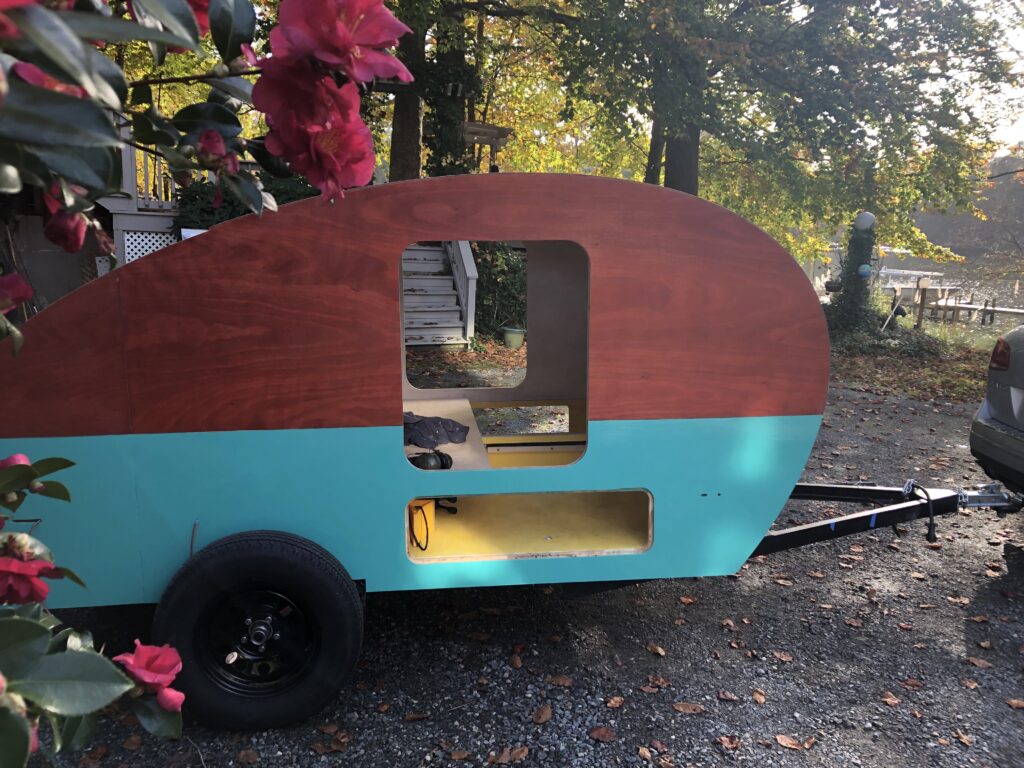
The past weeks have been lovely for working outdoors.
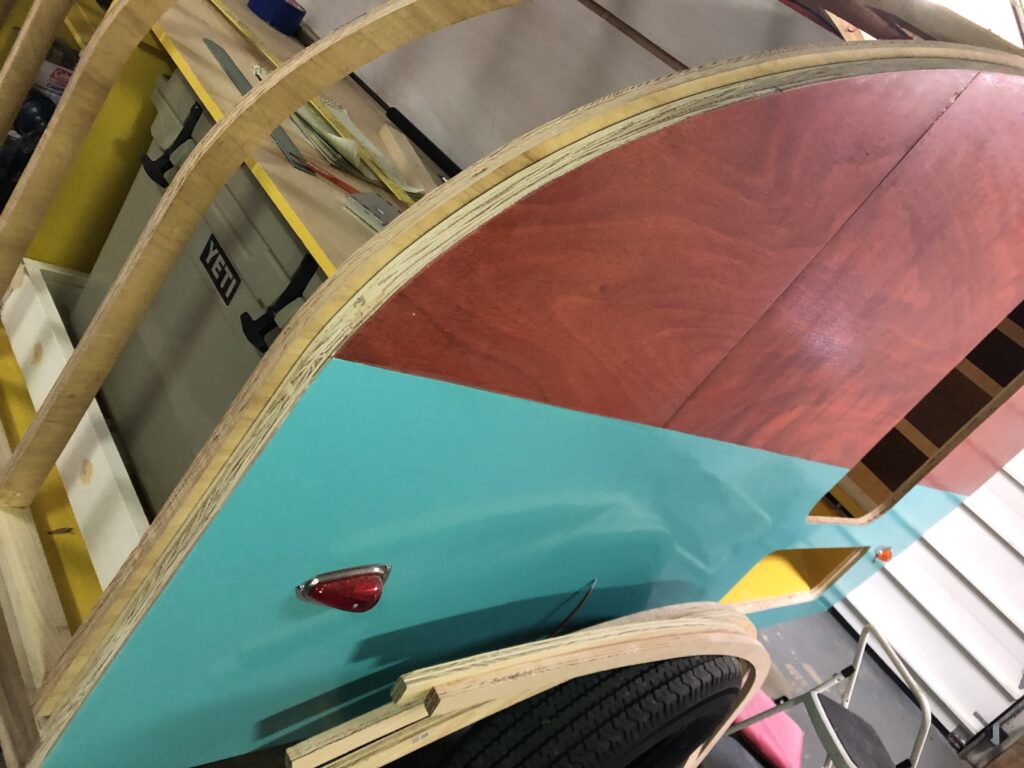
I like this shot with the flowers framing the Bettie Mobile.