We’ve been working on the glued panels a bit and boy have I learned a few things about what CNC routing can and can’t do. There’s been a lot of variance in thickness in the panels, particularly where two panels join. We’ve also run into some issues with some of the routes not being consistent in depth or placement. When we laid the panels on top of each other, one side was over 1/2 inch longer than the other! Yikes! It’s been a bit disappointing – a lot more work has gone into cutting, routing, and sanding than I had hoped (particularly given how expensive the CNC work was). One particular and persistent problem is where our CNC guy used a different type of plywood for one of the six side panel pieces. The plywood was warped, and of a different thickness, so it really caused some trouble.
The good news is that we still have plenty of time to wrestle the sides into something closer to the design specs, as we are still waiting for the welding of the trailer to begin.
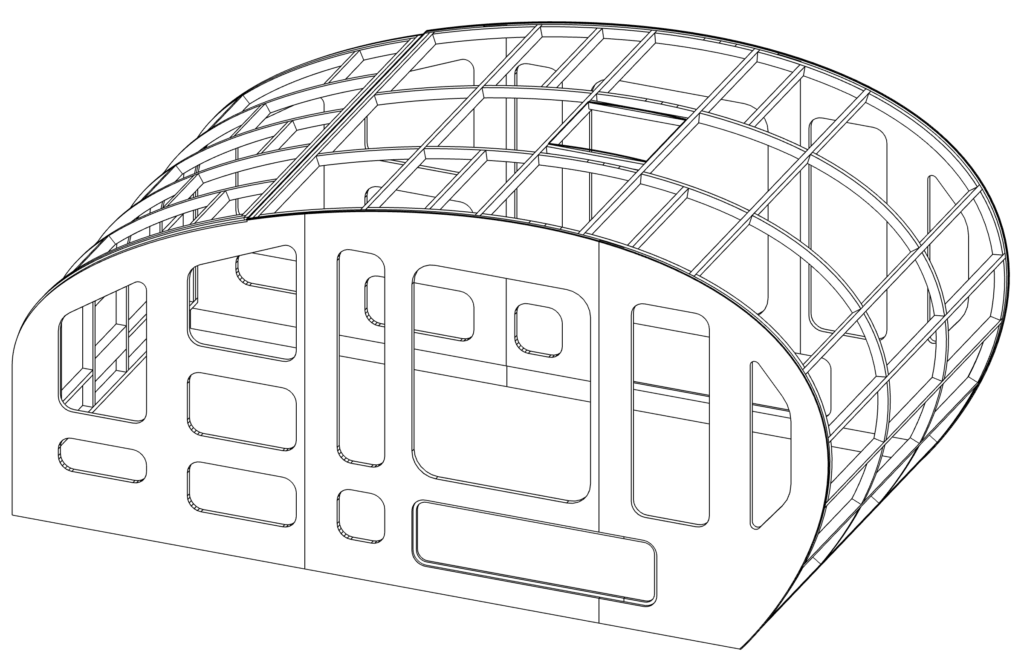
I still am grateful for the CNC routing for all the curvy bits. A big part of what makes a teardrop a teardrop are those beautiful compound curves that make the shape. Not only were the curves of the side panels cut by a robot, but all the curved supports that will bend the roof to their will. I’ve done some dry-fitting tests and it looks like those roof ribs are just the way I need them. Proof of whether that is true will come when it is time fit the roof skins on.
If I were to do this thing again, I think I would try one of these options:
Option A: Just have one side CNC, and all those curvy roof bits, cut. So, instead of paying for six panels to be cut and shaped, just have three of them done this way. I wouldn’t have any of the routing done prior to joining the panels. We would take the time to hand-route the lap joints to make sure the panels are joined even. Once we have those three pieces glued to make one side, we have a template that we can use to form the other side. I would first join and glue the other side plywood as a large rectangle first, Then, lay the other finished side on it, screw the two together, and use a flush bit on a strong router to cut the shape.
Option B: CNC cut a template, and take it from there. In this instance, we could use cheaper, thinner plywood to have the curves of the camper cut – maybe just from one 4×8 sheet. These template pieces could then be used as a router guide to cut one side of the trailer (using the glued rectangle technique described above). Then we have a completed side to use as a template for the other side. Make sense? This method would require hand routing all those roof curvy bits, but I’m not too intimidated by that.
But, that’s for next time. I need to get back to the shop and keep plugging away!

The first one is always the most difficult.
oh wow, what a project! appreciate the title of this segment “Lessons Learned”