All the walls and bottom use styrofoam as insulation. We needed to trim some it the correct thickness, so I created a dangerous tool to do it, using broken chair legs and NiChrome wire. You can also marvel at the great sound and camera work – sorry about that.
Then I take that cardboard out from under the styrofoam, and it fits perfectly!
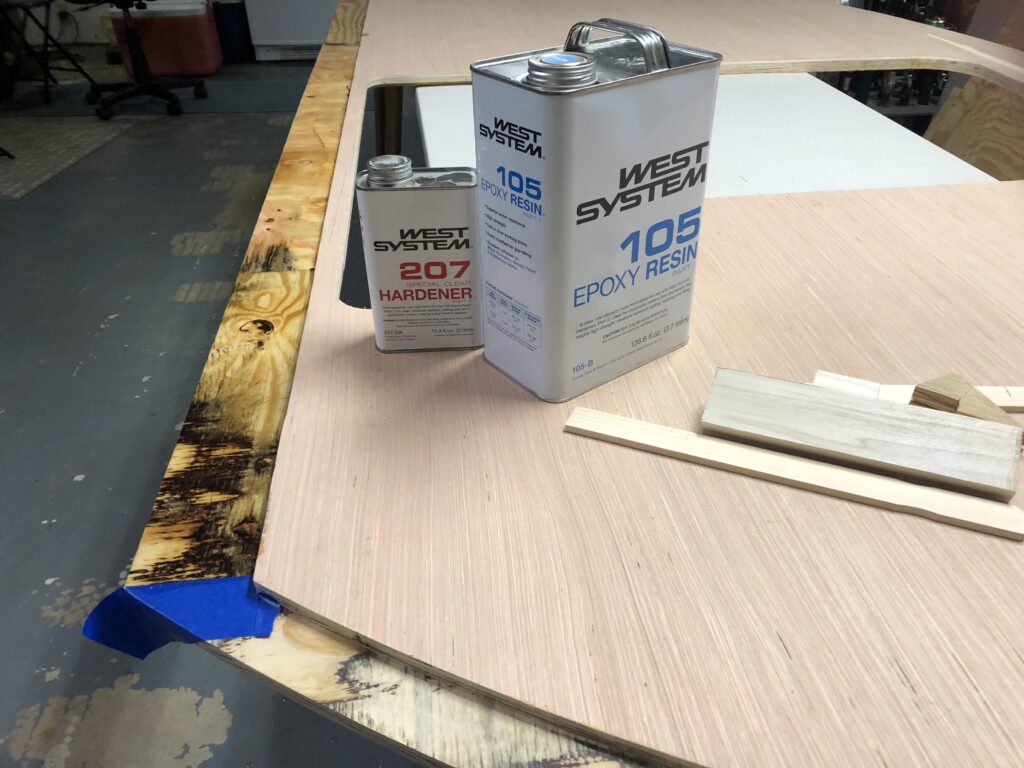
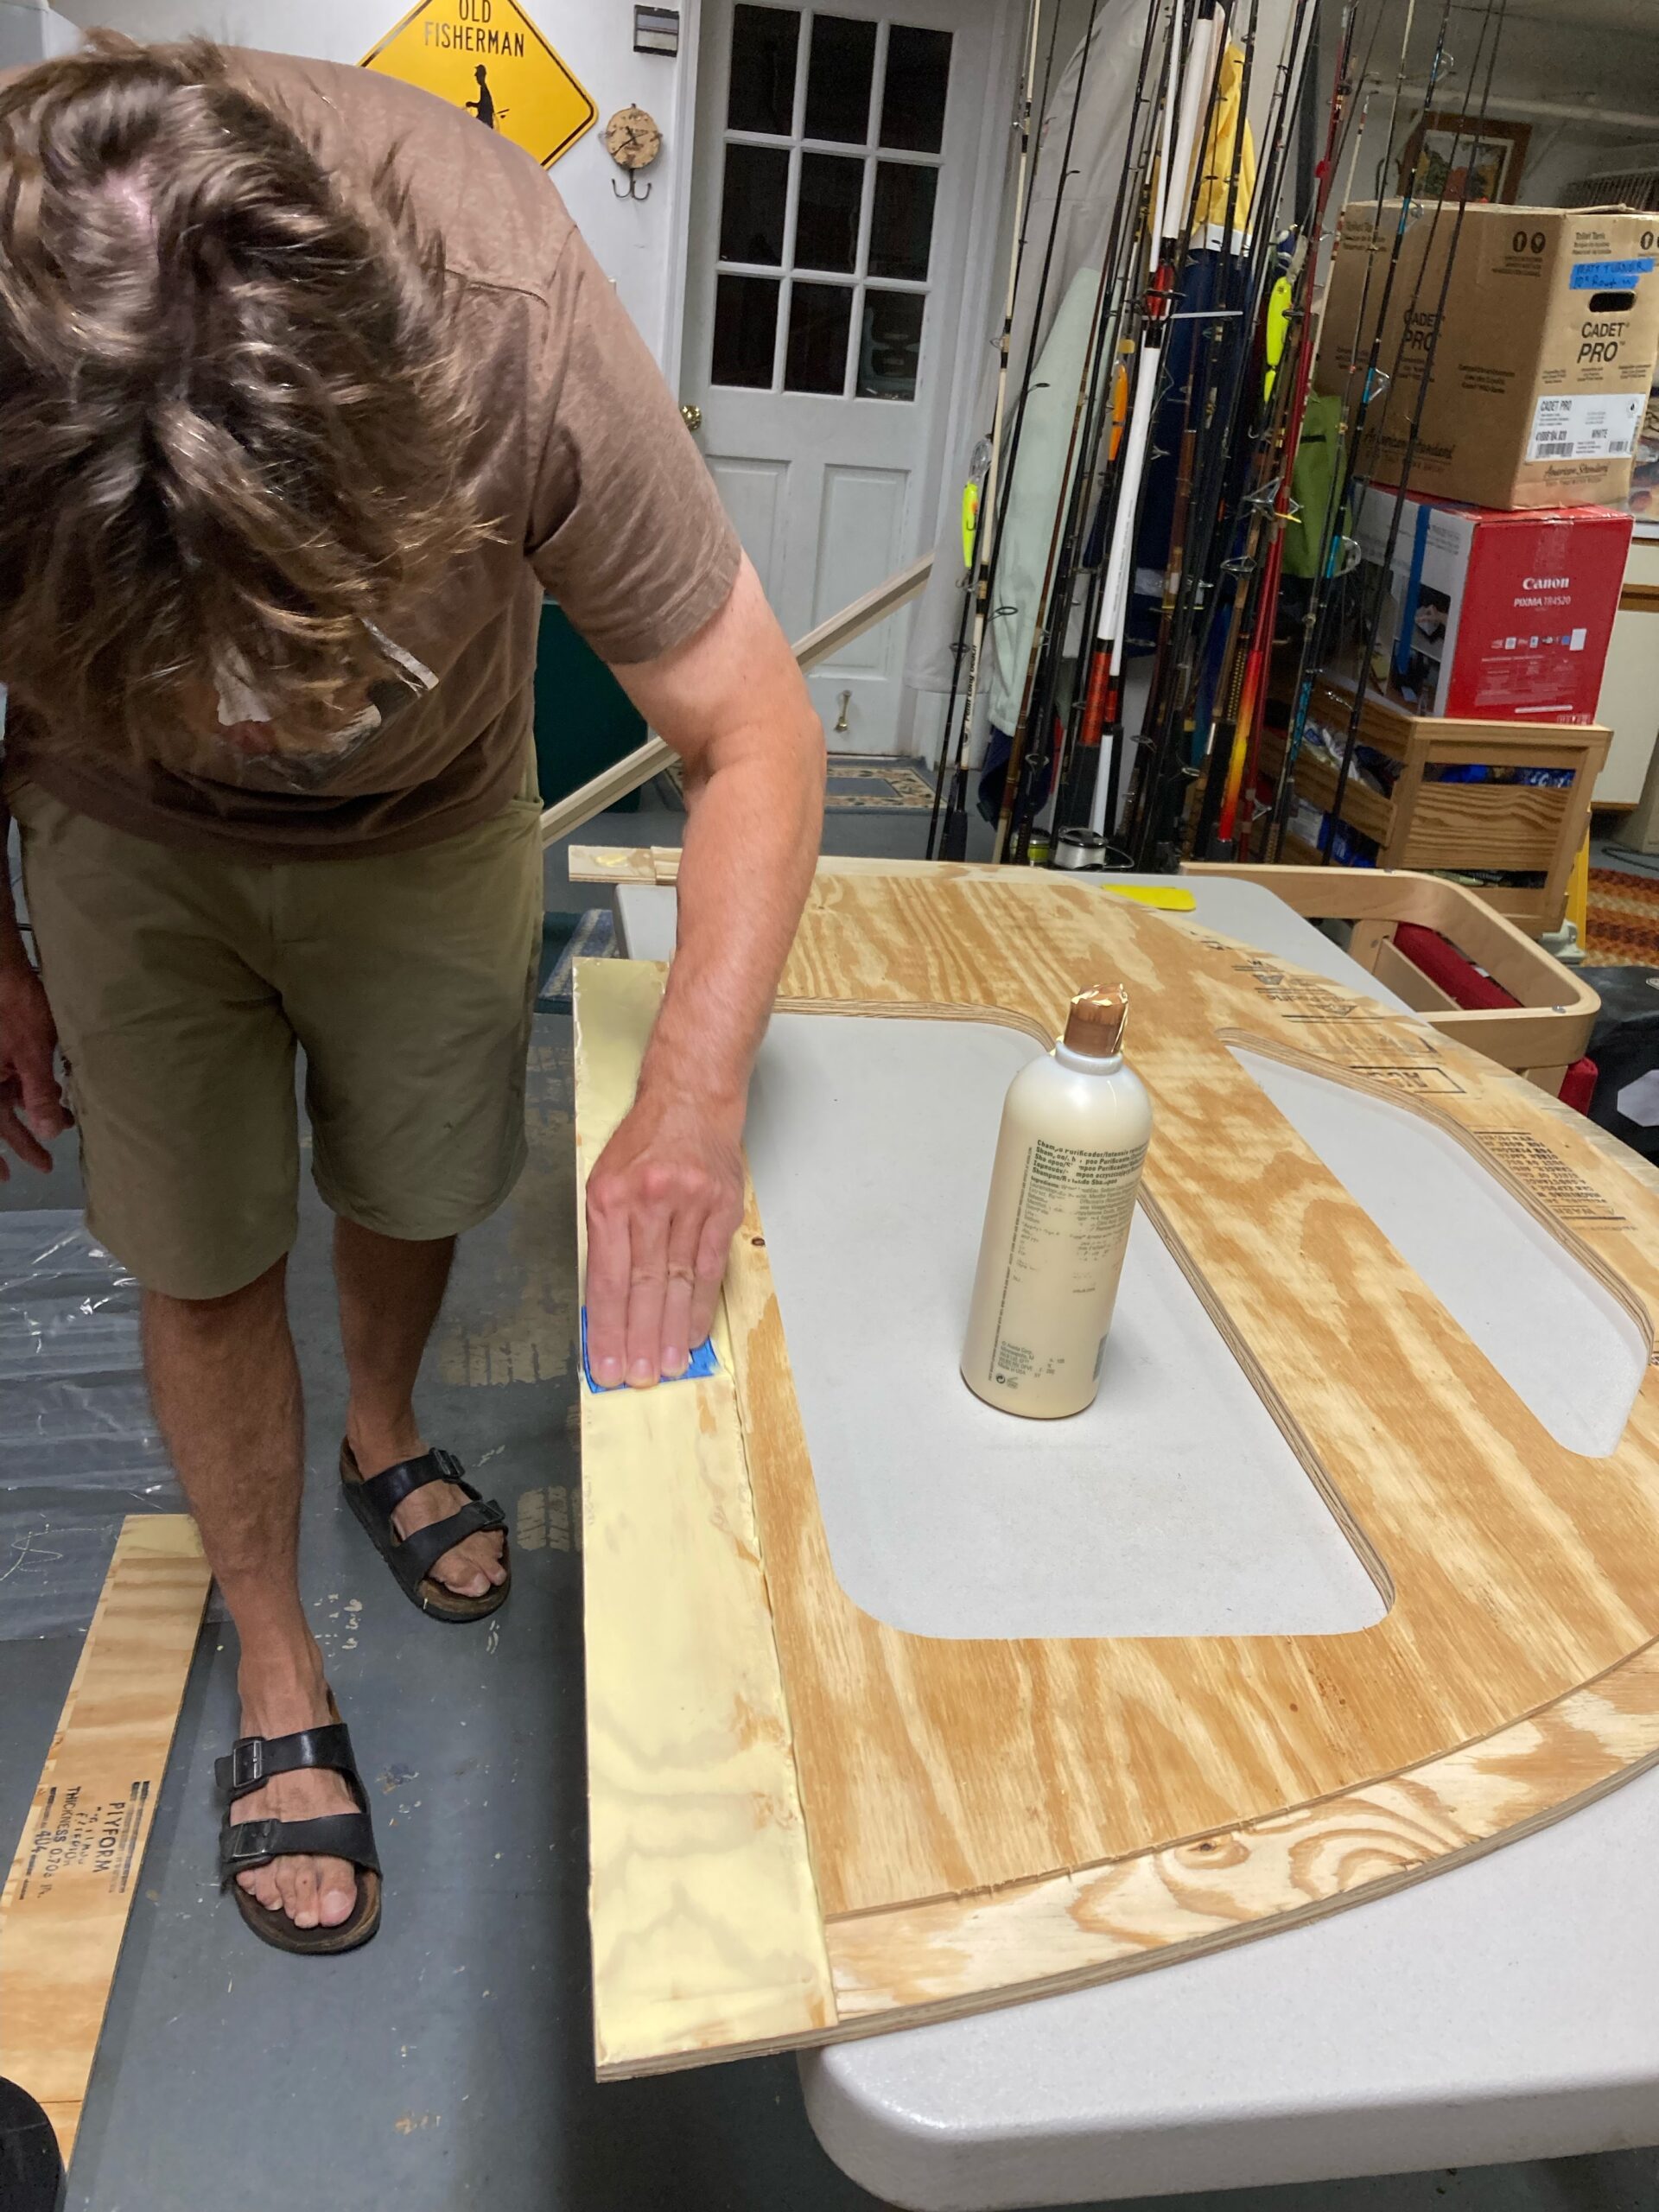
Today I applied poly resin to completely waterproof a section of the side wall that will go against the metal part of the trailer. Epoxy resin is in every hardware store around here because of all the boats. I was describing the steps for the camper build to a friend of mine who lives on a sailboat, and he said, “Oh, just like building a boat – got it.” I think some of the steps for putting this thing together may be confusing to folks who are used to putting together houses. No screws here – the constant vibrations of the road would jiggle them loose. Everything is built to glue together whenever possible, with the storage compartments designed to add structure to the whole. Every seam is sealed, every exterior surface coated in plastic.
Not that I’ve ever built a boat before, either. With every step of the build, even at these early stages, I keep thinking, “The NEXT time I do this…” It is such a fun course in Applied Camper Building I’m taking!
And how about some more exciting news? My lead for welding the trailer paid off. I should be picking up the frame next week! I ask of you all to go to a social gathering and raise a glass and a cheer for Atlantic Metal Products of Topping Virginia. May their praises be heard across the land! This is a Grown-Up metal shop and I think welding this trailer is a way puny job for them, but through a barroom buddy connection the president of the company agreed to kick this out for Kayla and I. Expect the build to really kick into high gear next week!
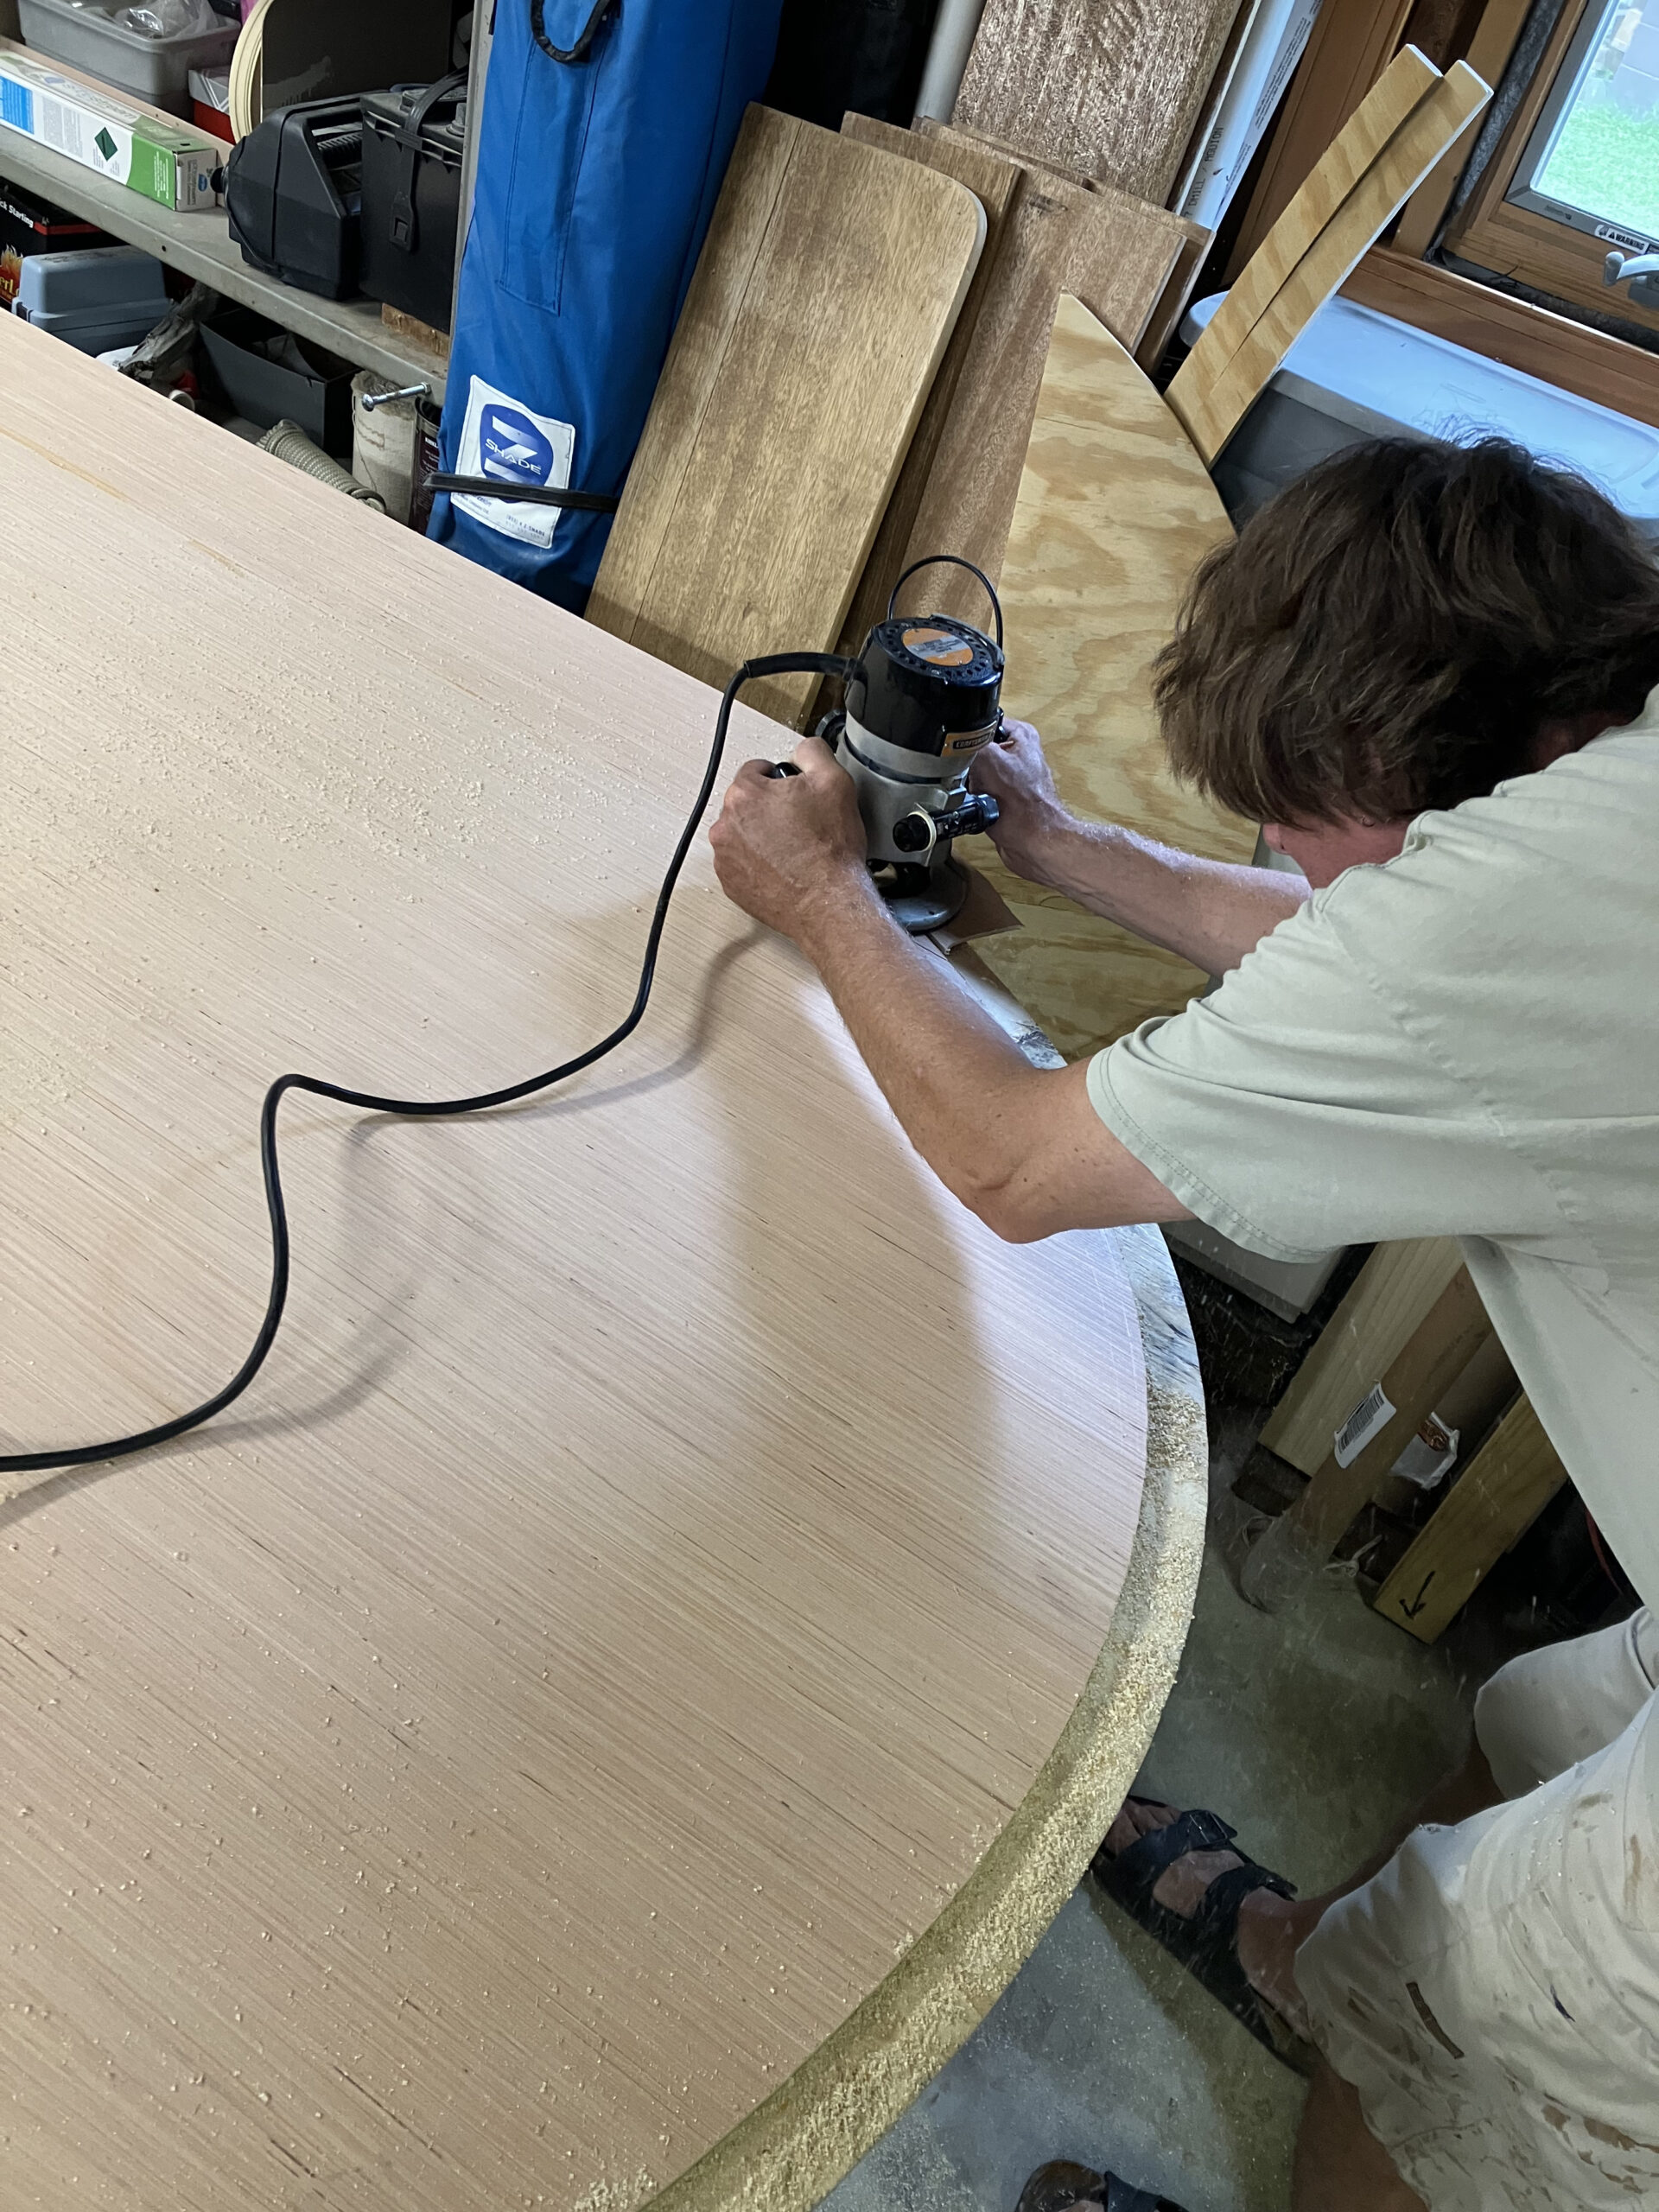
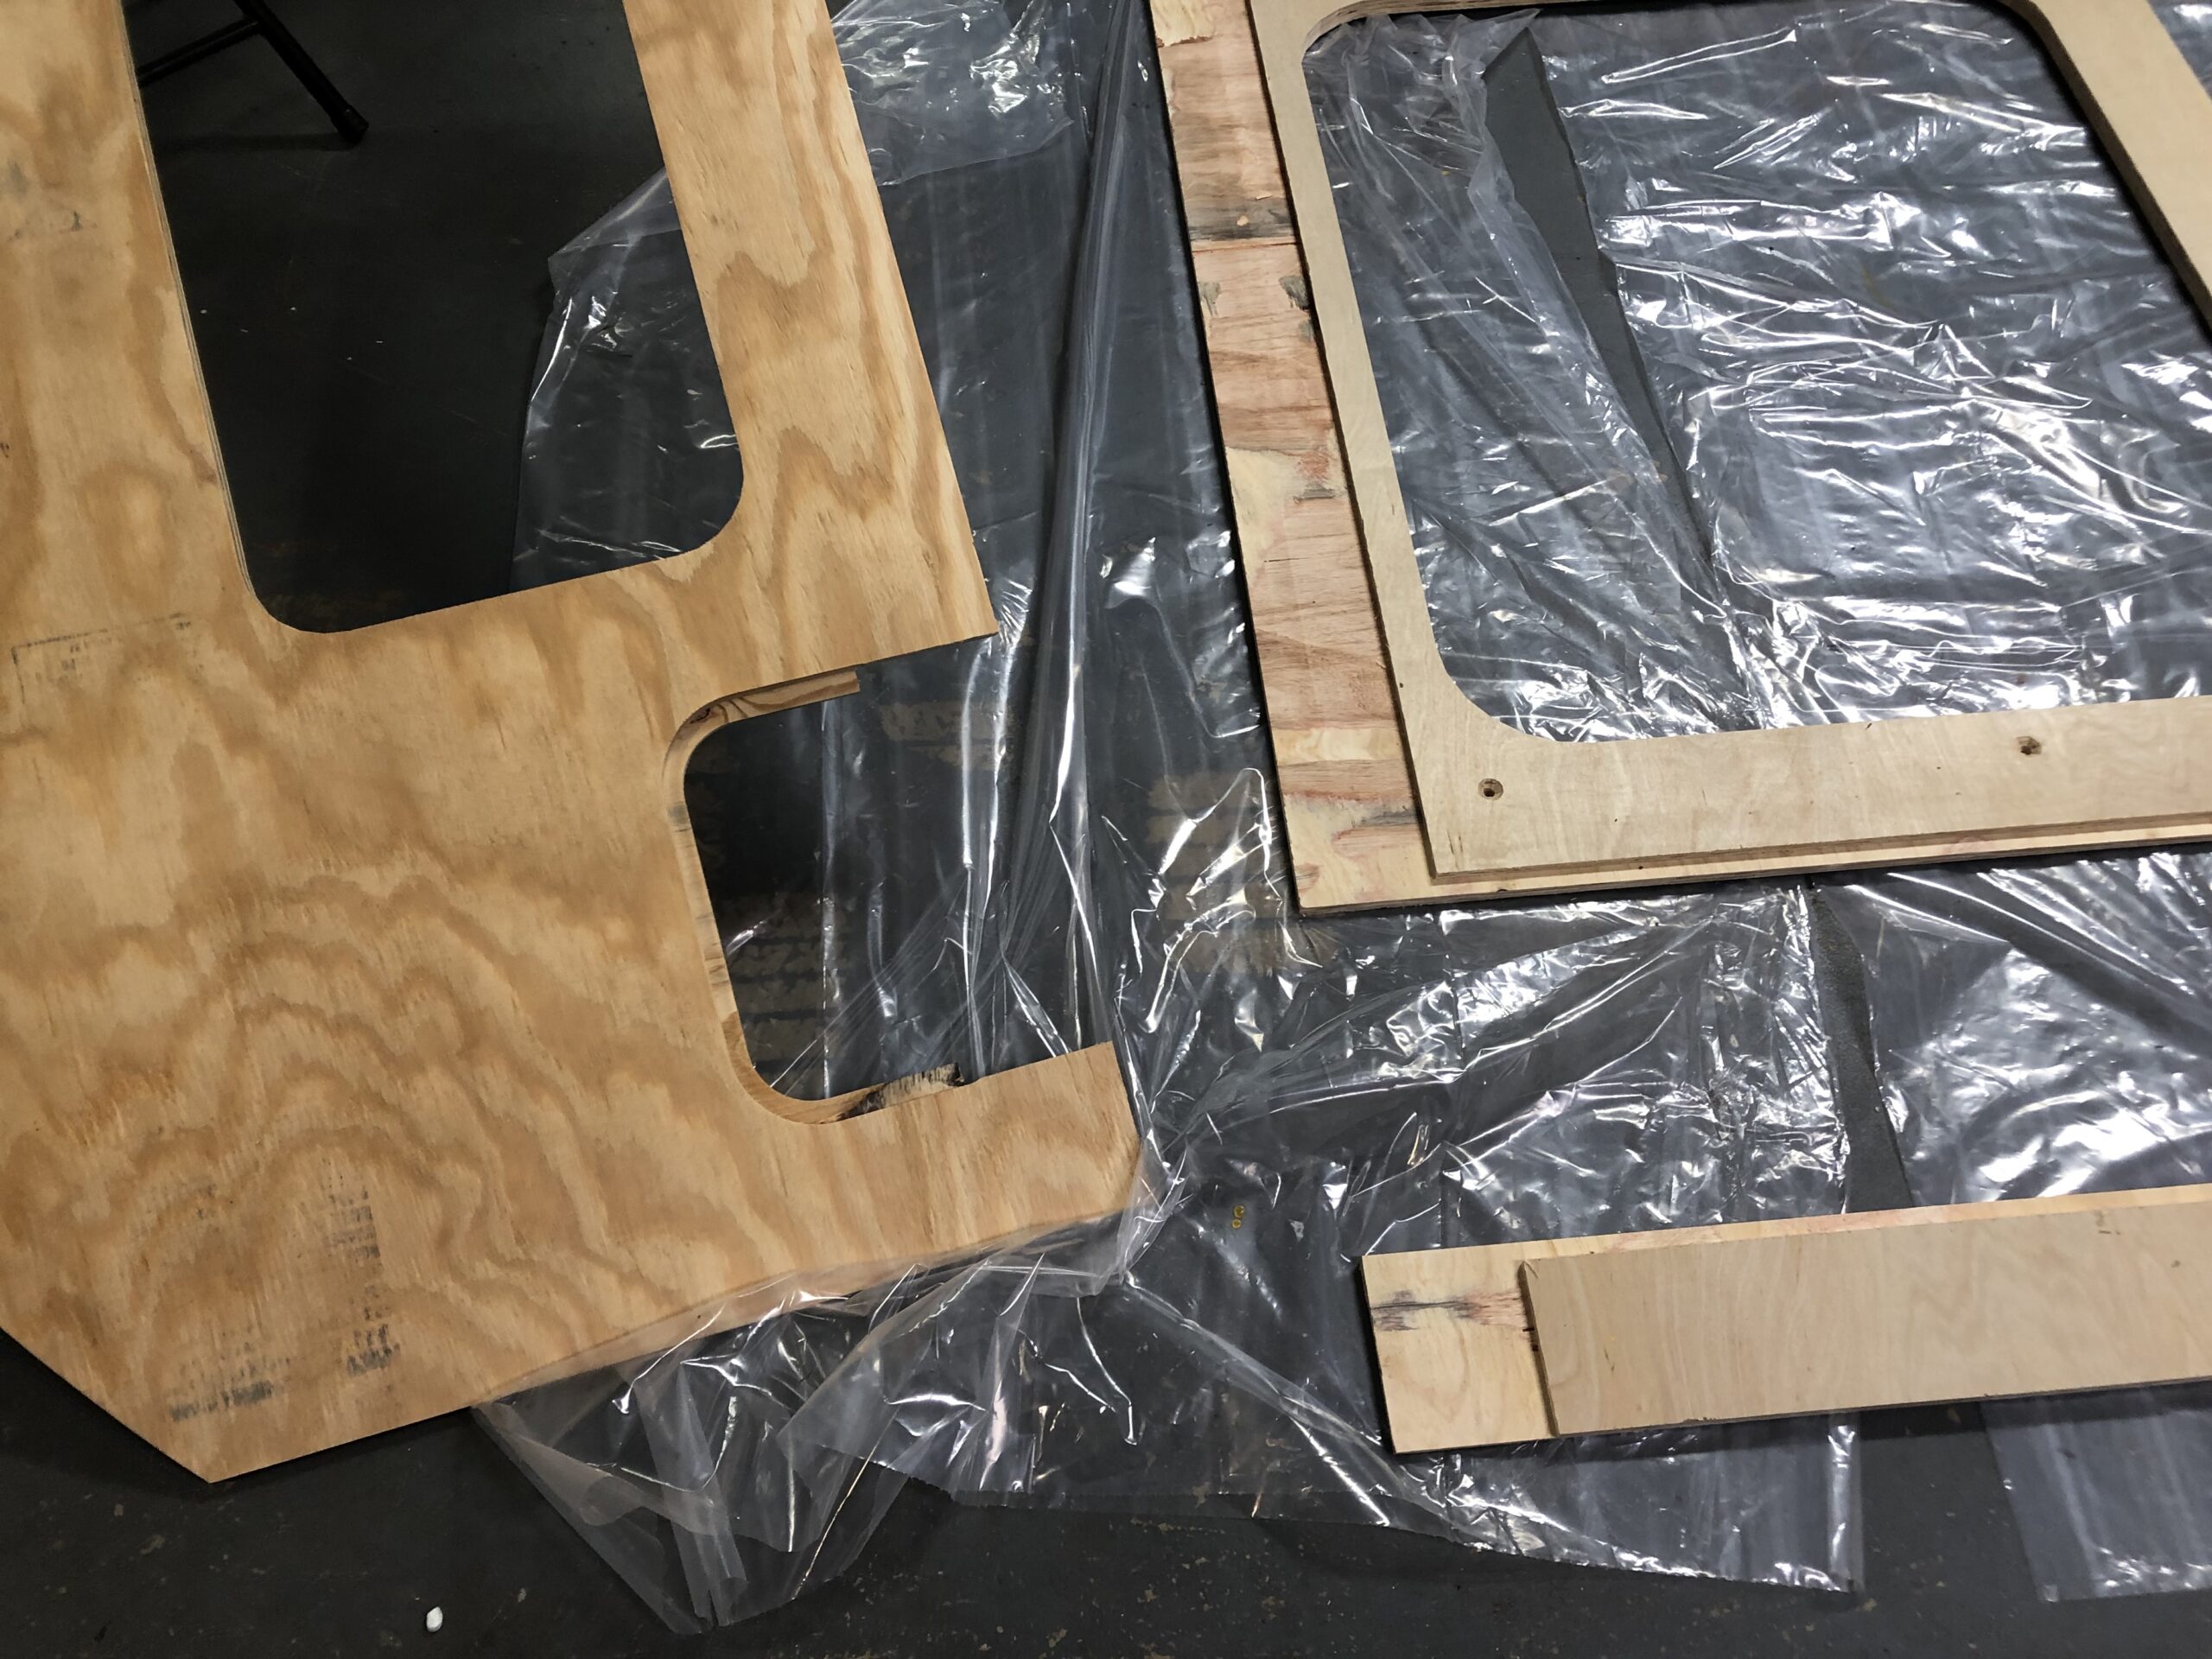
The inside walls of the camper (we call them “skins” in the business) have been glued to the side walls. Then we used a flush-trimming router bit to cut the walls to the correct shape. This was a big chance to do some more CNC Goof correcting as well.
Applying glue to the side walls. We used 1/8″ luan plywood for the interior skin.
Our genius system for putting weight evenly across the side wall. It didn’t really work.
Untrimmed skin on the sidewall, heading to the shop for trimming.
Using a flush router bit to trim the panels to the curves.
Gluing some extra wood to cover a CNC goof.
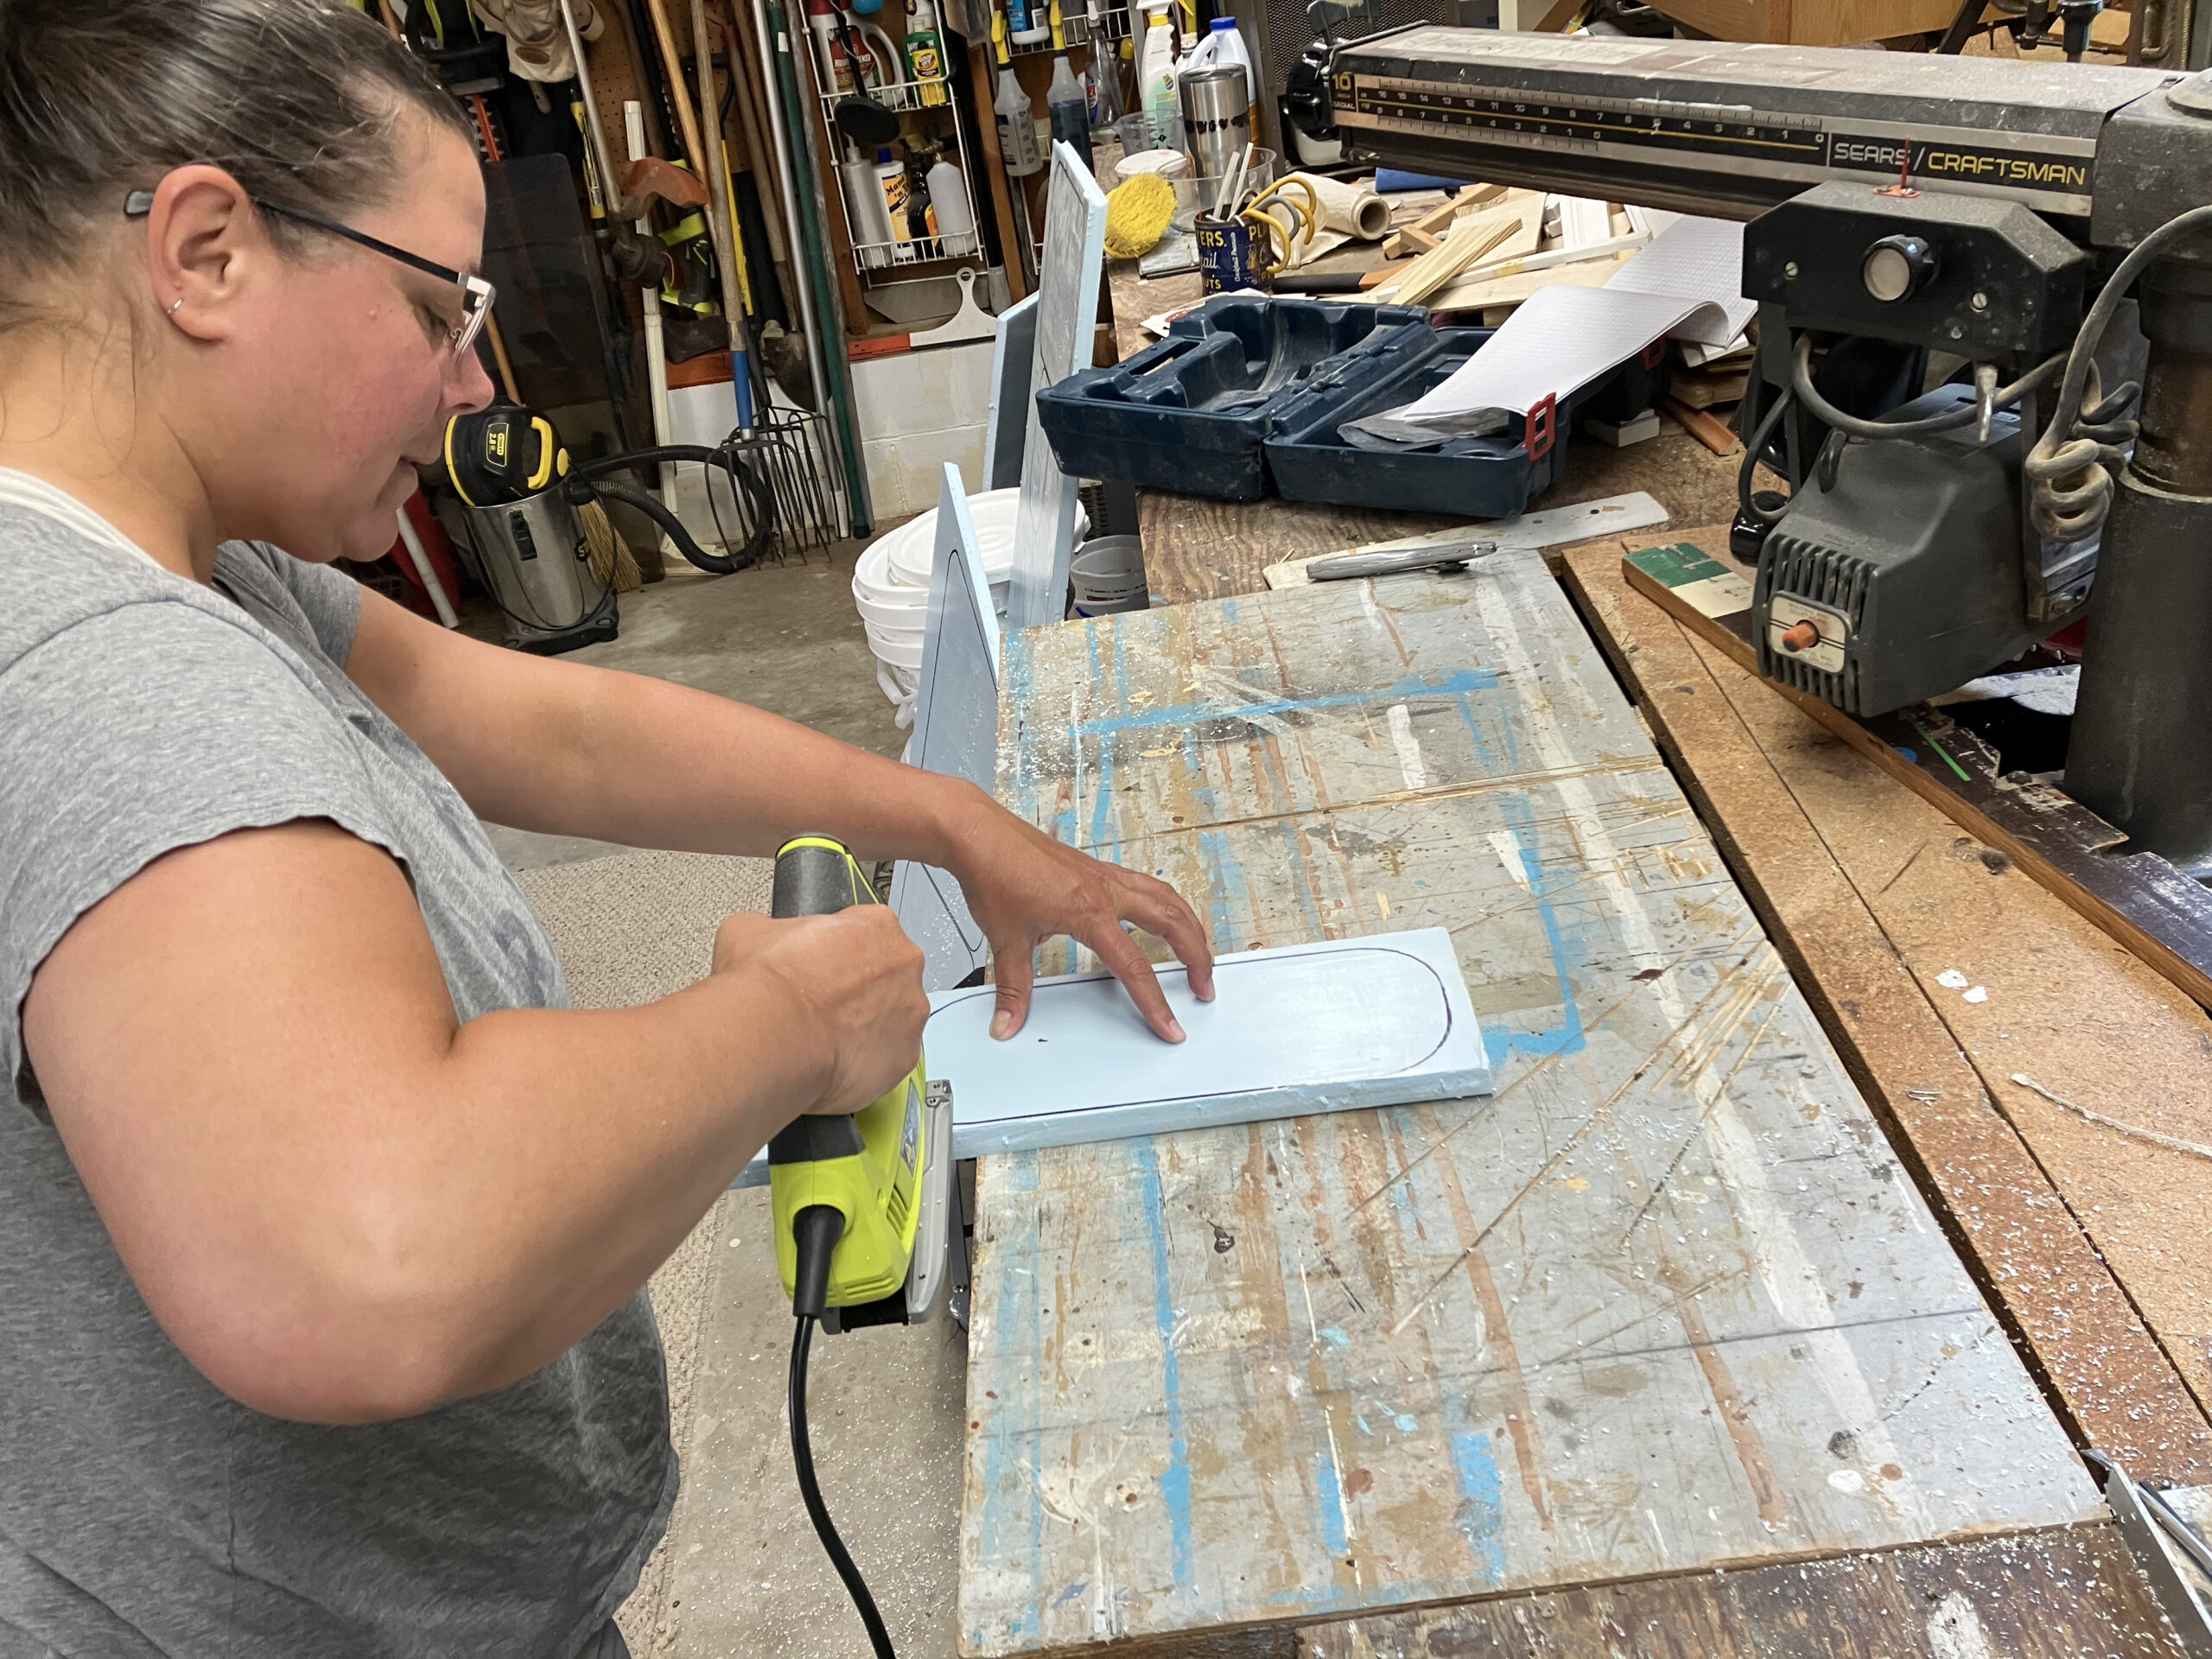
Meanwhile, Kayla cut the styrofoam panels that fill some of the spaces in the side walls.
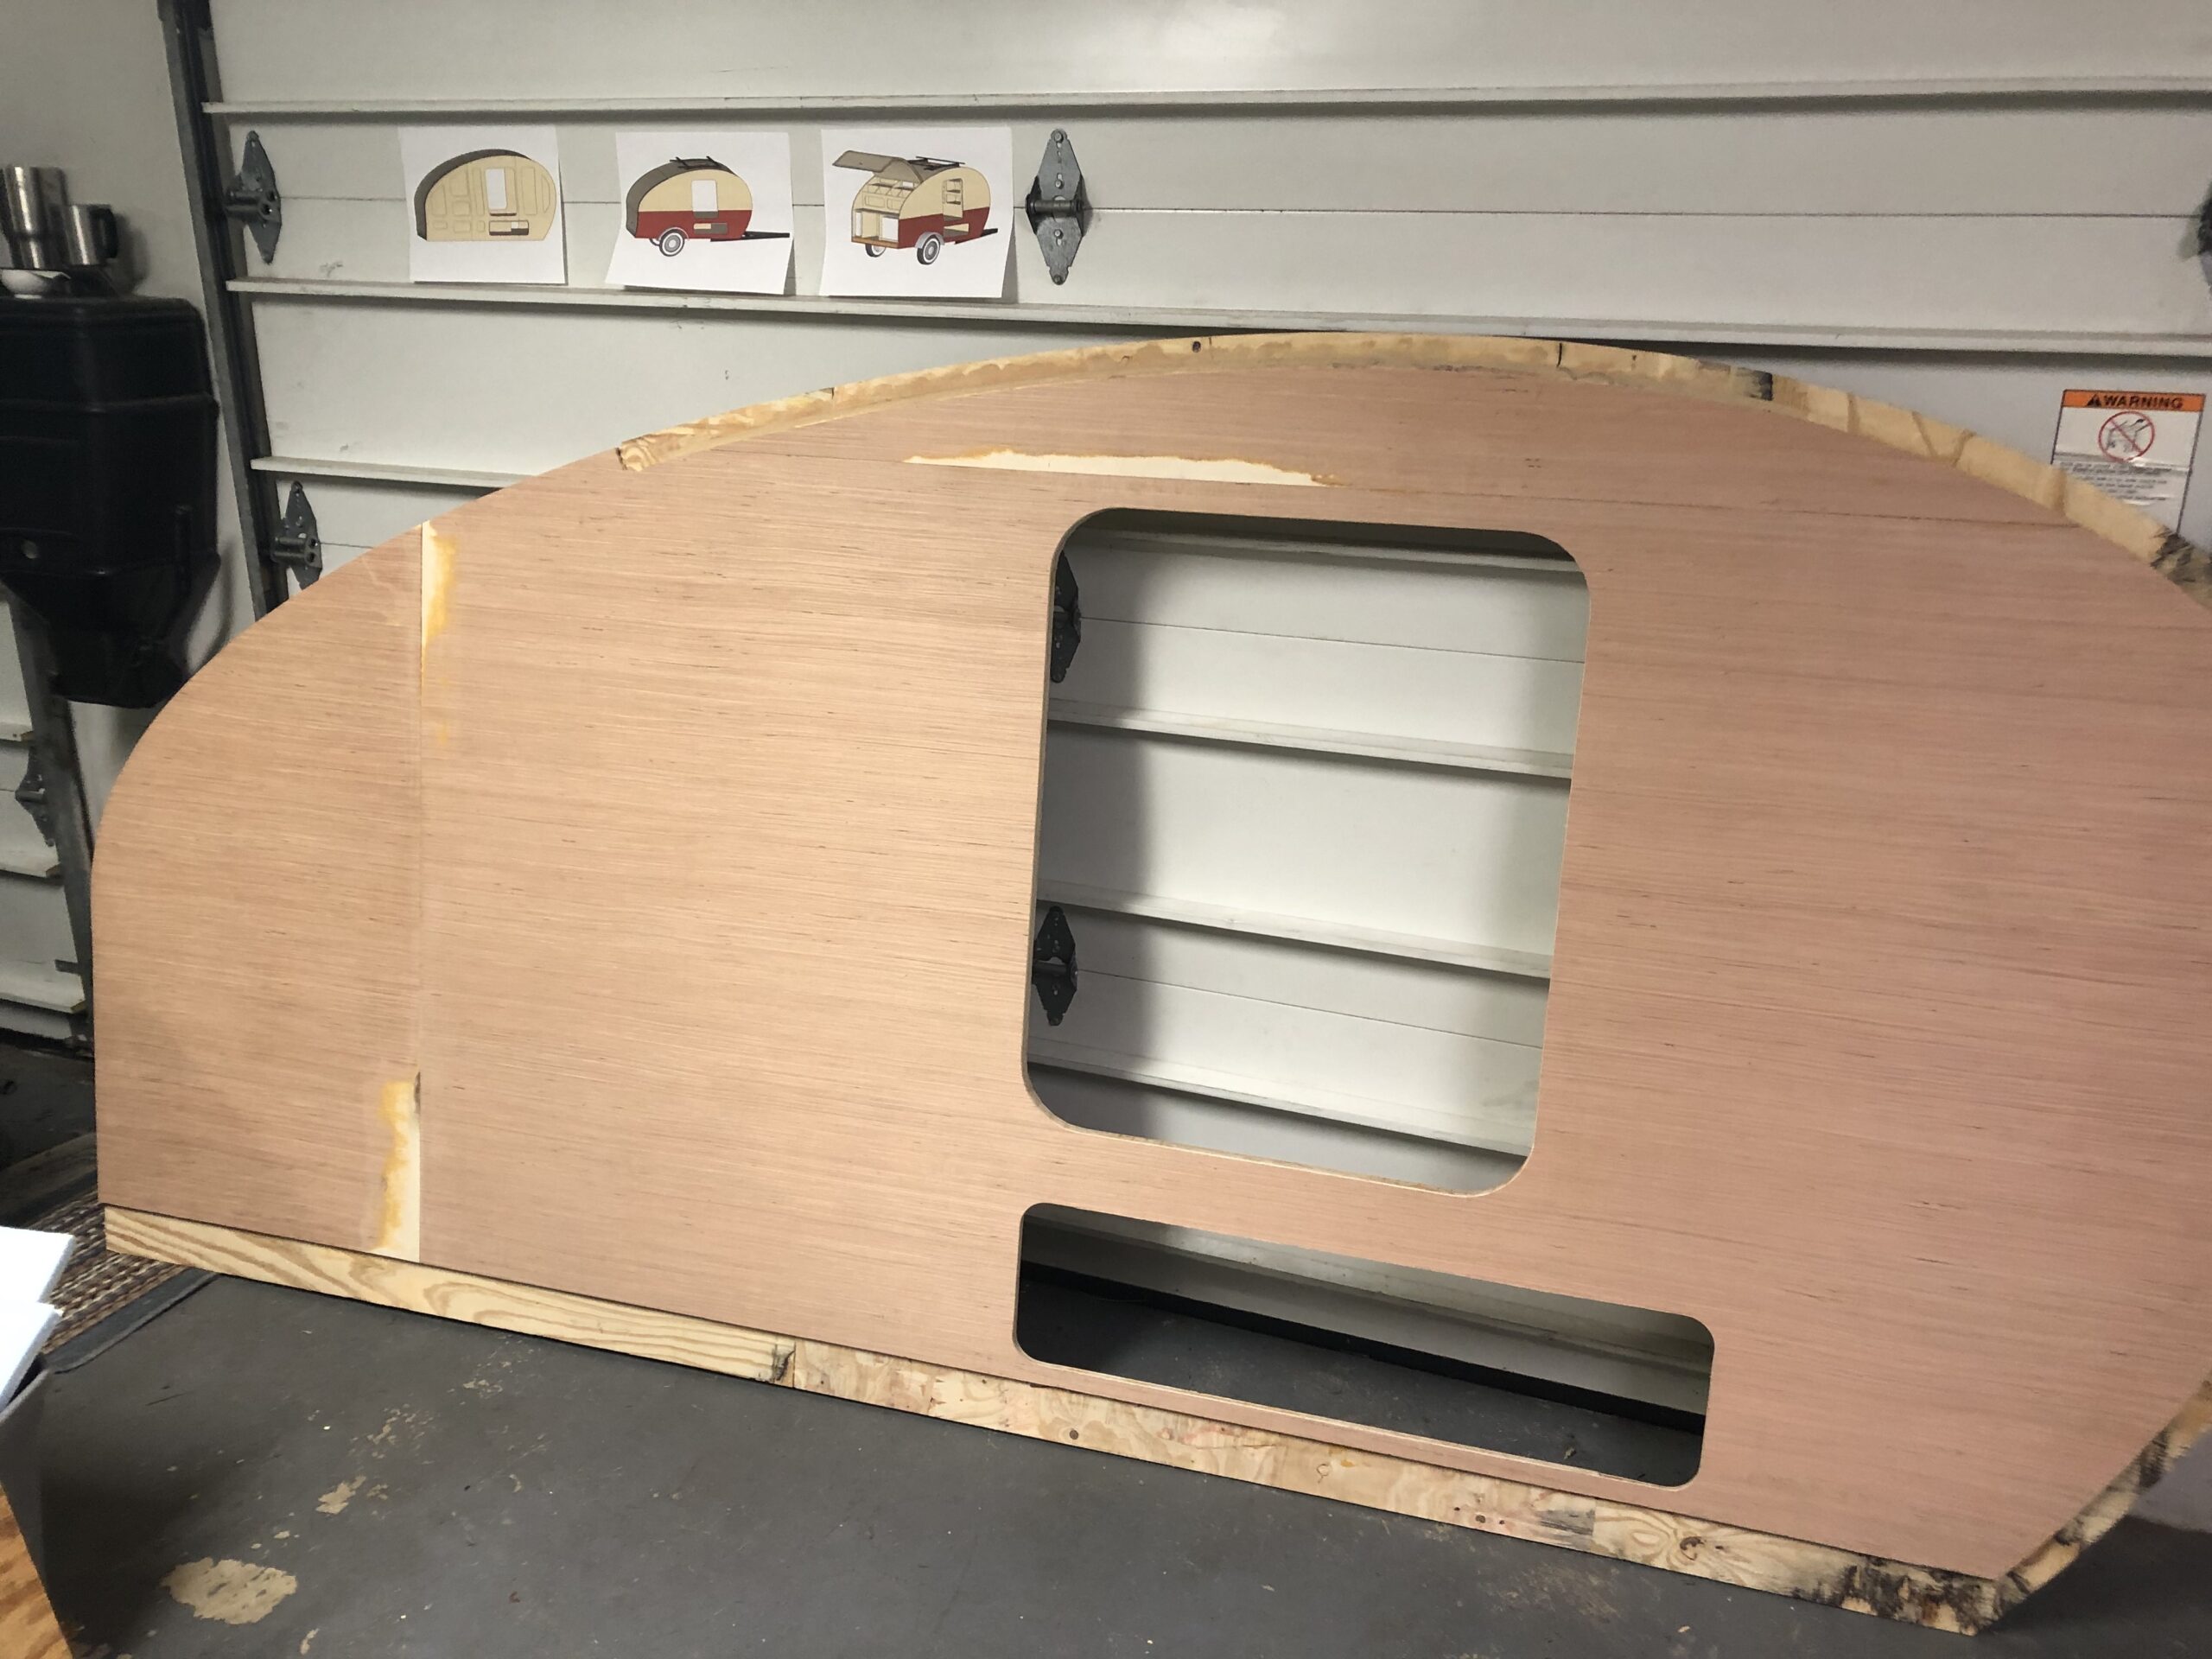
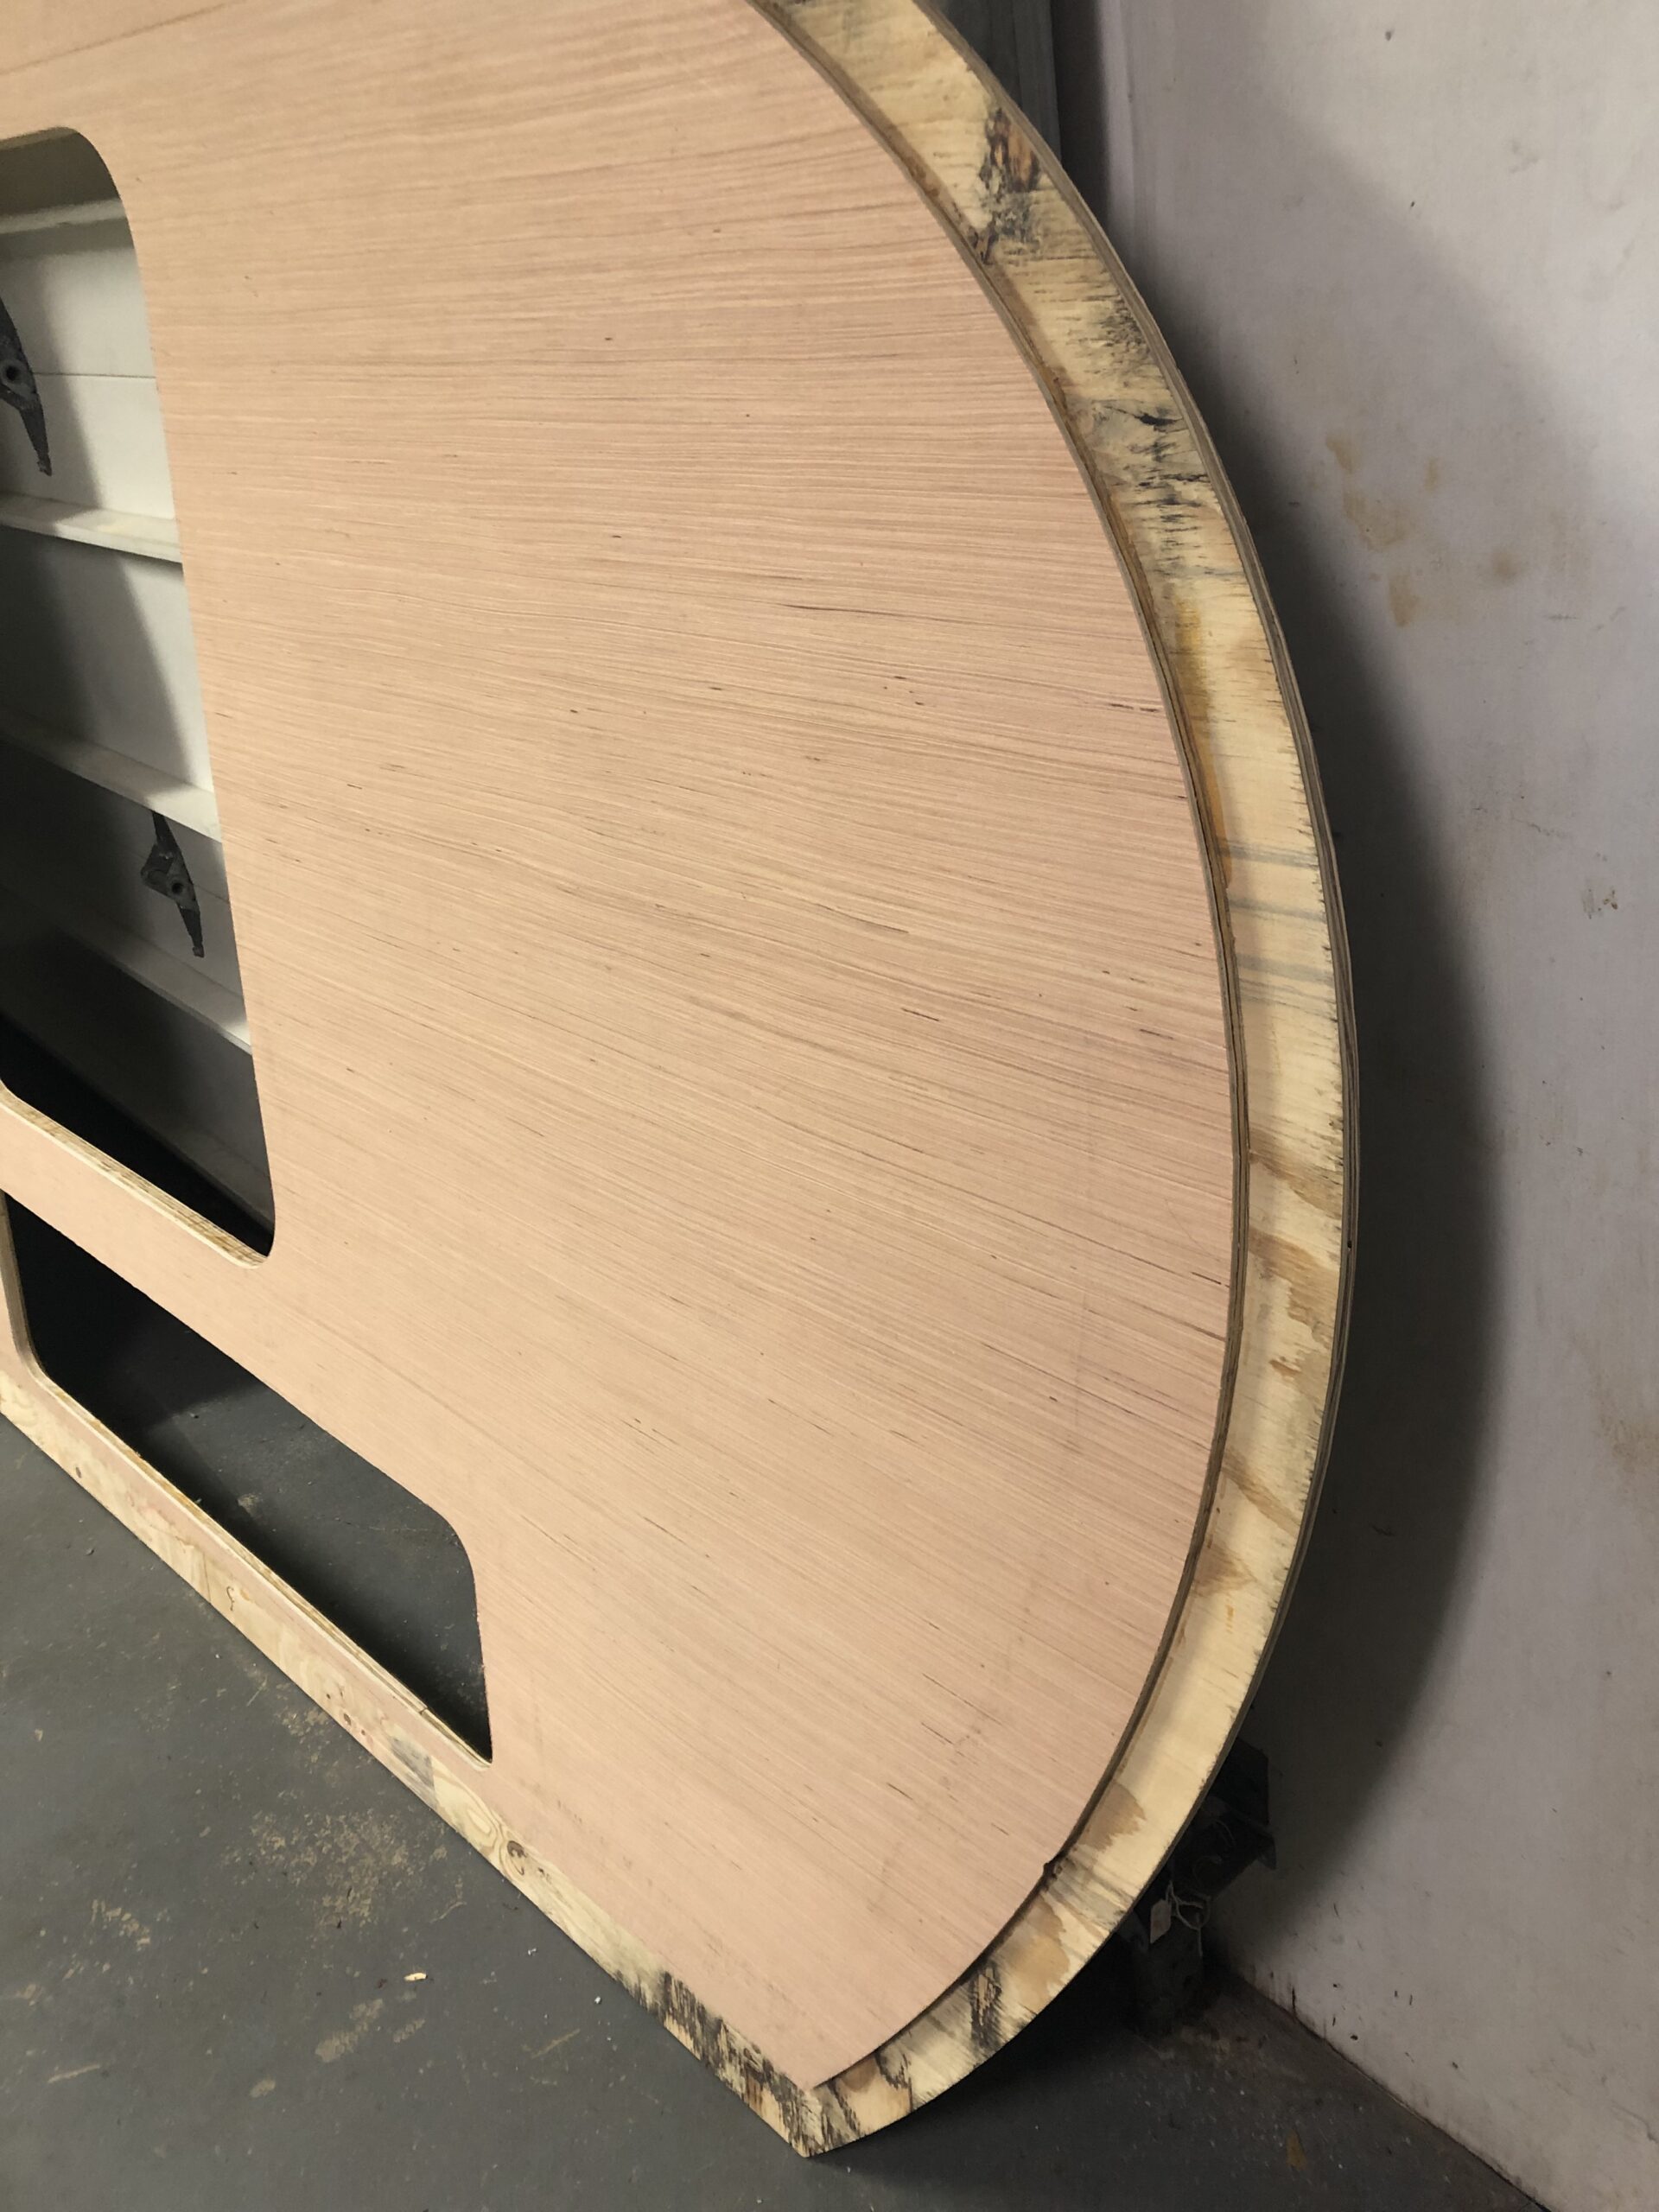
The interior skin. Those white patches are where I had to sand the luan where it had buckled while being glued.
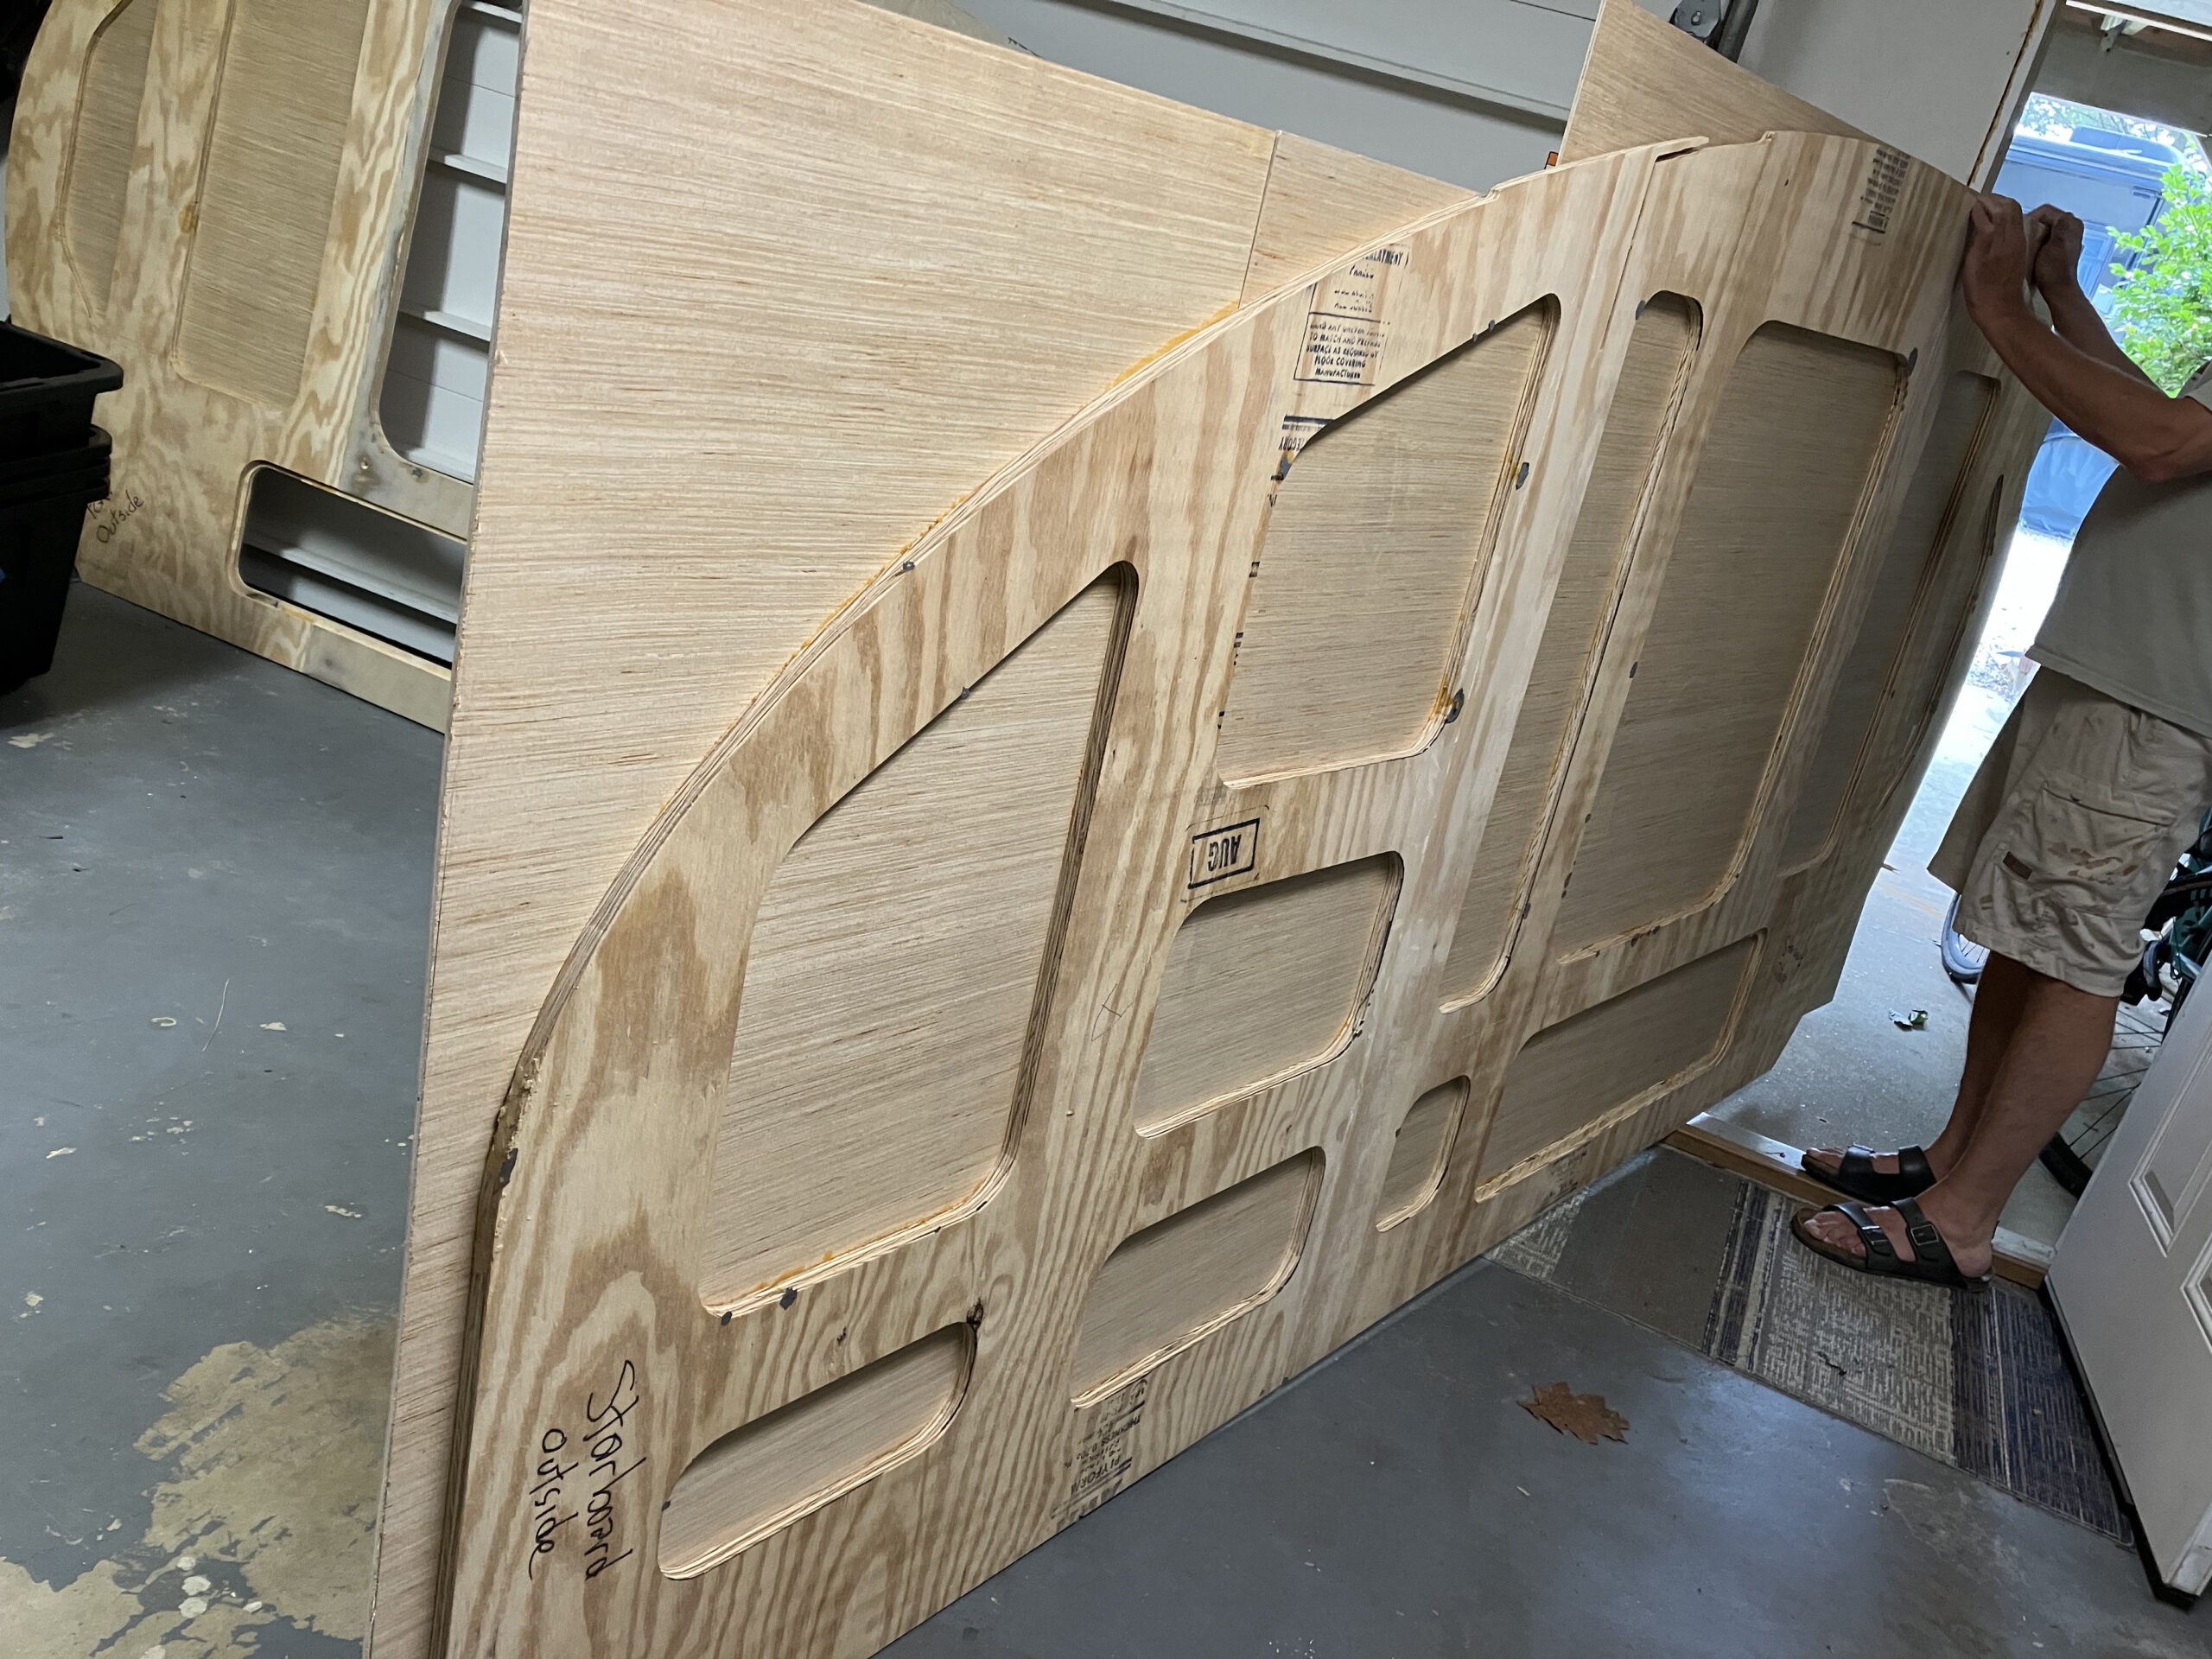
The outside view, showing the styrofoam. Eventually the outside skin will cover all these.
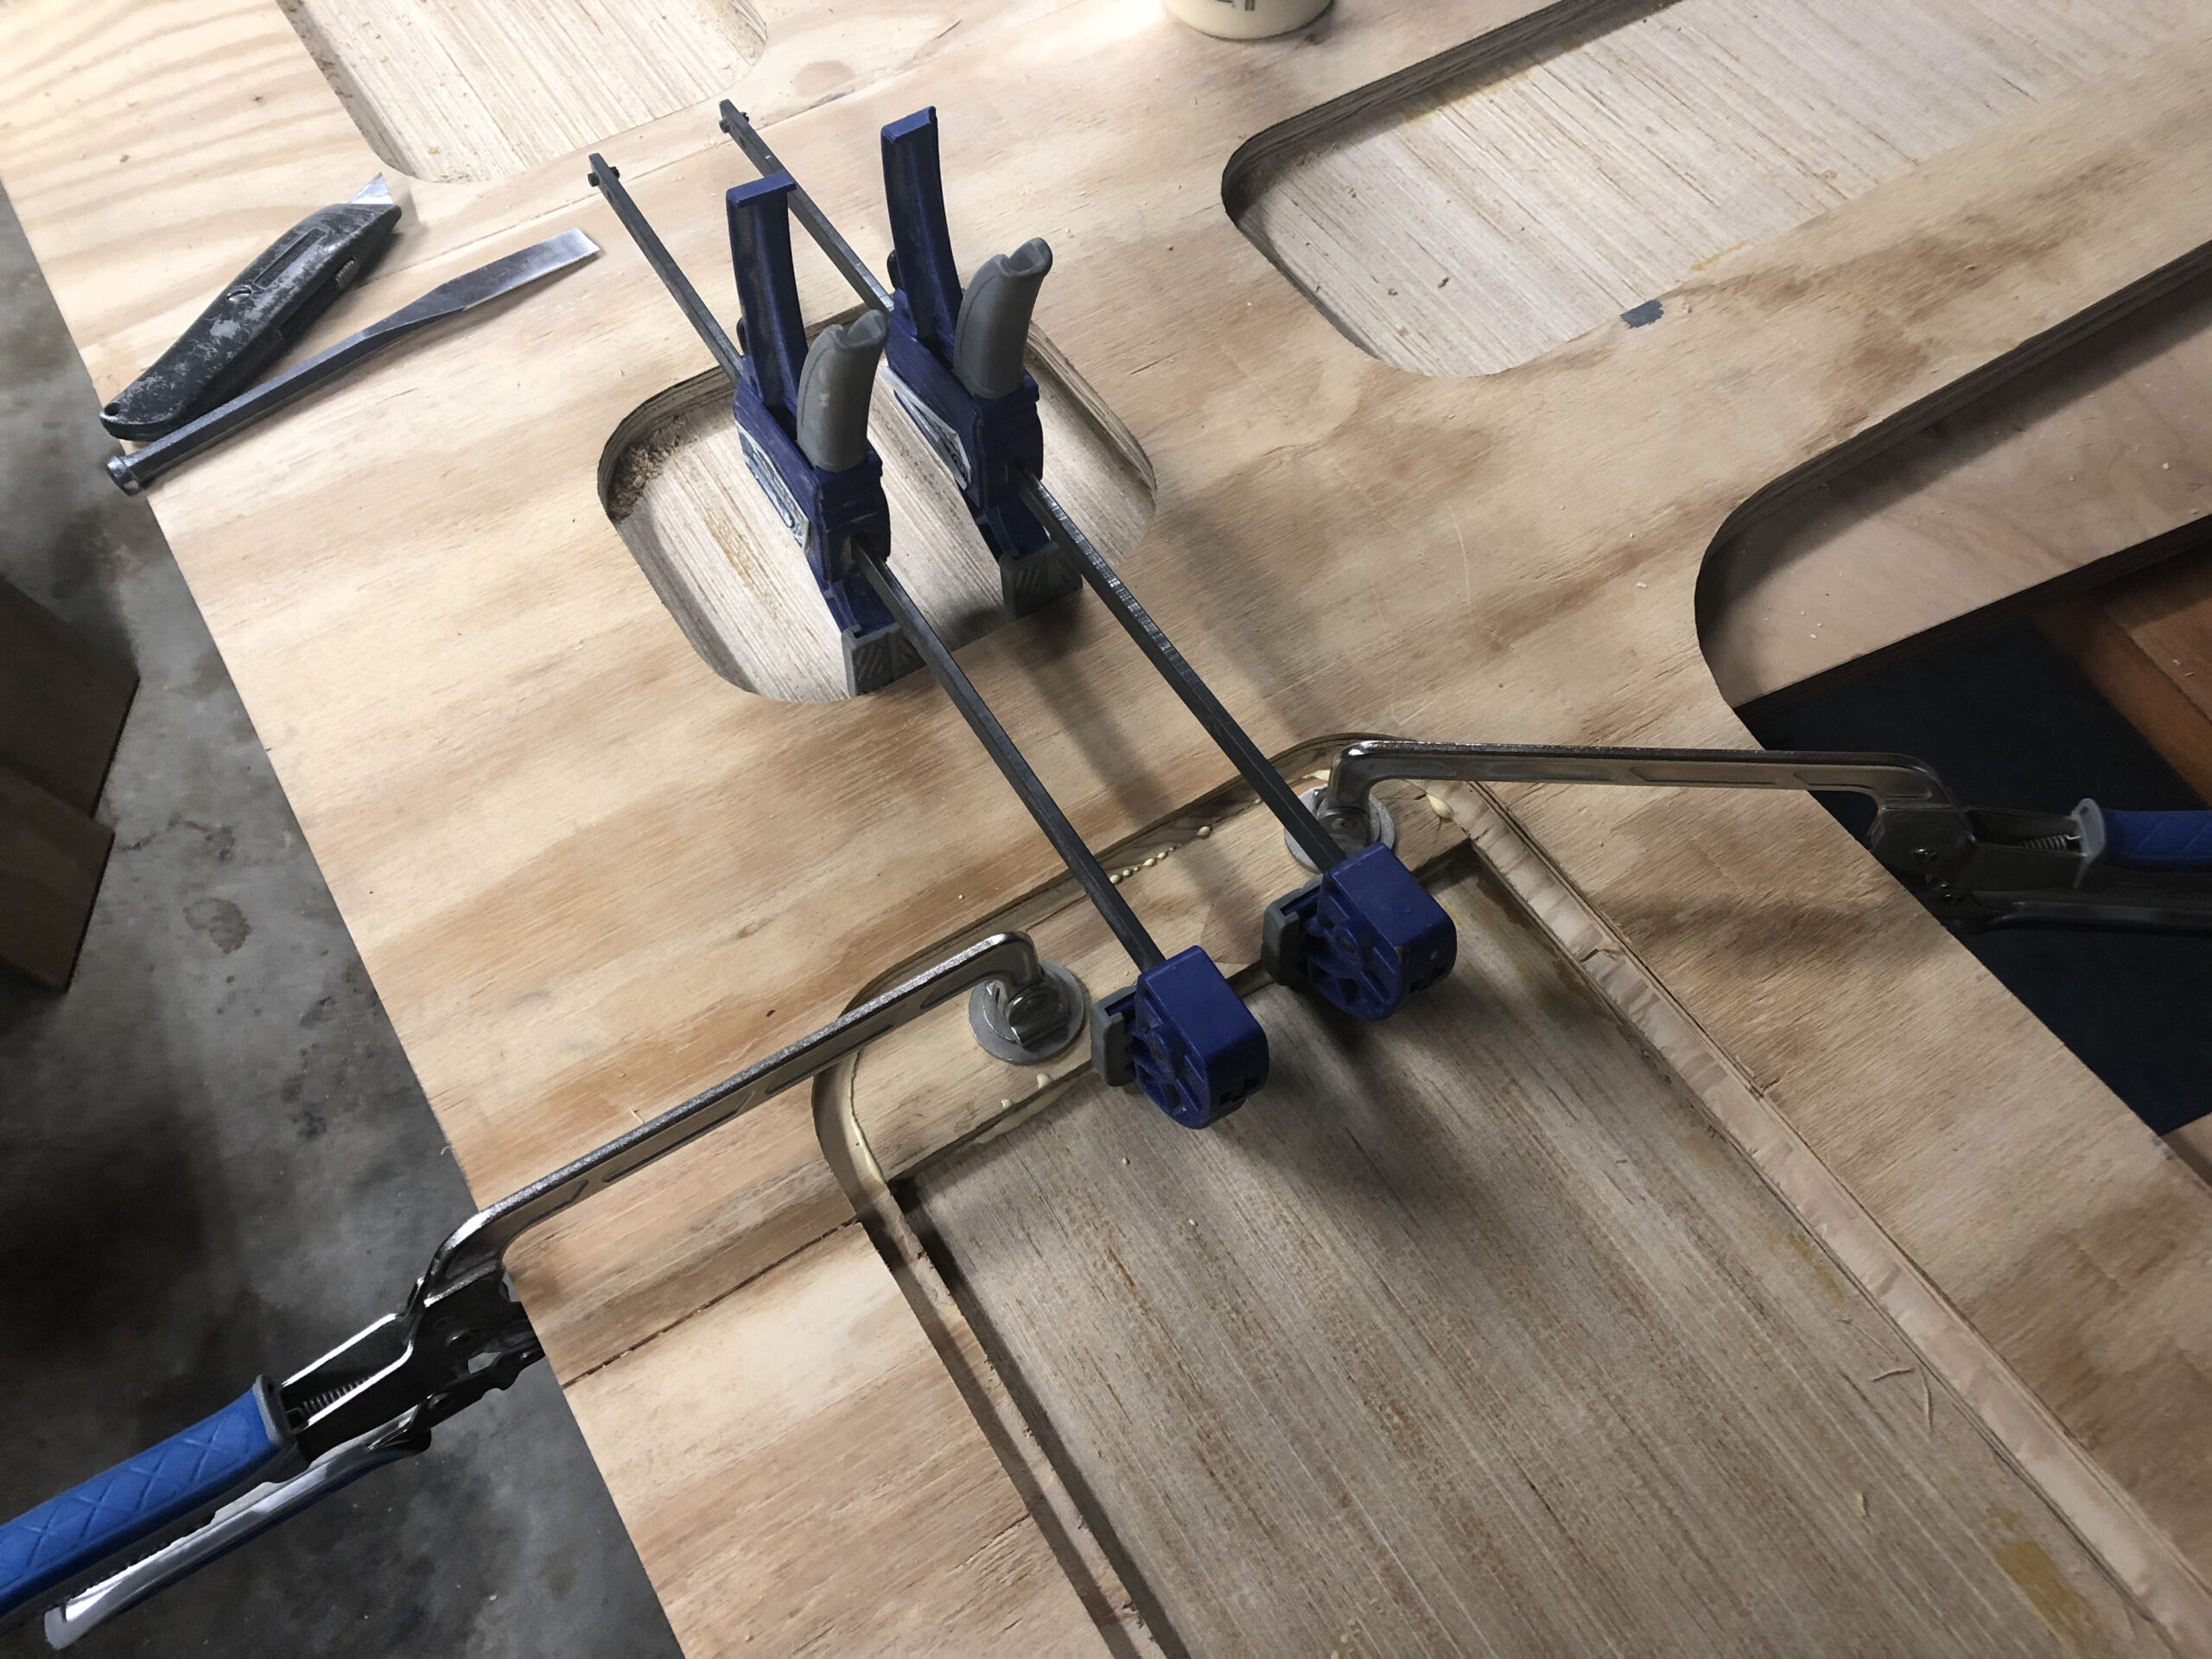
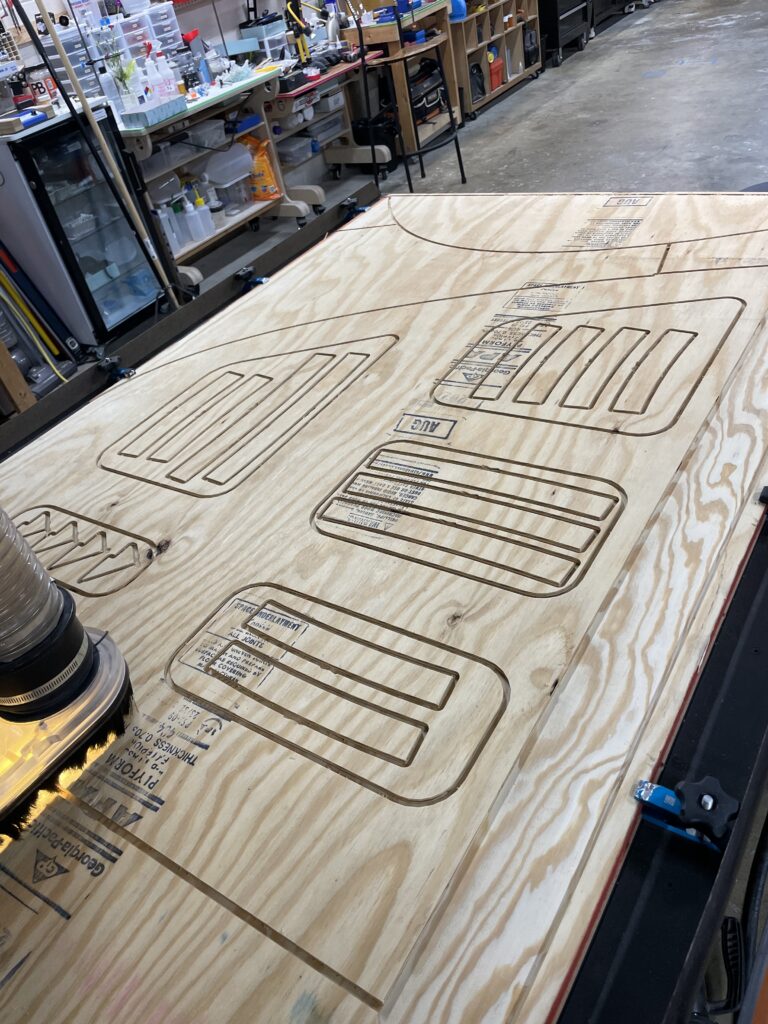
Closer detail of some of the routing. The wall/ceiling skin will follow this inside curve.
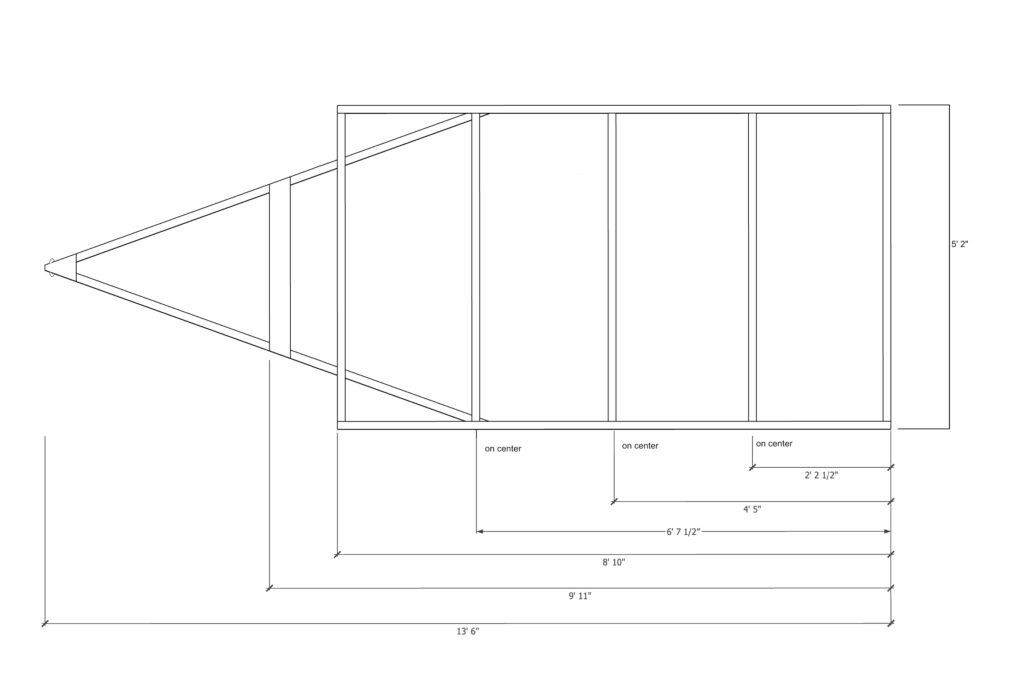
We are still awaiting word on when the welding of the trailer will even start. The guy I had lined up for the work has already pushed the date back from mid-July to “maybe late July or early August.” I’ve got a new contact for a company that might do me a favor and get this done earlier – I’m still pursuing that lead. The way the camper is designed to be built, it really needs to have a trailer under it before going much further. All the other walls (floor and ceiling) are built based on the trailer width, which you can pretty much expect to vary a bit from the design.
Doesn’t seem so hard, does it?
Still, I’ve got a few things to do and lear before we hit a dead end of needing the trailer to continue any work. I’ve got to learn some more about DC electronics, and how I’m going to route power from our solar battery to all the lights and whatnots on and in the camper. There’s also a wee bit more to do with the sides. I guess if worse comes to worse, we can build the camper body on a wooden frame and then, a) have to figure out how to lift it onto the metal trailer when it finally gets welded, and b) hope that the trailer fits!
We’ve been working on the glued panels a bit and boy have I learned a few things about what CNC routing can and can’t do. There’s been a lot of variance in thickness in the panels, particularly where two panels join. We’ve also run into some issues with some of the routes not being consistent in depth or placement. When we laid the panels on top of each other, one side was over 1/2 inch longer than the other! Yikes! It’s been a bit disappointing – a lot more work has gone into cutting, routing, and sanding than I had hoped (particularly given how expensive the CNC work was). One particular and persistent problem is where our CNC guy used a different type of plywood for one of the six side panel pieces. The plywood was warped, and of a different thickness, so it really caused some trouble.
The good news is that we still have plenty of time to wrestle the sides into something closer to the design specs, as we are still waiting for the welding of the trailer to begin.
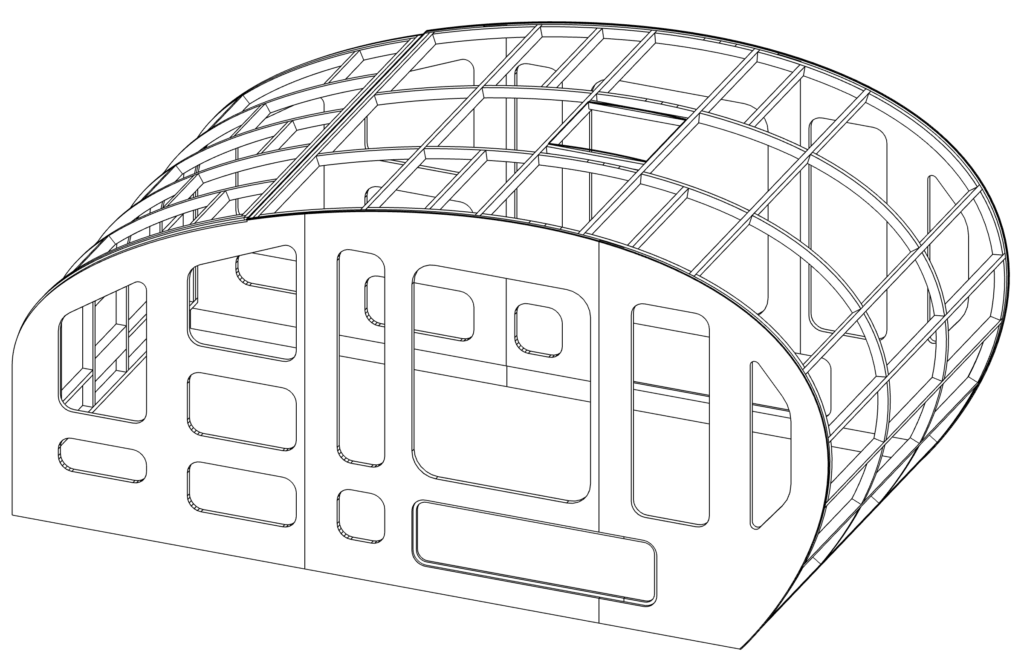
I still am grateful for the CNC routing for all the curvy bits. A big part of what makes a teardrop a teardrop are those beautiful compound curves that make the shape. Not only were the curves of the side panels cut by a robot, but all the curved supports that will bend the roof to their will. I’ve done some dry-fitting tests and it looks like those roof ribs are just the way I need them. Proof of whether that is true will come when it is time fit the roof skins on.
If I were to do this thing again, I think I would try one of these options:
Option A: Just have one side CNC, and all those curvy roof bits, cut. So, instead of paying for six panels to be cut and shaped, just have three of them done this way. I wouldn’t have any of the routing done prior to joining the panels. We would take the time to hand-route the lap joints to make sure the panels are joined even. Once we have those three pieces glued to make one side, we have a template that we can use to form the other side. I would first join and glue the other side plywood as a large rectangle first, Then, lay the other finished side on it, screw the two together, and use a flush bit on a strong router to cut the shape.
Option B: CNC cut a template, and take it from there. In this instance, we could use cheaper, thinner plywood to have the curves of the camper cut – maybe just from one 4×8 sheet. These template pieces could then be used as a router guide to cut one side of the trailer (using the glued rectangle technique described above). Then we have a completed side to use as a template for the other side. Make sense? This method would require hand routing all those roof curvy bits, but I’m not too intimidated by that.
But, that’s for next time. I need to get back to the shop and keep plugging away!
Re-routing a section that didn’t get done properly with the CNC robot.
The CNC router that did this job is from a small company in Richmond called SolarMill. Completely solar powered!
Finally we have some progress with the camper build. Last week we got some critical pieces routed and cut, and now we are gluing them together to form the side walls and curvy-bits of the camper.
The sides are made from three separate pieces of plywood, joined with lap joints.
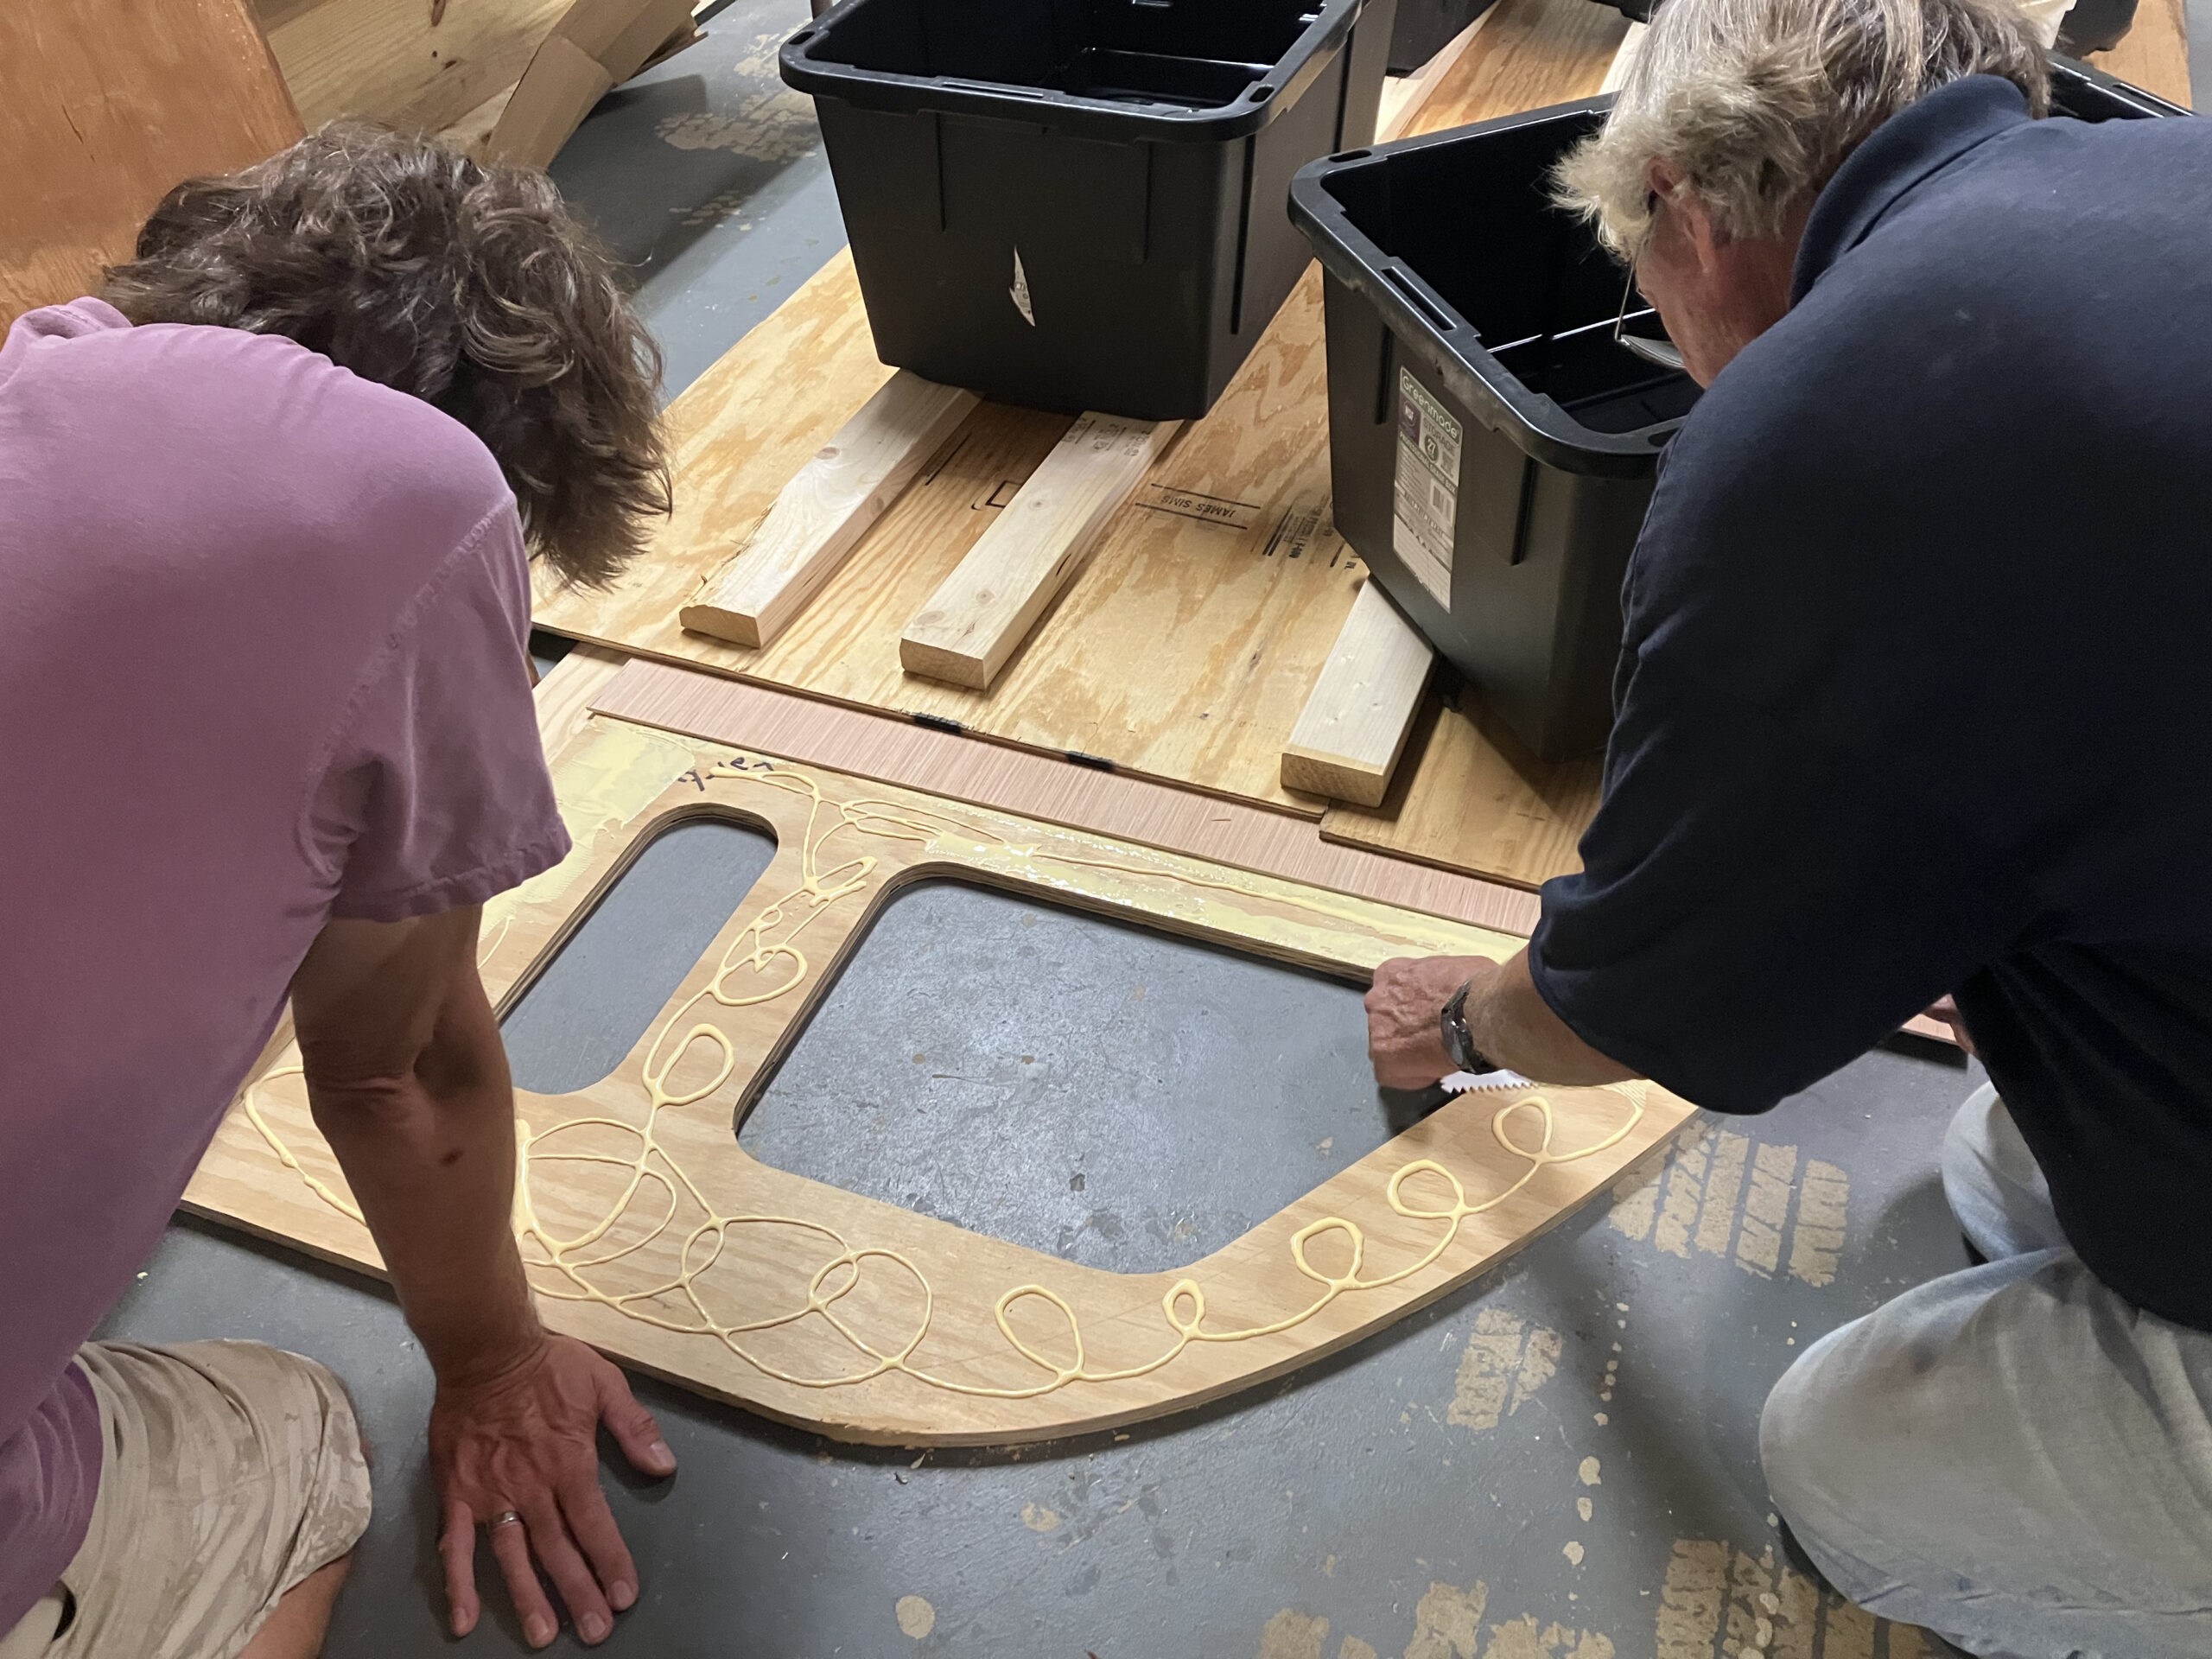
Spreading glue on a joint. It completely flummoxed my dad as to why I was spreading shampoo on the wood. (I am using an old shampoo bottle for a glue distributor.)
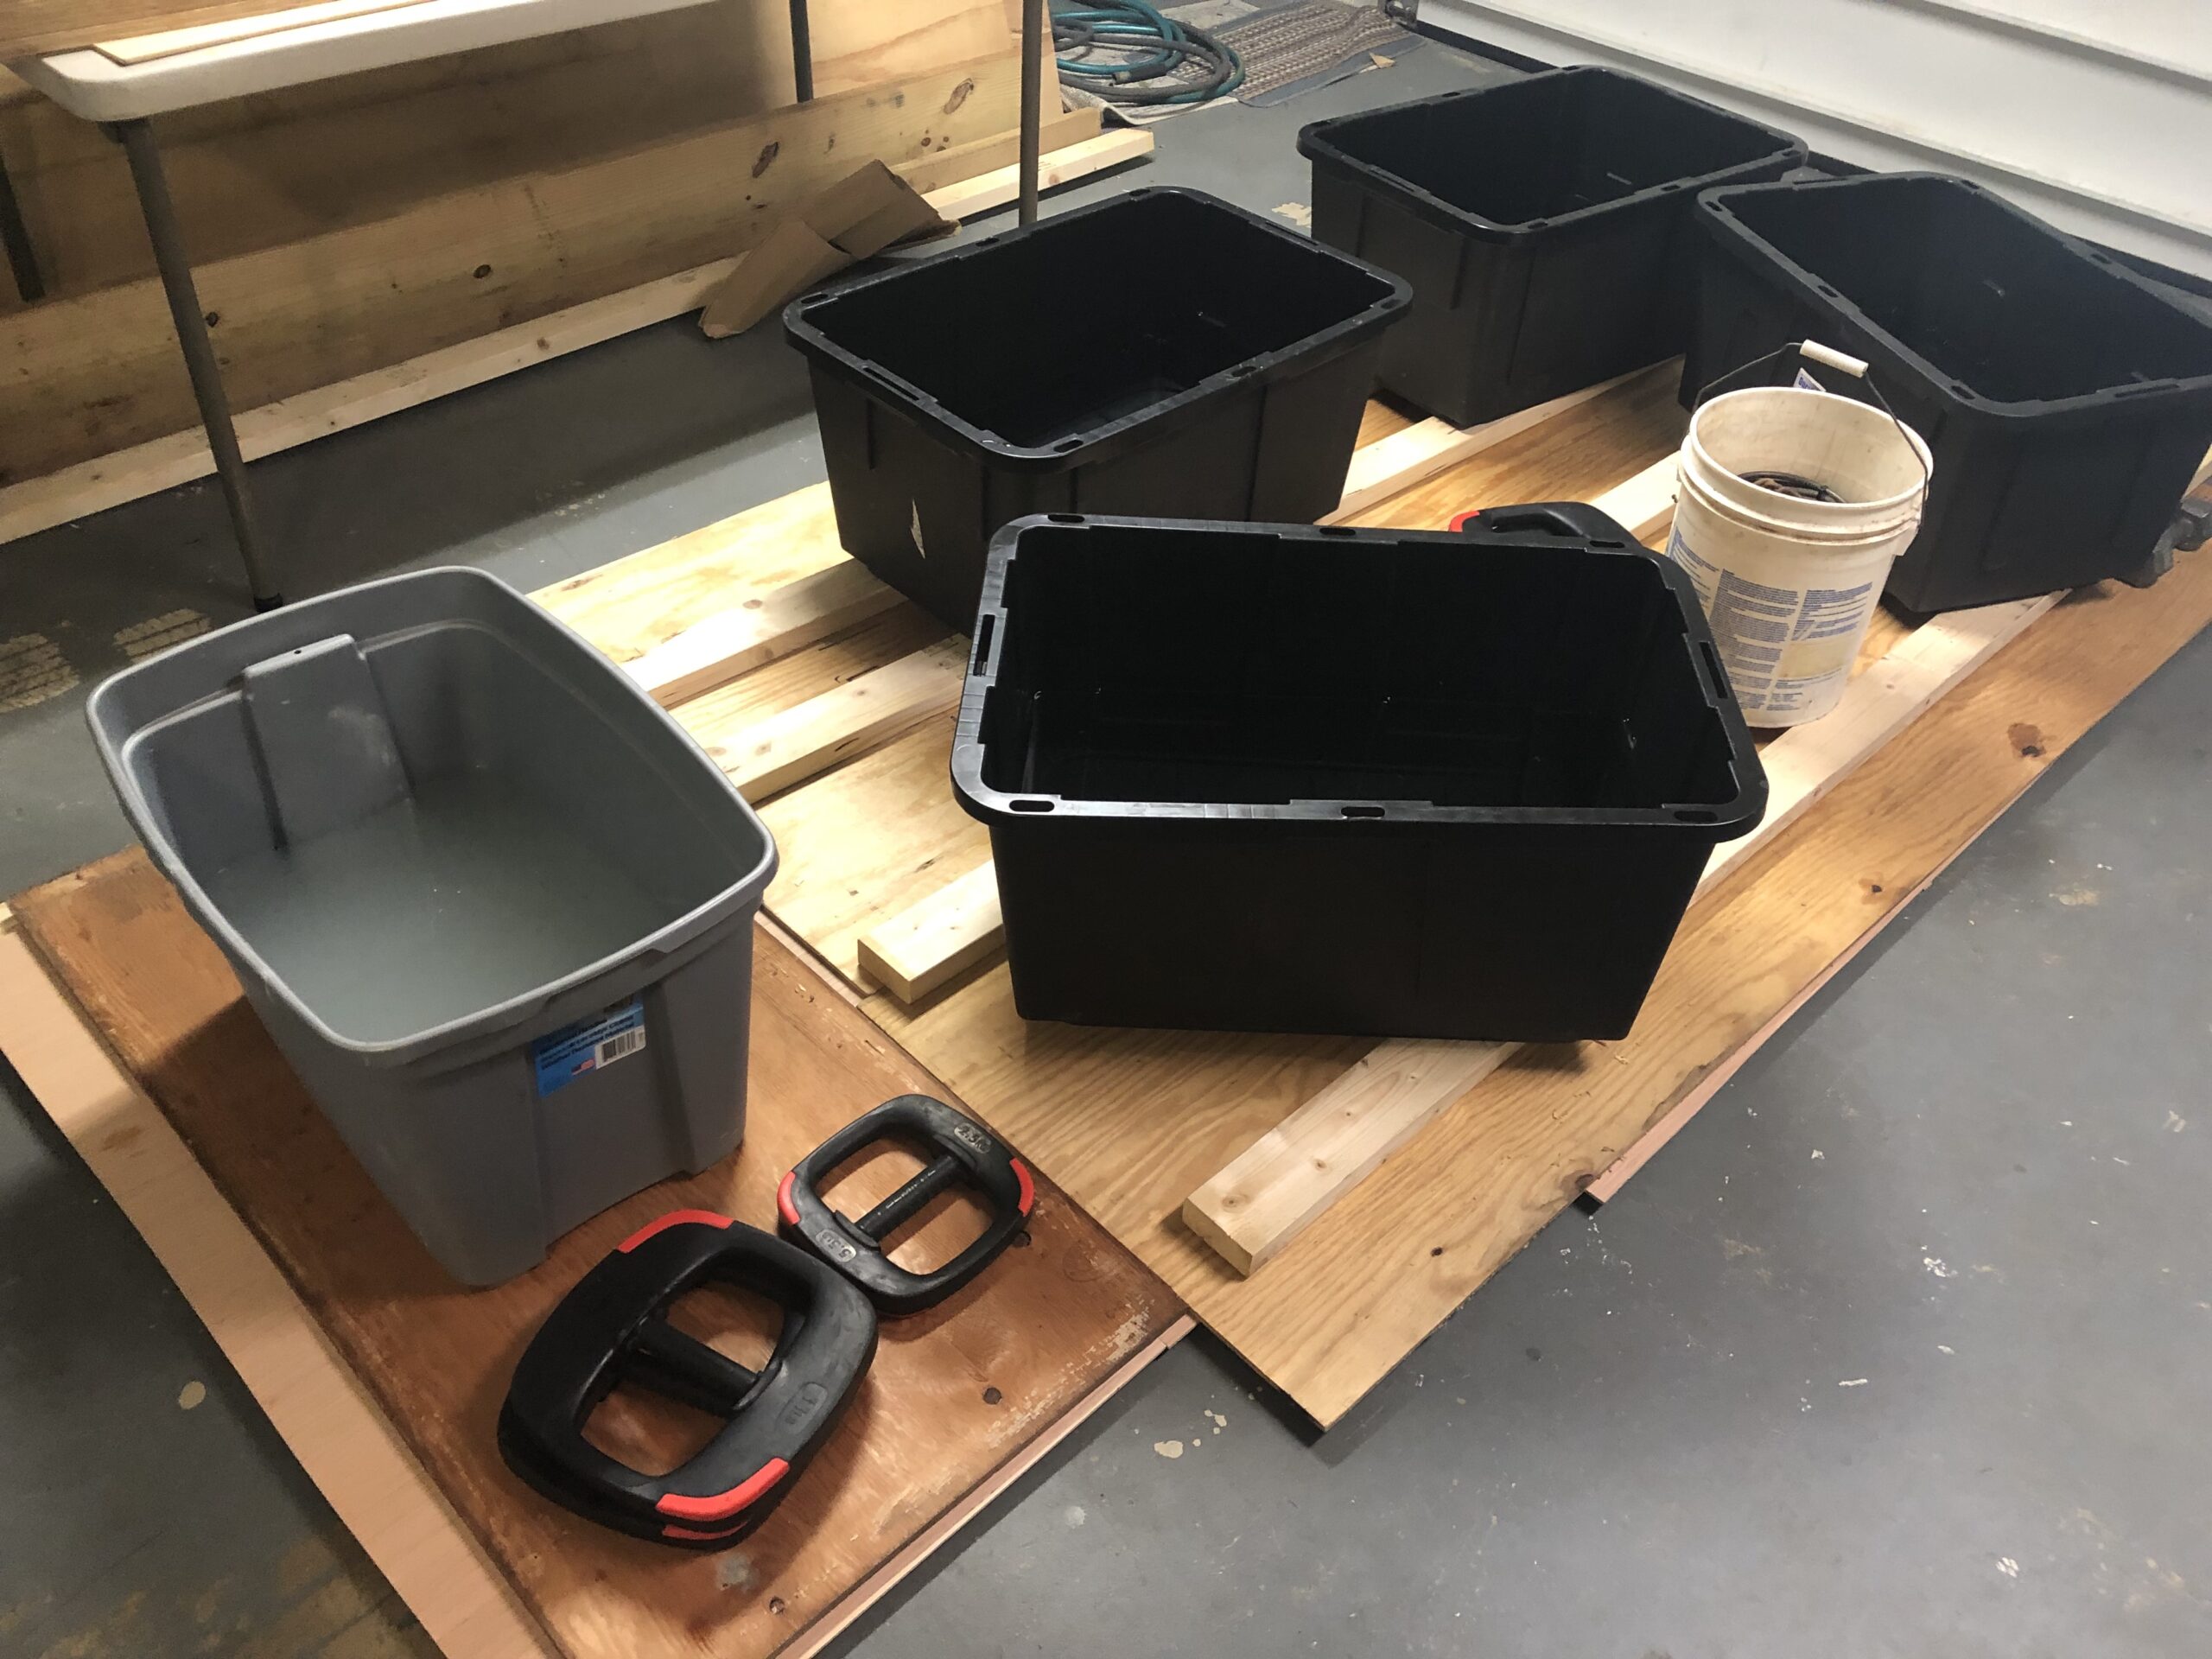
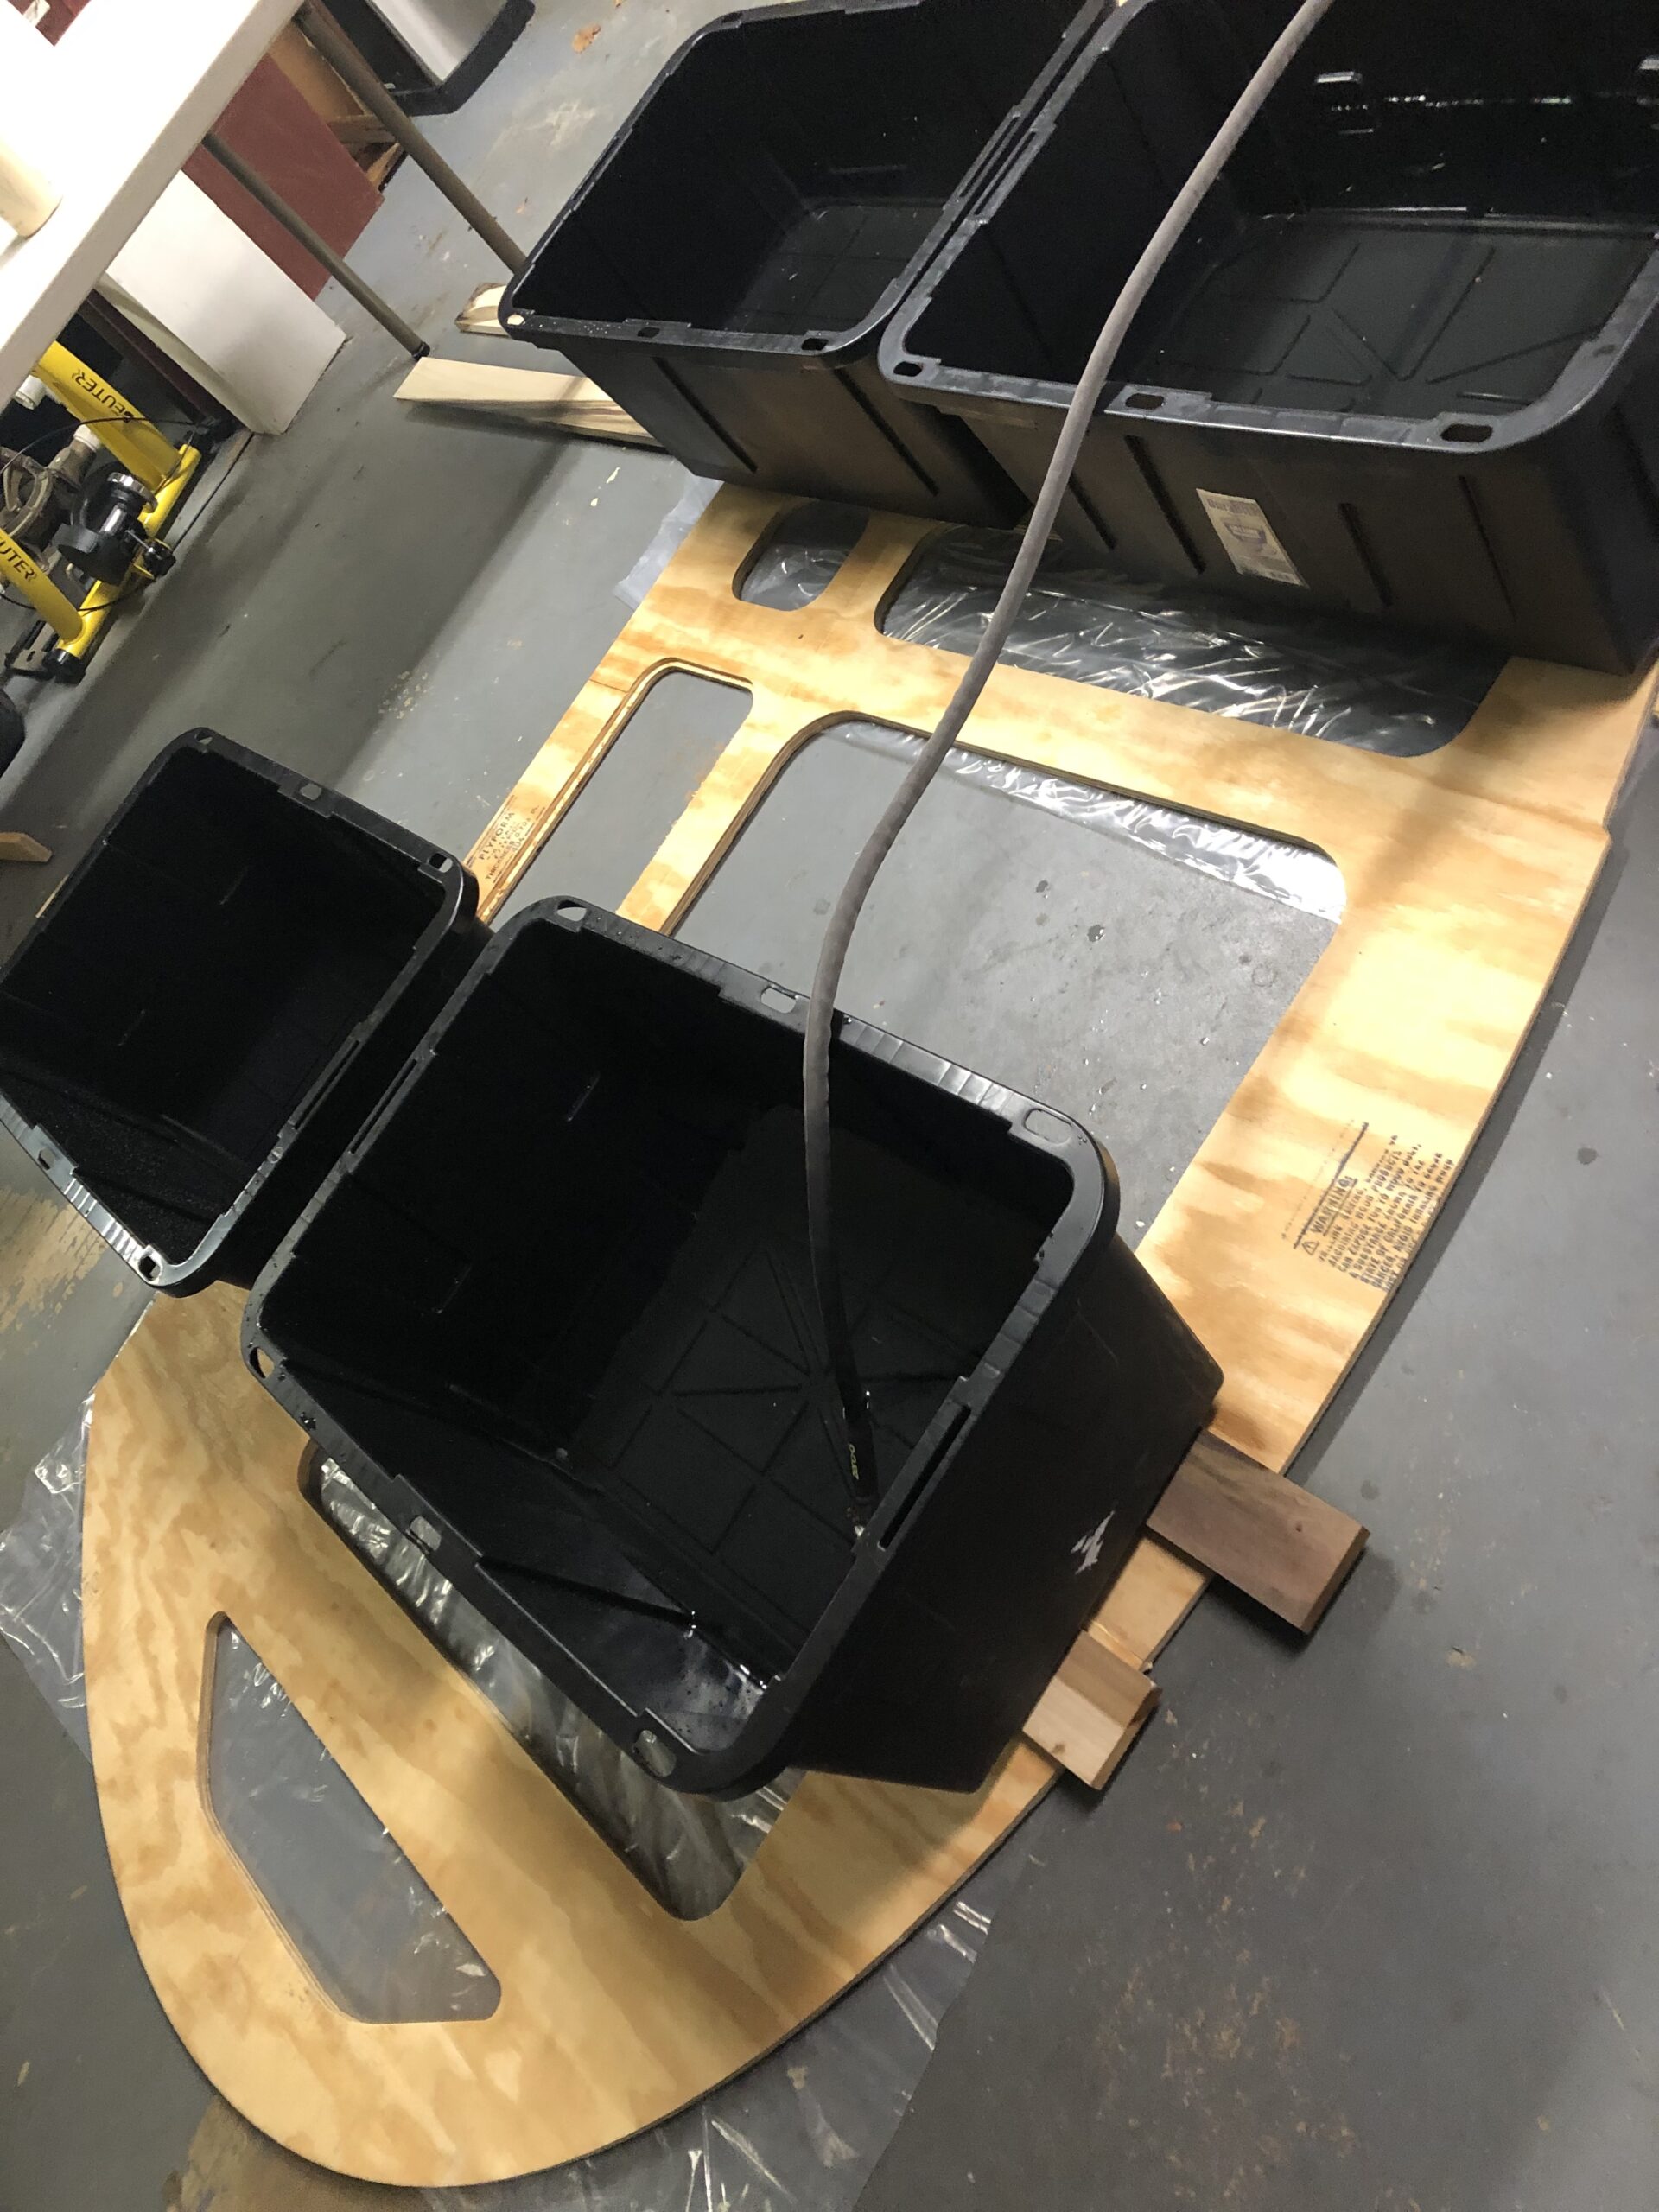
We used water-filled totes to provide the weight for the joins.
Here’s a finished side. We will need to do some sanding and clean up, but otherwise good to go!
Here’s how the side fits into the model. We need to put that inside skin on next.
There are a few more things we can do with the sides, but the rest of the construction is pretty much on hold until we get the trailer welded, which currently isn’t scheduled until mid July!